
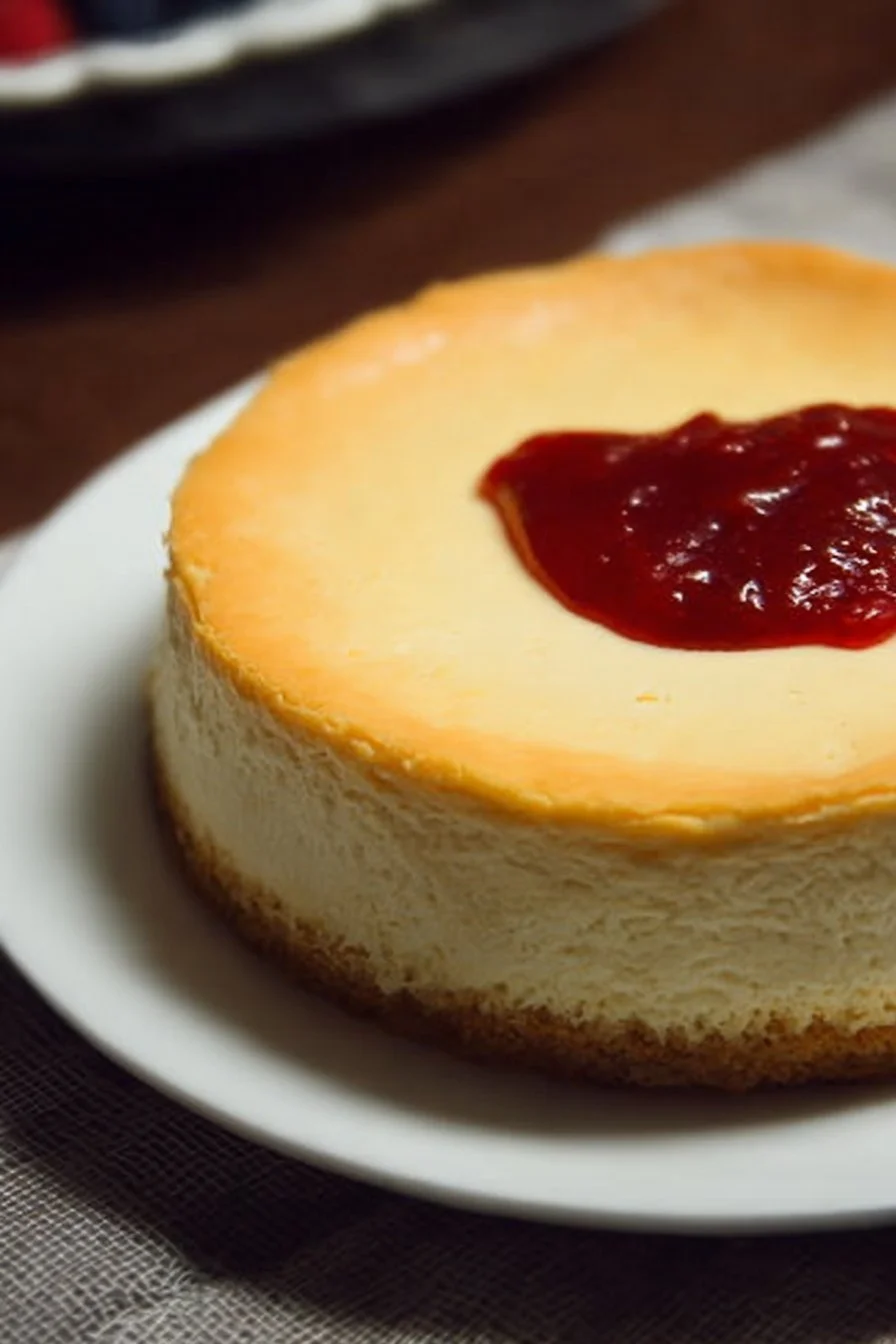
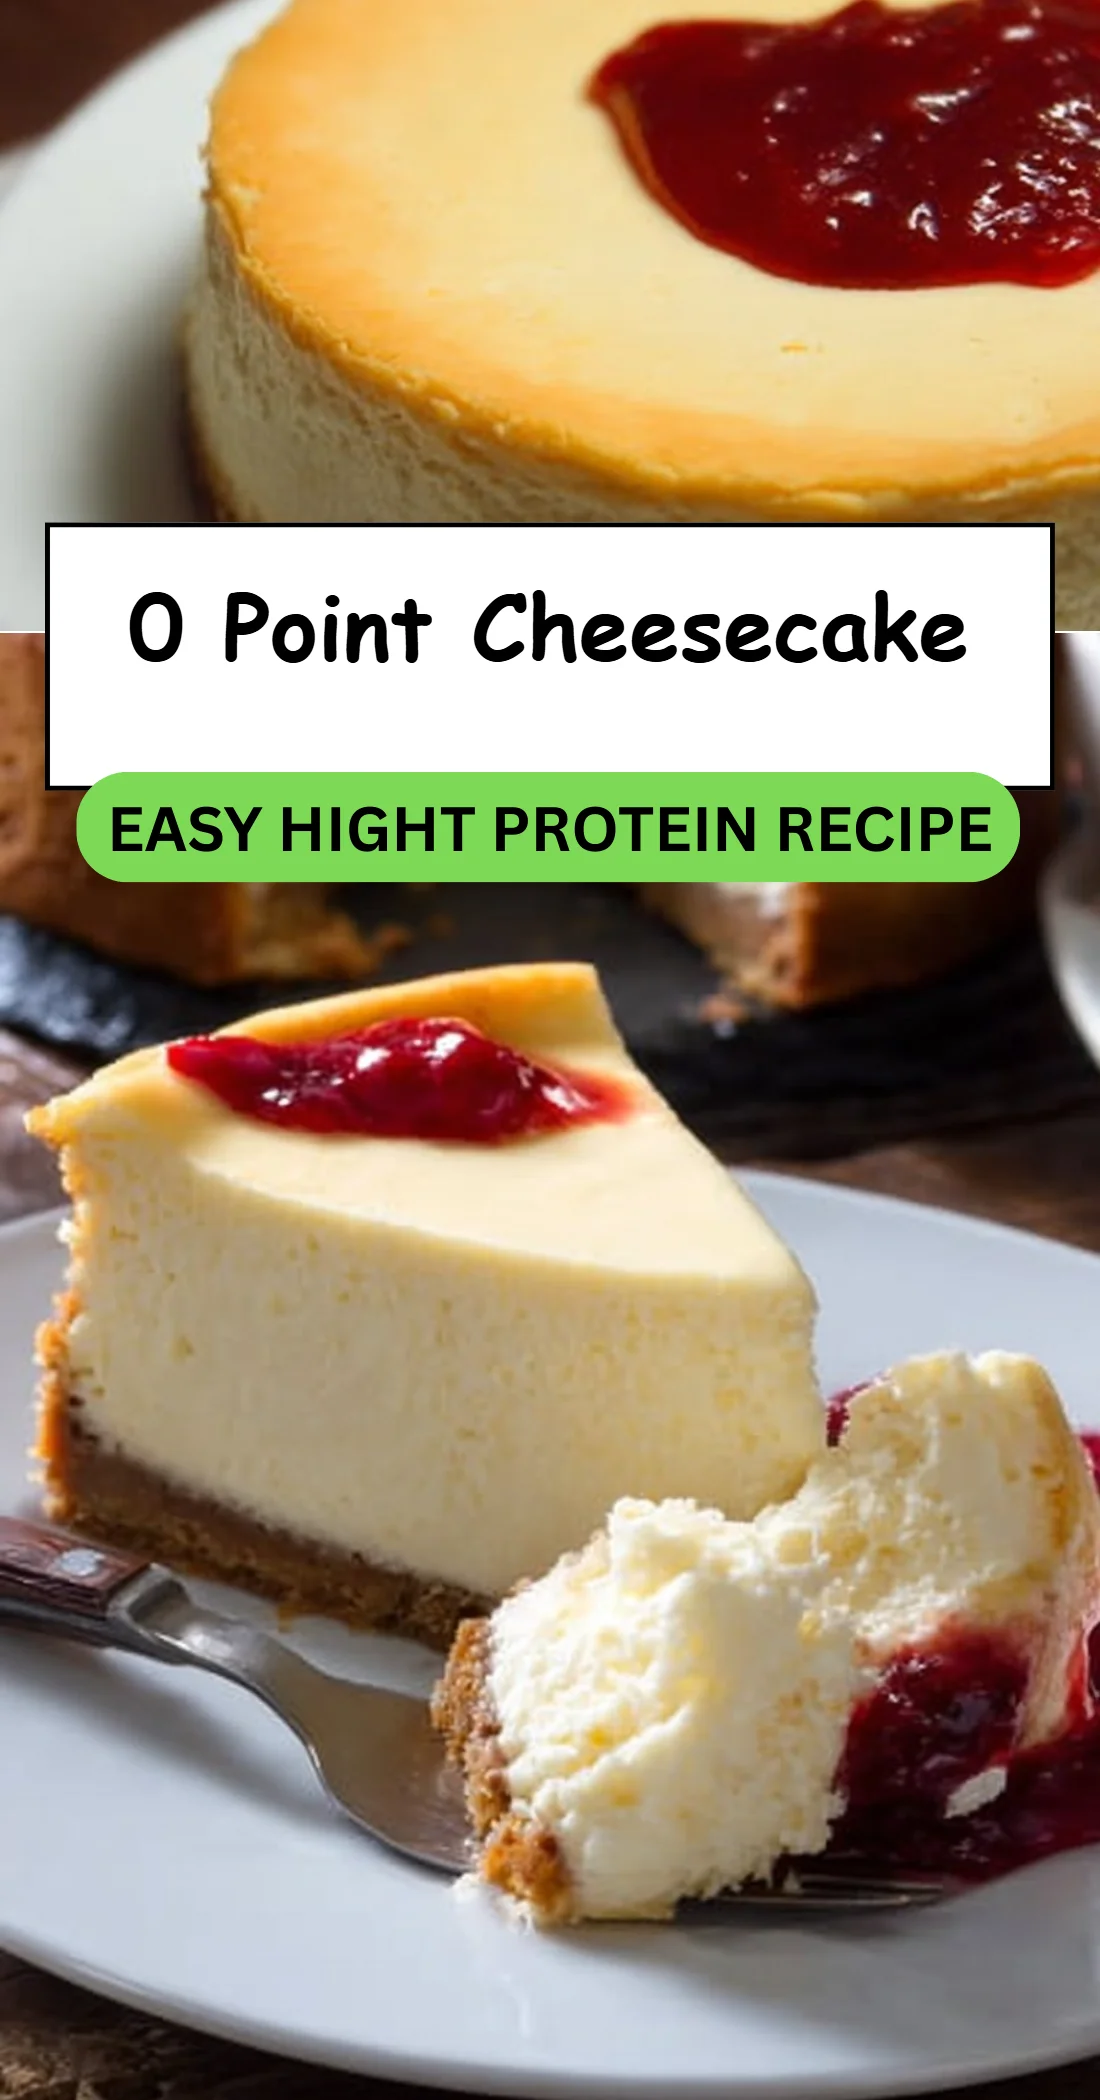
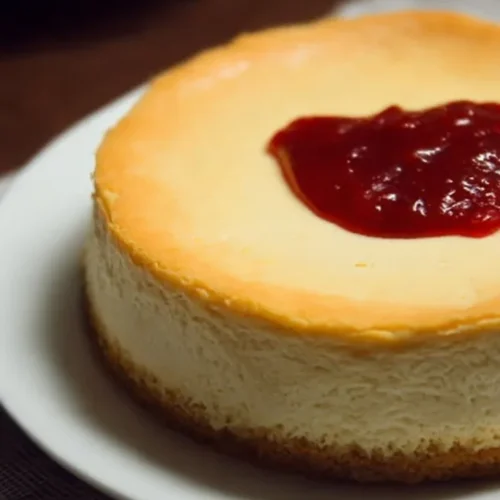
Creamy, tangy, and quietly indulgent, this 0 Point Cheesecake tastes like a cheat—but it’s built from simple, lighter ingredients that keep the texture smooth and the flavor bright. The filling is silkier than a no-bake dessert and bakes into a delicate, set center with a lightly golden top. It’s easy enough for a weeknight dessert and special enough for company; serve slices with fresh berries, a drizzle of sugar-free jam, or a sprig of mint. If you love light, balanced desserts, pair this chilled cheesecake with a refreshing salad like a 30-minute strawberry spinach salad for a bright, crowd-pleasing finish to any meal.
Why You’ll Love This 0 Point Cheesecake
- Creamy and tangy: cream cheese plus lemon and vanilla give a classic cheesecake flavor without heavy sweeteners.
- Lighter texture: non-fat Greek yogurt adds silkiness and reduces density so each bite feels fresh.
- Simple, short ingredient list: pantry-friendly ingredients mean minimal shopping and little fuss.
- Easy bake-and-chill method: one bowl, one pan, straightforward steps—great for beginner bakers.
- Versatile serving options: serves as a dessert, brunch treat, or post-workout sweet that won’t overwhelm.
- Pocket-friendly swaps: the recipe adapts to a few sensible swaps for lower fat or dairy-free needs.
- Make-ahead friendly: bake in advance and chill—perfect for party prep or busy evenings.
- Crowd-pleaser for diet-conscious eaters: feels indulgent while keeping calories and added sugar low.
What Is 0 Point Cheesecake?
This 0 Point Cheesecake is a lighter take on a classic baked cheesecake that relies on cream cheese, non-fat Greek yogurt, and egg whites for structure and richness. It tastes tangy from lemon, subtly sweet from a sugar substitute, and aromatic from vanilla. The cooking method is a straightforward oven bake: the mixture is blended until smooth, poured into a pan, and baked until the center is set. People typically serve it chilled—either plain or topped with berries, a sugar-free sauce, or fresh herbs—making it a great option for dessert, brunch, or a lighter finish to a dinner. The overall vibe is comforting and approachable: a familiar classic made with a cleaner, fresher profile.
Ingredients for 0 Point Cheesecake
For the cheesecake
- 1 package (8 ounces) cream cheese, softened
- 1 cup plain non-fat Greek yogurt (about 240 ml)
- 1/2 cup sugar substitute (like Stevia or Monk fruit)
- 1 teaspoon vanilla extract
- 2 egg whites
- Juice of half a lemon
Ingredient Notes (Substitutions, Healthy Swaps)
- Dairy alternatives: For a dairy-free version (optional), swap regular cream cheese for a store-bought plant-based cream cheese. Texture will vary—choose a brand labeled "creamy" for best results.
- Lower-fat cream cheese: If you want to reduce calories further but keep dairy, use reduced-fat cream cheese. The final texture will be slightly less rich but still pleasant.
- Greek yogurt swaps: If you can’t find plain non-fat Greek yogurt, use low-fat Greek yogurt; avoid flavored varieties to prevent added sugar.
- Sweetener variations: The recipe uses a sugar substitute—Stevia or monk fruit—to keep sweetness without calories. You can use a granular erythritol blend in a 1:1 swap if preferred.
- Egg white adjustments: If you need an egg-free option, aquafaba (chickpea brine) can sometimes replace egg whites—use about 2 tablespoons aquafaba per egg white and whip to slight peaks. (Optional substitution; texture will differ.)
- Lemon & vanilla: Fresh lemon juice is recommended for the brightest tang, but bottled lemon juice works if fresh isn’t available.
Step-by-Step Instructions
Step 1 – Preheat and prepare the pan
Preheat your oven to 350°F (175°C). Grease a pie dish or springform pan lightly to prevent sticking.
Visual cue: The pan should have a thin sheen of oil or non-stick spray; avoid pooling.Step 2 – Blend the base ingredients
In a mixing bowl, combine the softened cream cheese and Greek yogurt until smooth and lump-free. Use a whisk or electric mixer on low to medium.
Visual cue: The mixture should be glossy and homogenous with no visible lumps of cream cheese.
Pro cue: Start slow to avoid splattering, then increase speed briefly to achieve a silky texture.Step 3 – Add the flavor and structure
Add the sugar substitute, vanilla extract, egg whites, and lemon juice to the cream cheese mixture. Mix until well incorporated and smooth.
Visual cue: The batter should be slightly airy with a uniform pale color and tiny bubbles from the egg whites.
Pro cue: Scrape the bowl sides to ensure even distribution; don’t overbeat or the batter may become too aerated and crack while baking.Step 4 – Pour and smooth
Pour the cheesecake mixture into the greased pie dish or springform pan and smooth the top with a spatula. Tap the pan gently on the counter to release large air bubbles.
Visual cue: The surface should be level and glossy, with any bubbles popped.Step 5 – Bake until set
Bake for 30–35 minutes or until the center is set but still slightly jiggly—like gelatin—when gently shaken. Avoid extended baking that dries the cake.
Visual cue: The edges will be set and slightly pulled away from the pan; the center should wobble very slightly.
Pro cue: If you see cracking, reduce oven heat slightly next time or avoid overmixing the batter to limit air incorporation.Step 6 – Cool and chill
Allow the cheesecake to cool at room temperature. Then refrigerate for at least 2 hours before serving to fully set and develop flavor.
Visual cue: After chilling, the cheesecake should slice cleanly with a smooth edge.
Pro Tips for Success
- Use room-temperature cream cheese for the smoothest batter—cold cream cheese makes lumps and leads to inconsistent texture.
- Don’t overbeat egg whites into the batter; a bit of aeration is fine, but too much causes cracking during baking.
- Smooth the top of the batter with a spatula and tap the pan to remove trapped air that can cause holes or cracks.
- For even baking, place the pan in the center of the oven and avoid opening the door during the final 10 minutes.
- A slight jiggle in the center signals doneness—carryover cooking will finish the set as it cools.
- Chill thoroughly: the flavor and texture improve after at least 2 hours; overnight is even better.
- If you want a cleaner slice, run a knife under hot water, dry it, and slice between each cut.
Flavor Variations (OPTIONAL)
- Lemon-Blueberry (optional): Fold in 1/2 cup fresh blueberries on top after pouring the batter, or spoon a thin layer of sugar-free blueberry jam on the surface before chilling.
- Vanilla-Bean Boost (optional): Use 1/2 vanilla bean seeds in place of the teaspoon of extract for a more pronounced vanilla aroma.
- Citrus Twist (optional): Add 1 teaspoon lemon zest to the batter for extra bright citrus notes.
- Berry Swirl (optional): Gently swirl a few tablespoons of pureed strawberries or raspberries into the top of the batter before baking for a pretty marbled look.
- Spiced Top (optional): Sprinkle a pinch of ground cinnamon on top before baking to add warm spice without changing the base recipe.
Serving Suggestions
- Simple slice with a handful of fresh berries (strawberries, raspberries, or blueberries) and a mint leaf.
- Spoon a small dollop of sugar-free jam or marmalade over each slice for added sweetness and color.
- Serve as part of a light brunch spread with fresh fruit, coffee, and other small pastries.
- For a contrast of flavors on a weeknight menu, pair a slice with a quick savory side—try a 30-minute savory fried rice for an eclectic sweet-and-savor experience.
- Plate elegantly: small slices on dessert plates with a dusting of finely grated lemon zest or a single edible flower for entertaining.
Make-Ahead, Storage & Reheating
- What to prep ahead: You can bake the cheesecake a day ahead and store it in the refrigerator. Chilling overnight often improves texture and flavor.
- Refrigerator storage time: Store tightly covered in the refrigerator for up to 4–5 days.
- Reheating methods: Cheesecake is best served chilled. If you prefer it slightly less cold, let slices sit at room temperature for 15–20 minutes; avoid microwaving, which changes texture.
- Texture changes: The cheesecake firms up as it chills. Expect a firmer, denser slice after refrigeration; if it feels too dense, let it sit for a short time at room temperature before serving.
Storage and Freezing Instructions
- Freezing: This cheesecake freezes fairly well. Wrap whole or individual slices tightly in plastic wrap and then place in an airtight container or freezer bag. Freeze for up to 1 month for best quality.
- Thawing: Thaw overnight in the refrigerator. Avoid refreezing after thawing.
- If you prefer not to freeze: Store in the fridge up to 5 days and enjoy within that window for optimal texture and flavor.
Nutrition Facts (Per Serving)
| Calories | Protein | Carbs | Fat | Fiber | Sodium |
|———|——–|——|—–|——|——-|
| 120 kcal | 6 g | 3 g | 9 g | 0 g | 150 mg |
Nutrition values are estimates and may vary depending on ingredients and portion sizes.
FAQ About 0 Point Cheesecake
Q: Why is my cheesecake grainy or lumpy?
A: Lumps usually come from cold cream cheese. Use room-temperature cream cheese and beat until completely smooth before adding other ingredients.
Q: How do I know when it’s done without overbaking?
A: Look for set edges and a slightly jiggly center. It will firm as it cools—overbaking dries it out and can cause cracks.
Q: Can I use whole eggs instead of egg whites?
A: The recipe uses egg whites for a lighter texture; whole eggs will make the cheesecake richer and slightly denser. It’s possible but will change the texture.
Q: My cheesecake cracked on top—how can I prevent that?
A: Avoid overmixing (which adds air) and don’t open the oven early. Cooling slowly and chilling thoroughly also helps minimize cracks.
Q: Can I replace the sugar substitute with regular sugar?
A: Yes, but it will increase calories and carbs. If you swap to sugar, use 1/2 cup granulated sugar as a direct substitution and expect a sweeter, more traditional profile.
Q: How long should I chill before serving?
A: Chill for at least 2 hours; overnight yields the best texture and flavor.
Notes
- For cleaner slices, chill completely and use a hot, dry knife between cuts. Wipe the knife clean and reheat briefly as needed.
- A light spoonful of fresh lemon curd or sugar-free berry compote brightens the plate without overpowering the delicate flavor.
- If you like a firmer crust-like feel, try baking in a springform pan to create a neat edge that’s easy to slice.
- Small additions like a zesting of lemon or a drop more vanilla can elevate the aroma—taste and adjust before baking if you prefer stronger notes.
- When entertaining, serve on chilled dessert plates so the cheesecake remains cool longer on the table.
0 Point Cheesecake
Ingredients
For the cheesecake
- 1 package 8 ounces cream cheese, softened Use room temperature for best results.
- 1 cup plain non-fat Greek yogurt About 240 ml.
- 1/2 cup sugar substitute (like Stevia or Monk fruit) For a sweeter profile, can swap with granulated erythritol.
- 1 teaspoon vanilla extract Try using vanilla bean seeds for enhanced flavor.
- 2 large egg whites Use aquafaba for an egg-free version.
- Juice of half a lemon Fresh juice is recommended.
Instructions
Preparation
- Preheat your oven to 350°F (175°C) and grease a pie dish or springform pan lightly.
- In a mixing bowl, combine the softened cream cheese and Greek yogurt until smooth.
- Add the sugar substitute, vanilla extract, egg whites, and lemon juice to the mixture and blend until smooth.
- Pour the cheesecake mixture into the greased dish and smooth the top.
- Bake for 30–35 minutes until the center is set but still slightly jiggly.
- Let cool at room temperature, then refrigerate for at least 2 hours before serving.