
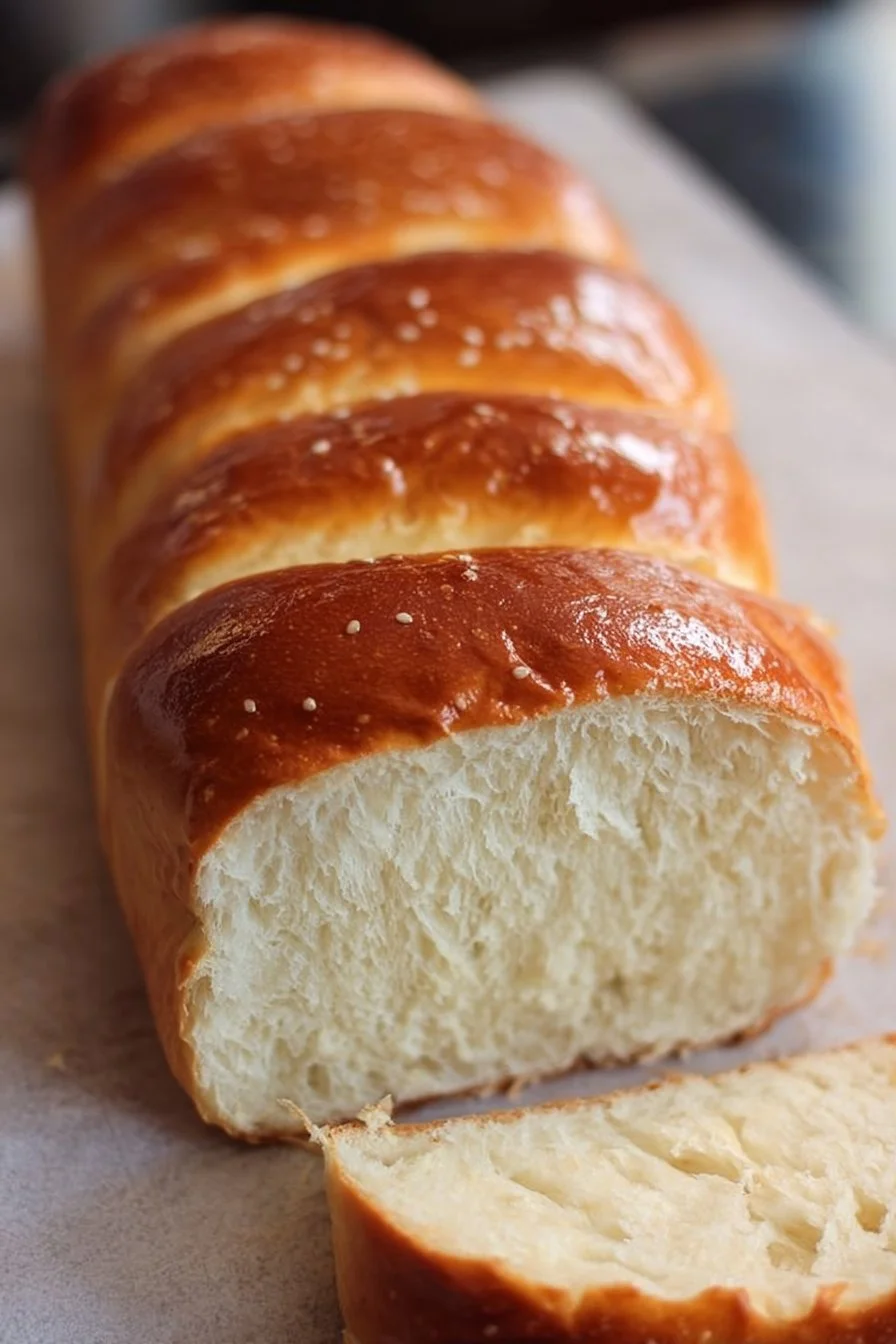
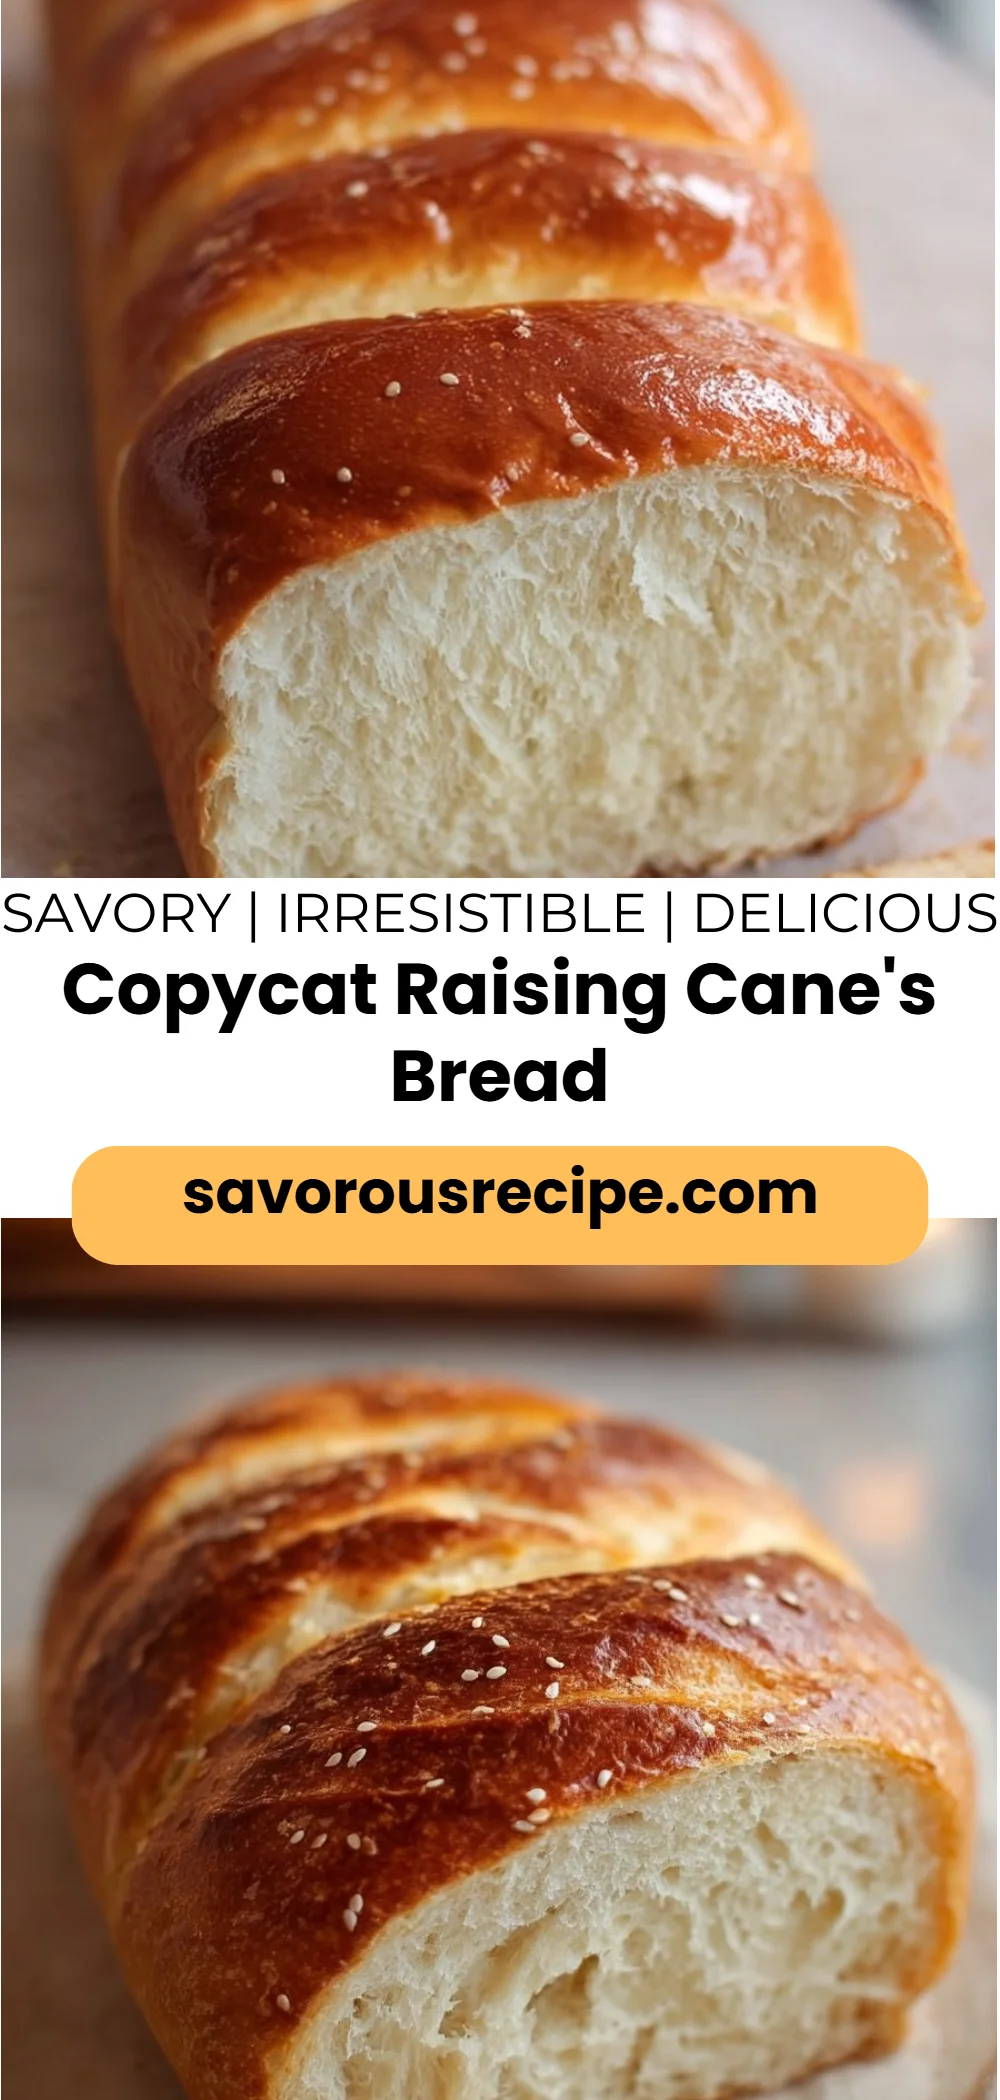
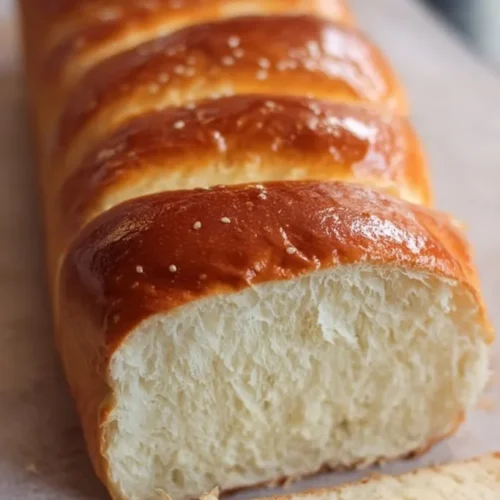
There’s something irresistibly comforting about a warm loaf of bread brushed with butter and a whisper of garlic — soft, pillowy crumb with a golden, slightly crisp crust that melts in your mouth. This Copycat Raising Cane’s Bread nails that nostalgic, buttery profile with an easy dough you can make at home without fuss. It’s tender enough to pair with juicy chicken fingers or grilled cheese, and simple enough to be a weeknight hero. If you like riffs on classic quick breads, you might also enjoy a richer, savory option like the cheddar cheese quick bread recipe for a cheesy twist.
Why You’ll Love This Copycat Raising Cane’s Bread
- Buttery and lightly garlicky finish that’s familiar and crave-worthy.
- Soft, tender interior with a golden crust — great for slicing.
- Uses pantry-friendly ingredients and straightforward technique.
- Perfect as a side for fried chicken, sandwiches, or dipped in sauces.
- Hands-on time is minimal: a quick knead, two rises, then bake.
- Great for feeding a crowd — one loaf stretches across meals.
- Easy to adapt to dietary needs with simple substitutions (optional).
- Comforting, crowd-pleasing flavor that’s great for weeknights or casual gatherings.
What Is Copycat Raising Cane’s Bread?
This is a homemade version of the buttery, slightly garlicky bread often served at Raising Cane’s restaurants. It’s a classic yeast loaf — mixed, kneaded briefly, allowed to rise twice, then baked until golden. Flavor-wise, expect a rich butter base with a subtle garlic note on top; texture-wise, a soft, airy crumb with a delicate crust. People typically serve it alongside fried chicken, sandwiches, or as part of a casual meal where simple, satisfying bread complements the main dish. The vibe is pure comfort food — approachable, nostalgic, and made-for-sharing.
Ingredients for Copycat Raising Raising Cane’s Bread
For the Bread
- 3 cups all-purpose flour (about 360 g)
- 1 packet (2 1/4 teaspoons) active dry yeast
- 1 cup warm water (110°F / 43°C)
- 2 tablespoons sugar
- 1 teaspoon salt
- 3 tablespoons unsalted butter, melted
For Finishing
- 1 teaspoon garlic powder
- Extra butter for brushing (about 1 tablespoon)
Ingredient Notes (Substitutions, Healthy Swaps)
- Dairy alternative: Use a plant-based stick butter (melted) in place of unsalted butter for a dairy-free loaf. The flavor will be slightly different but still rich.
- Gluten-free option: Swap to a certified gluten-free all-purpose flour blend formulated for yeast breads. Note: texture will differ and may require additional binding agents; results can vary.
- Lower-fat swap: Reduce the finishing butter brushed on top (or skip) to cut fat, but keep the 3 tablespoons melted in the dough for structure and tenderness.
- Budget swap: Use store-brand all-purpose flour and granulated sugar — this recipe is forgiving and performs well with simple pantry staples.
- Yeast note: Recipe calls for active dry yeast; ensure your water is around 110°F to properly activate it.
Step-by-Step Instructions
Step 1 – Activate the Yeast
In a small bowl, combine the warm water (110°F) and sugar. Sprinkle the active dry yeast evenly over the surface and let it sit for 5–10 minutes until frothy and bubbly.
Visual cue: The mixture should look foamy and smell slightly yeasty — a telltale sign the yeast is alive.
Step 2 – Mix the Dough
In a large mixing bowl, combine the 3 cups of all-purpose flour and 1 teaspoon salt. Add the melted butter and the yeast mixture. Stir until a shaggy dough forms and the flour is mostly incorporated.
Pro cue: Use a wooden spoon or a dough hook on low speed; avoid adding too much extra flour during mixing.
Step 3 – Knead Until Smooth
Turn the dough out onto a lightly floured surface and knead for about 5–7 minutes until the dough is smooth and elastic. If using a stand mixer, knead with the dough hook on medium for the same amount of time.
Visual cue: The dough should be soft, slightly tacky but not sticky, and spring back slightly when poked.
Pro cue: If the dough feels sticky, dust the surface with only a little flour; too much flour will make the loaf dense.
Step 4 – First Rise
Place the kneaded dough in a greased bowl, turning it once to coat. Cover the bowl with a clean kitchen towel or plastic wrap and let it rise in a warm, draft-free spot for about 1 hour, or until doubled in size.
Visual cue: The dough should approximately double and hold an indentation when gently pressed.
Step 5 – Shape, Preheat, and Second Rise
Preheat your oven to 350°F (175°C). Deflate the dough gently and shape it into a loaf. Place it in a greased loaf pan, cover, and let it rise again for about 30 minutes until slightly puffy.
Pro cue: Preheating before the second rise helps ensure your oven is ready as the loaf finishes proofing; avoid over-proofing which can collapse the structure.
Step 6 – Finish and Bake
Brush the top of the loaf with extra melted butter and sprinkle the garlic powder evenly over the top. Bake for 25–30 minutes until the top is golden brown and the loaf sounds hollow when tapped. Remove from oven and let it cool slightly before slicing.
Visual cue: The crust should be golden and slightly glossy from the butter; the bottom should sound hollow when tapped.
Pro cue: If the top browns too quickly, tent loosely with foil for the last 5–10 minutes of baking.
Pro Tips for Success
- Temperature matters: Aim for 110°F for the water to activate yeast; if too hot, you’ll kill the yeast; too cool and it won’t activate.
- Measure flour correctly: Spoon flour into the measuring cup and level it off to avoid a dense loaf from too much flour.
- Don’t rush the rise: Letting the dough double at its own pace yields better texture and flavor.
- Gentle handling: After the first rise, handle the dough gently to retain gas bubbles that create a soft crumb.
- Even browning: Brushing with butter before baking helps create a golden crust; brushing again after baking adds shine and flavor.
- Sound test: If unsure about doneness, the loaf should sound hollow when tapped on the bottom.
- Room humidity: In very dry kitchens, cover the dough with a slightly damp cloth to prevent a dry skin during rising.
Flavor Variations (OPTIONAL)
- Spicy garlic: Mix 1/2 teaspoon cayenne or paprika into the garlic powder before sprinkling for a subtle kick.
- Herb-infused: Add 1–2 teaspoons of dried Italian seasoning to the dough for an herby aroma.
- Butter-garlic drizzle: After baking, melt extra butter with a pinch of garlic powder and brush for a stronger garlic finish.
- Seeded top: Lightly press sesame or poppy seeds into the buttery top before baking for added texture (optional).
- Cheesy twist (optional): For a different savory direction, serve alongside a cheddar-forward loaf like the Raising Cane’s copycat bread take or add grated cheese to the top after the first 10 minutes of baking.
Note: All variations are optional and keep the base recipe intact; none are required to make the classic loaf.
Serving Suggestions
- Classic pairing: Serve warm alongside crispy chicken tenders or fried chicken for a nostalgic meal.
- Sandwich base: Slice and use for a buttery sandwich — the bread is sturdy enough for egg, chicken, or grilled cheese.
- Dipping: Great with warm marinara, garlic butter dip, or even honey butter for a sweet-salty contrast.
- Brunch companion: Add to a brunch spread with scrambled eggs, fruit, and a green salad.
- Party platter: Offer sliced bread on a communal board with cheeses, olives, and cured vegetables.
- Comfort meal: Pair with a bowl of tomato soup or creamy chowder for cozy dinners.
Make-Ahead, Storage & Reheating
- Make-ahead: You can prepare the dough through the first rise, cover, and refrigerate overnight. Bring to room temperature and complete shaping and second rise before baking.
- Refrigerator storage: Store cooled, sliced bread in an airtight container or resealable bag for up to 3 days at room temperature; refrigeration can dry bread faster, so avoid unless necessary.
- Reheating: Reheat slices in a toaster oven at 300°F for 5–7 minutes until warmed through, or microwave a slice for 10–15 seconds and then crisp in a skillet with a pat of butter for best texture.
- Texture note: Homemade breads soften over time; reheat briefly to restore a freshly-baked feel.
Storage and Freezing Instructions
- Freezing: This loaf freezes well. Slice first, wrap individual slices or the whole loaf tightly in plastic wrap, then place in a freezer-safe bag for up to 3 months.
- Thawing: Thaw slices at room temperature or reheat directly from frozen in a toaster oven for best texture.
- Not recommended: Long-term refrigeration (beyond a couple of days) is not ideal because it accelerates staling; freezing is the preferred method for longer storage.
Nutrition Facts (Per Serving)
| Calories | Protein | Carbs | Fat | Fiber | Sodium |
|———|——–|——|—–|——|——-|
| 151 kcal | 3 g | 25 g | 4 g | 1 g | 192 mg |
Nutrition values are estimates and may vary depending on ingredients and portion sizes.
FAQ About Copycat Raising Cane’s Bread
Q: Why didn’t my dough rise?
A: Likely the yeast was inactive (water too hot or cold) or the yeast was old. Use water around 110°F and fresh yeast.Q: My loaf is dense — what happened?
A: You probably added too much flour or didn’t knead enough. Measure flour properly and knead until the dough is smooth and elastic.Q: How can I tell when the loaf is done?
A: The crust should be golden and the loaf should sound hollow when tapped on the bottom. Internal temperature (optional) should be about 190–200°F.Q: Can I use instant yeast instead of active dry yeast?
A: This recipe is written for active dry yeast. If you use instant yeast, it may be mixed directly with the dry ingredients; results can vary.Q: What’s the best way to reheat slices without drying them out?
A: Warm briefly in a toaster oven or wrap in foil and heat in a 300°F oven for a few minutes; adding a pat of butter helps restore moisture.Q: Can I make the dough ahead of time?
A: Yes — after the first rise, you can refrigerate the dough overnight, then shape, allow the second rise, and bake the next day.
Notes
- Slice warm or slightly cooled for the best texture; very hot slices may be gummy.
- For a shinier finish, brush with melted butter immediately after baking and before the garlic powder if preferred.
- Adjust the garlic powder to taste — start with 1 teaspoon; you can sprinkle less for a subtle hint.
- Presentation tip: Serve on a wooden board with a small dish of melted butter or garlic butter for guests.
- For even slices, use a serrated bread knife and a gentle sawing motion to avoid compressing the loaf.
Copycat Raising Cane’s Bread
Ingredients
For the Bread
- 3 cups all-purpose flour about 360 g
- 1 packet active dry yeast 2 1/4 teaspoons
- 1 cup warm water 110°F / 43°C
- 2 tablespoons sugar granulated
- 1 teaspoon salt
- 3 tablespoons unsalted butter melted
For Finishing
- 1 teaspoon garlic powder
- 1 tablespoon extra butter for brushing
Instructions
Activate the Yeast
- In a small bowl, combine the warm water (110°F) and sugar. Sprinkle the active dry yeast evenly over the surface and let it sit for 5–10 minutes until frothy and bubbly.
Mix the Dough
- In a large mixing bowl, combine the all-purpose flour and salt. Add the melted butter and the yeast mixture. Stir until a shaggy dough forms.
Knead Until Smooth
- Turn the dough out onto a lightly floured surface and knead for about 5–7 minutes until the dough is smooth and elastic.
First Rise
- Place the kneaded dough in a greased bowl, cover, and let it rise in a warm, draft-free spot for about 1 hour, or until doubled in size.
Shape, Preheat, and Second Rise
- Preheat your oven to 350°F (175°C). Deflate the dough gently and shape it into a loaf. Place it in a greased loaf pan and let it rise again for about 30 minutes.
Finish and Bake
- Brush the top of the loaf with melted butter and sprinkle with garlic powder. Bake for 25–30 minutes until golden brown and sounds hollow when tapped.