
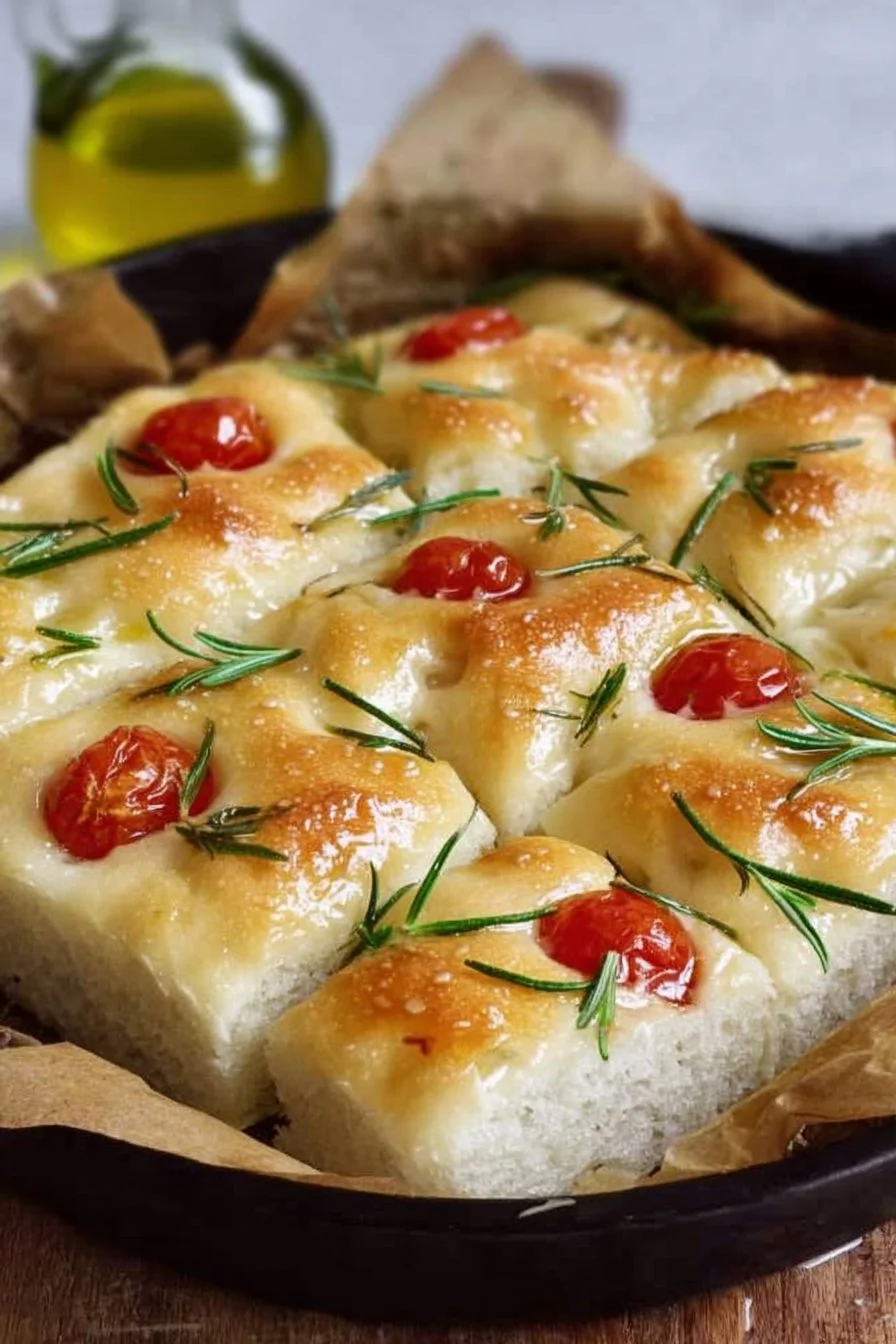
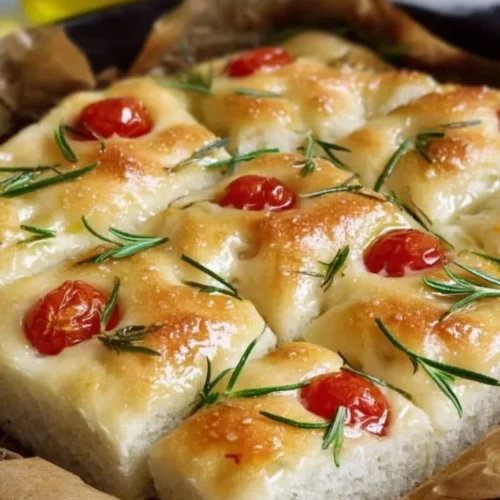
Soft, golden and irresistibly olive‑oily, this Mini No‑Knead Focaccia has a tender interior and a crisp bottom that makes every bite sing. The cherry tomatoes roast into little bursts of sweetness while the rosemary and sea salt flakes give that classic, rustic flavor. It’s comforting, simple, and almost effortless — no kneading, a short hands‑on time, and a very forgiving proofing window. Serve it warm alongside soups, as a sandwich base, or tear it apart for an appetizer spread. If you want the exact measurements and step‑by‑step method while you bake, check the original Mini No‑Knead Focaccia recipe for quick reference.
Why You’ll Love This Mini No-Knead Focaccia
- Minimal hands-on time — no kneading required, perfect for busy weeknights.
- Deep olive oil flavor with a tender crumb and a satisfyingly crisp bottom.
- Bright pops of roasted cherry tomatoes balance the savory rosemary and sea salt.
- Flexible proofing options: refrigerate overnight or proof quickly in a warm spot.
- Small-batch size (made in a skillet or small baking pan) — great for 1–2 people or as a side.
- Uses pantry staples you likely already have on hand.
- Impressive enough for guests, but simple enough for everyday meals.
- Easy to customize with optional toppings while keeping the base recipe intact.
What Is Mini No-Knead Focaccia?
Mini No‑Knead Focaccia is a scaled‑down version of traditional focaccia: a flat, olive oil–rich Italian bread known for its dimpled surface and fragrant toppings. This version skips the laborious kneading step and relies on a short or long proof to develop structure and flavor. The texture is soft and airy inside with a thin, crisp exterior and olive‑oily crust; the cherry tomatoes roast and sweeten while the rosemary perfumes the bread. Typically served warm as an accompaniment to soups, salads, or antipasti, it’s also a lovely base for sandwiches or a casual snack. Overall, it’s comfort food with a bit of rustic charm — approachable, forgiving, and perfect for sharing.

Ingredients for Mini No-Knead Focaccia
For the Base
- 1/2 cup Water
- 1/2 + 1/8 tsp Yeast (I used dried active yeast)
- 1/2 tsp Sugar
- 1 cup All-purpose flour
- 1/2 tsp Salt
- 4 tsp Olive oil (total)
For the Topping
- Cherry tomatoes
- Fresh rosemary
- Sea salt flakes (or coarse sea salt)
For Baking
- Parchment paper (to line the skillet or pan)
Ingredient Notes (Substitutions, Healthy Swaps)
- Yeast: The recipe calls for active dry yeast (1/2 + 1/8 tsp). If you only have instant yeast, use the same amount — instant may work a little faster, so watch the proofing times.
- Flour: The recipe uses all‑purpose flour. For a gluten‑free option, try a commercial 1:1 gluten‑free baking flour blend, but expect differences in texture and possibly a shorter structure; results will vary.
- Olive oil: Extra virgin olive oil adds flavor; for a milder taste you can use a lighter olive oil. Reducing oil will change the crumb and crust crispness.
- Sugar: The small amount of sugar helps feed the yeast. You can substitute an equal amount of honey if desired, but the yeast activity may speed up slightly.
- Salt: Sea salt flakes are recommended for finishing; use regular fine salt in the dough as listed (1/2 tsp).
- Toppings: Cherry tomatoes and fresh rosemary are the classic combo here. Optional variations (below) let you add other toppings without changing the base method.
Step-by-Step Instructions
Step 1 – Activate the Yeast
Stir the yeast and sugar into lukewarm water and let it sit until nicely frothy.
Visual cue: The surface should be bubbly and airy, not flat — a frothy cap signals active yeast.
Step 2 – Mix the Dry Ingredients
Combine the flour and salt in a bowl.
Pro cue: Use a whisk to break up any small lumps and ensure even salt distribution.
Step 3 – Form the Sticky Dough
Pour the yeast mixture into the flour mixture and mix well with a spatula until a sticky dough is formed.
Visual cue: The dough should look shaggy and wet — it will not be smooth like kneaded dough.
Step 4 – Oil and First Proof
Pour a teaspoon of olive oil on the surface of the dough and rub it all over.
Cover with plastic wrap and refrigerate for 18–24 hours. Or place it in a warm spot for 1.5–2 hours or until the dough doubles in size.
Pro cue: Long cold fermentation (refrigeration) develops deeper flavor; short warm proofing speeds things up if you need it today.
Step 5 – Prepare the Pan and Fold
When ready to bake, line the bottom of your cast‑iron skillet or baking pan with parchment paper. Pour 2 teaspoons of olive oil in the center of the prepared pan. Oil your hands and gently bring the proofed dough in from the sides of the bowl, folding it over itself with quarter turns (fold — turn a quarter — repeat 3 more times).
Visual cue: The dough will be slightly slack but should hold together; the folds add surface tension.
Step 6 – Second Proof
Transfer the dough to the prepared pan. Cover and place in a warm place for 1–2 hours or until the dough doubles in size and fills the pan.
Pro cue: When the dough springs back slowly when poked, it’s ready for the oven; if it springs back quickly, it needs more time.
Step 7 – Top and Bake
Preheat the oven to 250°C (482°F). Pour the remaining 2 teaspoons of olive oil on the dough and spread it all over. Dimple the dough using your fingers, then top with rosemary, halved cherry tomatoes and sea salt flakes. Place the pan in the oven and immediately reduce the temperature to 200°C (392°F). Bake for 20–25 minutes or until the top is golden brown and the bottom is crisp.
Visual cue: The top should be a deep golden color and the bottoms should sound hollow when tapped.
Step 8 – Rest and Serve
Let the bread rest in the pan for 5 minutes before turning it out onto a cooling rack. Slice warm or cool completely and enjoy.
Pro cue: Resting lets steam escape and prevents a gummy crumb.
Pro Tips for Success
- Temperature control: Lukewarm water should feel warm but not hot — around 100–110°F (37–43°C) is ideal for active dry yeast.
- Don’t overwork the dough: This is a no‑knead recipe; mixing until combined is enough. Overhandling will deflate the bubbles.
- Use enough oil in the pan: The olive oil layer helps crisp the bottom and prevents sticking.
- Dimple deeply: Dimpling a few times per square inch traps olive oil and toppings for maximum flavor.
- Watch proofing: If proofing in a warm spot, check the dough early — it can double faster than you expect.
- Baking temperature trick: Starting at a higher temperature then reducing helps develop oven spring quickly and sets the crust.
- Check the bottom: A crisp bottom is a sign the focaccia is done; poke the underside with a spatula to check doneness.
- Salt last: Finish with sea salt flakes after oiling to keep the salt bright and crunchy.
Flavor Variations (OPTIONAL)
- OPTIONAL — Garlic & Herb: Add thinly sliced garlic and extra fresh rosemary on top before baking.
- OPTIONAL — Olive & Tomato: Scatter sliced olives among the cherry tomatoes for briny contrast.
- OPTIONAL — Cheese Finish: Sprinkle grated hard cheese (Parmesan or pecorino) over the top during the last 5 minutes of baking.
- OPTIONAL — Spicy Kick: Add a pinch of chili flakes across the top before baking for heat.
- OPTIONAL — Lemon Rosemary: Zest a little lemon over the focaccia after baking for a bright finish.
(These are optional ideas that keep the base recipe intact; add only what you like.)
Serving Suggestions
- Tear and serve warm with a bowl of soup or a green salad for a simple weeknight dinner.
- Use slices as a sandwich base — press slightly and fill with roasted vegetables or greens.
- Offer as part of an appetizer board with olives, cheeses and charcuterie — a small loaf is perfect for sharing.
- Cut into squares and serve alongside grilled vegetables or pasta for a rustic meal.
- Serve with infused olive oil for dipping; a simple drizzle of extra oil and a pinch of sea salt is lovely.
- For a more casual pairing, try this focaccia with other small bites like Crunchy Mini Potato Skins to create a textured, hand‑friendly spread.
Make-Ahead, Storage & Reheating
- Make‑ahead: You can complete the dough and refrigerate it covered for 18–24 hours as the recipe suggests; bake the next day for fresher flavor, or bake and reheat later.
- Refrigerator storage: Store baked focaccia in an airtight container or wrapped in foil at room temperature for up to 2 days; refrigeration is OK for up to 4 days but may dry the bread faster.
- Reheating: Warm slices in a 350°F (175°C) oven for 8–10 minutes to revive the crust, or toast in a skillet over medium heat until crisp. Microwaving will soften the crust and make it chewy, so use only for quick warming.
- Texture changes: Over time the crust softens and the crumb firms; reheating restores some crispness.
Storage and Freezing Instructions
- Freezing baked focaccia: This loaf freezes well. Cool completely, wrap tightly in plastic wrap and aluminum foil, and freeze for up to 2 months. Thaw at room temperature and reheat in a 350°F (175°C) oven for 10–15 minutes.
- Freezing dough: You can refrigerate the dough for the 18–24 hour proof, then shape and freeze the shaped dough for later baking. Thaw overnight in the refrigerator, then bring to room temperature and proof until doubled before baking.
- If you prefer not to freeze: Use the bread within 2–4 days refrigerated and refresh in the oven before serving.
Nutrition Facts (Per Serving)
| Calories | Protein | Carbs | Fat | Fiber | Sodium |
|———|——–|——|—–|——|——-|
| 220 kcal | 5 g | 28 g | 9 g | 1.5 g | 380 mg |
Nutrition values are estimates and may vary depending on ingredients and portion sizes.
FAQ About Mini No-Knead Focaccia
Q: My dough didn’t rise — what went wrong?
A: Check your yeast freshness and water temperature (too hot will kill yeast; too cold won’t activate it). Also confirm the proofing environment; a warm draft‑free spot helps.
Q: The interior is gummy after baking — how to fix it?
A: Underbaking or not letting the bread rest can cause gumminess. Make sure the bottom is crisp and bake until the top is deep golden; rest 5 minutes before turning out.
Q: Can I shorten the cold ferment time?
A: Yes — the recipe allows 1.5–2 hours in a warm spot instead of 18–24 hours in the fridge. Flavor will be milder with the shorter proof.
Q: How do I know when the dough is properly proofed?
A: Proper proofing means the dough has roughly doubled and feels airy. A gentle poke should spring back slowly.
Q: Can I make this without a cast‑iron skillet?
A: Yes — use a small baking pan lined with parchment instead. The oil in the pan is key to achieving a crispy bottom.
Q: How should I reheat leftovers to restore crispness?
A: Reheat in a 350°F (175°C) oven for 8–10 minutes to revive the crust. Avoid microwaving unless you’re in a hurry.
Notes
- Presentation tip: Drizzle a little extra olive oil and add a few more rosemary sprigs just before serving for a glossy finish.
- Small flavor upgrade: Rub a halved tomato or a cut garlic clove over the warm bread for subtle added flavor.
- Salt balance: Use light hand with finishing sea salt — it should enhance but not overpower the herbs and tomatoes.
- Slicing: Use a serrated knife and a gentle sawing motion to keep the crumb intact when slicing warm.
- Leftover idea: Refresh cooled slices in a panini press or toaster oven to make quick sandwiches.
Mini No-Knead Focaccia
Ingredients
For the Base
- 1/2 cup Water
- 1/2 + 1/8 tsp Yeast (dried active yeast)
- 1/2 tsp Sugar
- 1 cup All-purpose flour
- 1/2 tsp Salt
- 4 tsp Olive oil (total)
For the Topping
- Cherry tomatoes
- Fresh rosemary
- Sea salt flakes (or coarse sea salt)
For Baking
- Parchment paper (to line the skillet or pan)
Instructions
Activation
- Stir the yeast and sugar into lukewarm water and let it sit until nicely frothy.
Mixing Dry Ingredients
- Combine the flour and salt in a bowl.
Forming Dough
- Pour the yeast mixture into the flour mixture and mix well with a spatula until a sticky dough is formed.
First Proof
- Pour a teaspoon of olive oil on the surface of the dough and rub it all over.
- Cover with plastic wrap and refrigerate for 18–24 hours, or place in a warm spot for 1.5–2 hours until doubled in size.
Prepare for Baking
- Line the bottom of your cast-iron skillet or baking pan with parchment paper. Pour 2 teaspoons of olive oil in the center.
- Gently bring the proofed dough in from the sides and fold it over itself with quarter turns.
Second Proof
- Transfer the dough to the prepared pan, cover, and place in a warm area for 1–2 hours until it doubles in size.
Baking
- Preheat the oven to 250°C (482°F).
- Pour the remaining olive oil on the dough, spread it, then dimple and top with rosemary, halved cherry tomatoes, and sea salt.
- Reduce the oven temperature to 200°C (392°F) and bake for 20–25 minutes or until golden brown.
Cooling and Serving
- Let the bread rest in the pan for 5 minutes before turning it out onto a cooling rack.
- Slice warm or cool completely before serving.