
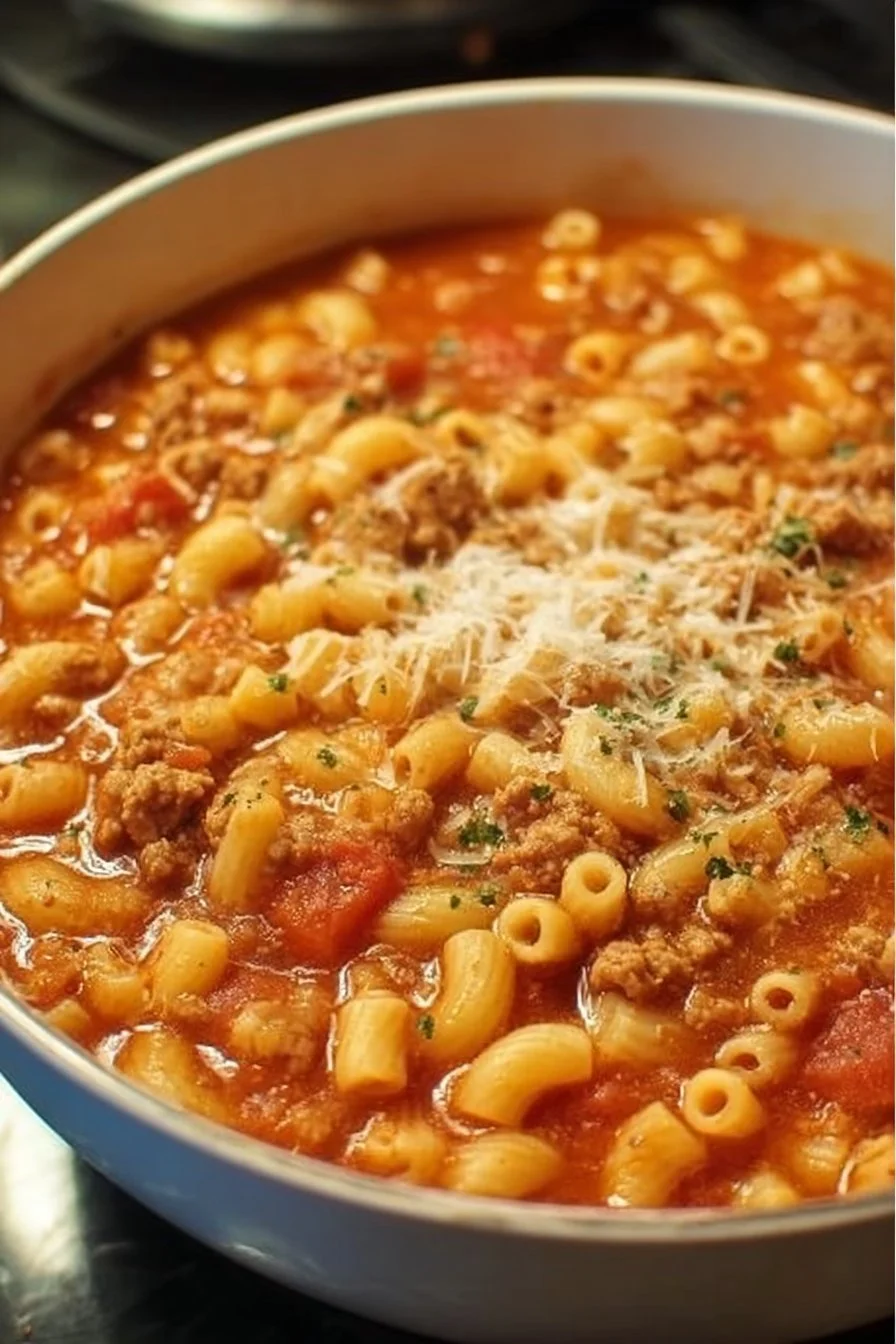
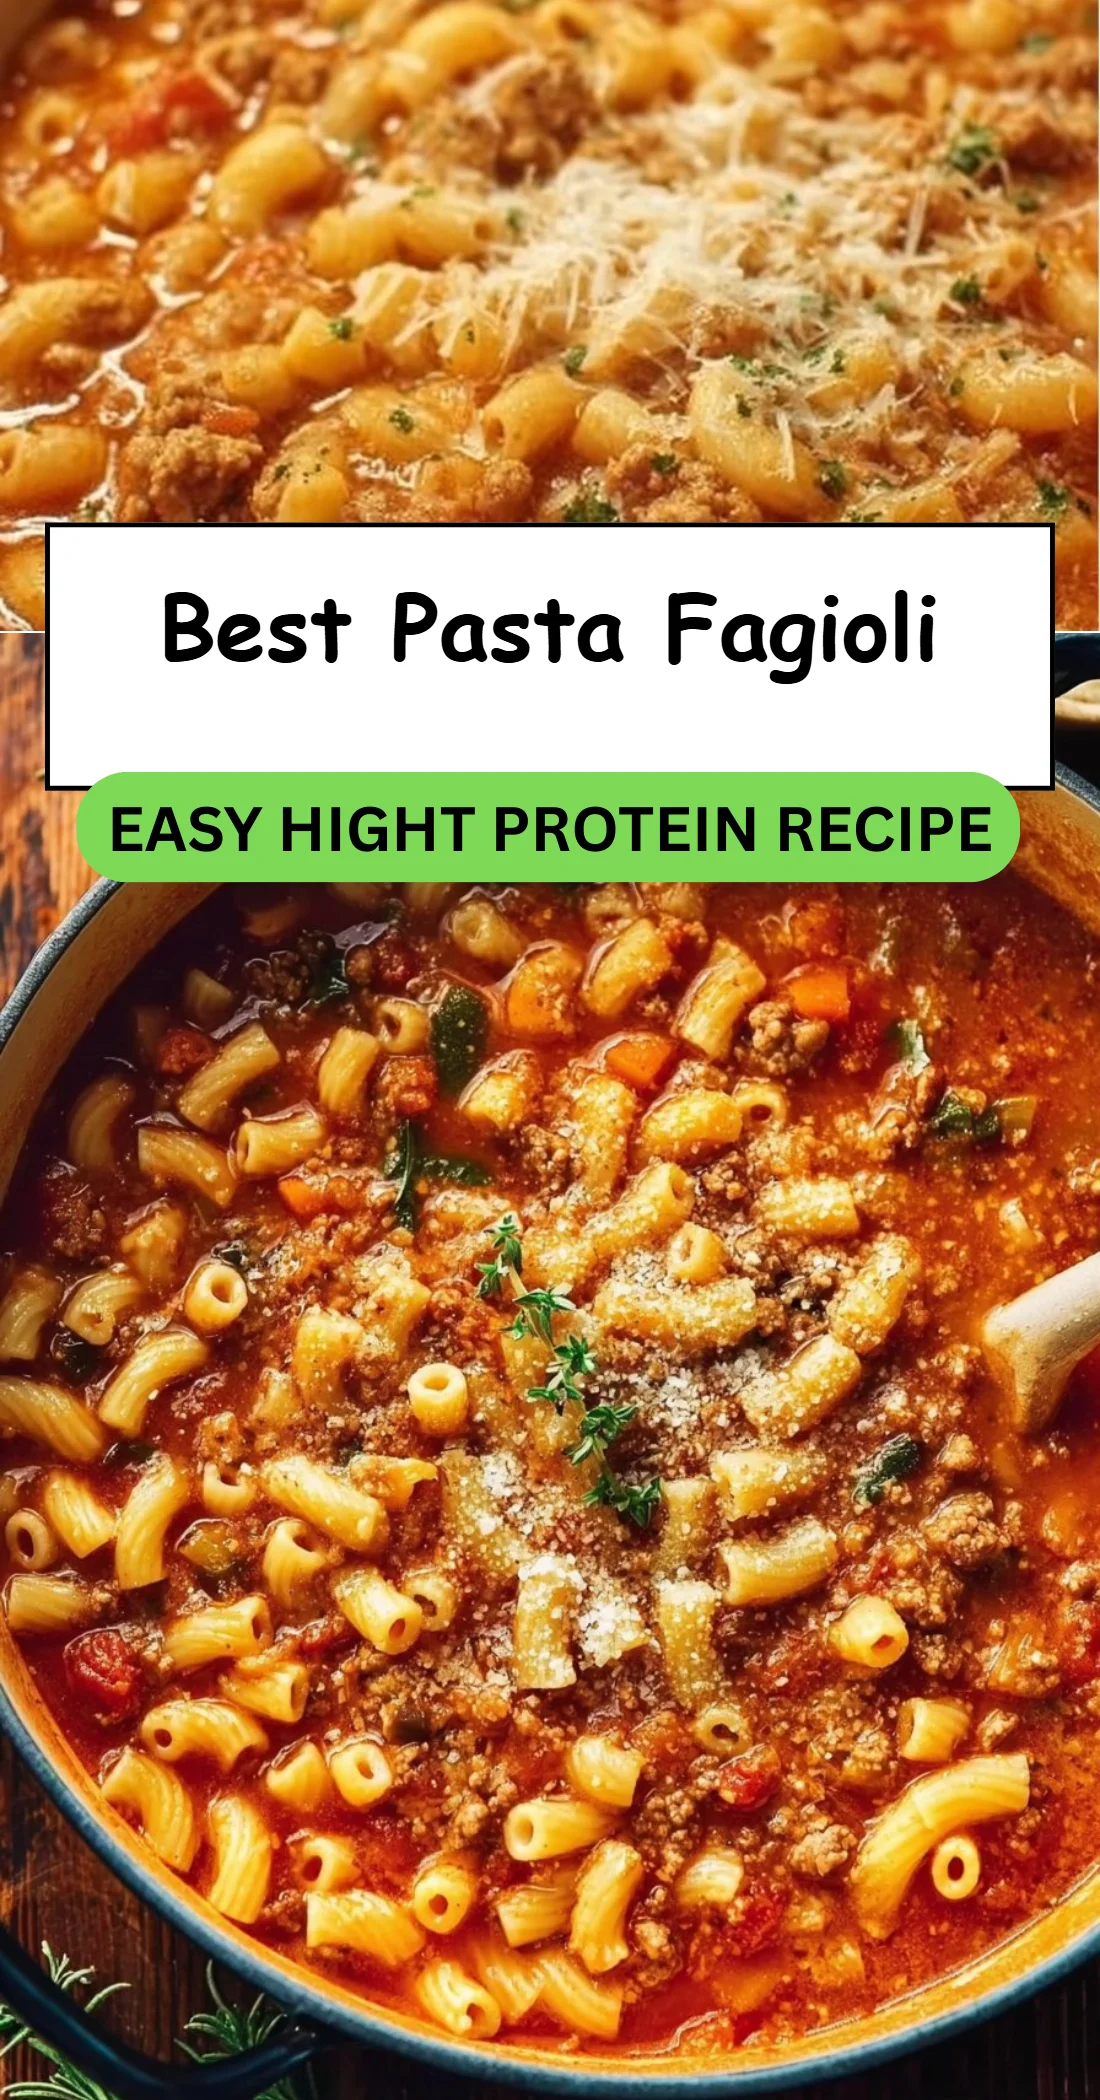
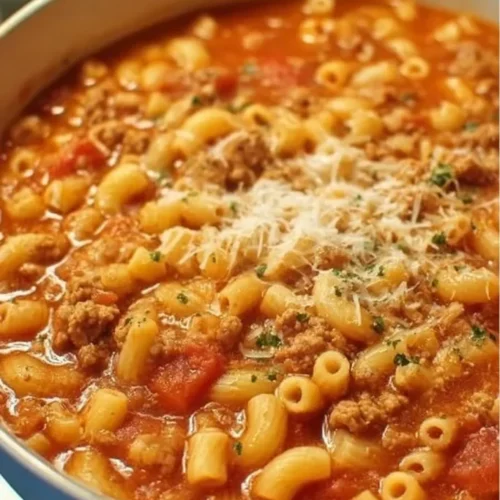
Warm, cozy, and impossibly satisfying, this Best Pasta Fagioli is what dinner dreams are made of — a silky broth studded with tender cannellini beans, sweet-savoury diced tomatoes, and little pasta that soaks up all the comforting flavors. The texture is a lovely contrast: soft beans and vegetables, tender al dente pasta, and a light, brothy finish that’s not too heavy. It’s easy to pull together on a weeknight, and it reheats beautifully for lunches all week. Serve it with a wedge of crusty bread and a sprinkle of grated Parmesan, or balance the meal with something savory like an uncured salami and a simple green salad for a rustic Italian feel.
Why You’ll Love This Best Pasta Fagioli
- Classic comfort: warm, soothing broth with hearty beans and pasta — the ultimate bowl of comfort.
- Simple pantry-friendly ingredients: uses canned beans and tomatoes plus staples you likely already have.
- Quick weeknight dinner: about 30 minutes from start to finish.
- Balanced textures: soft vegetables and beans with tender, slightly chewy pasta.
- Versatile meal: can be meatless or dressed up with sides to make it heartier.
- Family-friendly: mild, familiar flavors kids and adults both enjoy.
- Budget-friendly: inexpensive pantry staples make several servings for little cost.
- Leftover-friendly: flavors deepen after a day in the fridge.
What Is Best Pasta Fagioli?
Pasta fagioli (pronounced “pah-stah fah-joh-lee”) is a classic Italian soup that translates to “pasta and beans.” It’s a humble, peasant-style dish built around simple ingredients: beans, small pasta, vegetables, tomatoes and broth. The taste is bright and savory from tomatoes and herbs, earthy from cannellini beans, and lightly sweet from the sautéed carrots and onions. This version is made on the stovetop by sautéing aromatics, simmering with canned tomatoes and beans, then finishing with small pasta cooked directly in the broth. Traditionally served as a comforting lunch or dinner, it’s the kind of bowl you make when you want something homey and satisfying — perfect for chilly evenings, casual family dinners, or as a starter for an Italian-inspired meal.
Ingredients for Best Pasta Fagioli
For the Base
- 1 cup small pasta (like ditalini or elbow)
- 1 can (15 oz) cannellini beans, drained and rinsed
- 1 can (15 oz) diced tomatoes
For the Vegetables & Broth
- 1 medium onion, diced
- 2 cloves garlic, minced
- 2 carrots, diced
- 2 celery stalks, diced
- 4 cups vegetable or chicken broth
For Seasoning & Finishing
- 1 teaspoon dried oregano
- 1 teaspoon dried basil
- Salt and pepper to taste
- Olive oil for cooking
- Grated Parmesan cheese for serving (optional)
Ingredient Notes (Substitutions, Healthy Swaps)
- Pasta: Use gluten-free small pasta to make this gluten-free. Cook time may vary depending on brand.
- Beans: Cannellini beans are classic for their creamy texture, but navy or great northern beans work as a substitute.
- Broth: Vegetable broth keeps the recipe vegetarian; use chicken broth if you want a slightly richer flavor.
- Olive oil: Use a light olive oil or a neutral oil if desired. To reduce fat, use just 1 teaspoon to sauté and add a splash of broth to prevent sticking.
- Parmesan: For a dairy-free option, omit the cheese or sprinkle with nutritional yeast for a cheesy flavor.
- Low-sodium: Choose low-sodium canned tomatoes and beans and add salt gradually to control sodium levels.
- Herbs: Fresh basil and oregano can be used in place of dried — add them toward the end of cooking to preserve brightness.
Step-by-Step Instructions
Step 1 – Prep and heat
Heat a drizzle of olive oil in a large pot over medium heat. Dice the onion, carrots, and celery; mince the garlic so it’s ready to add.
Visual cue: The pot should shimmer with oil and the vegetables should be distinct pieces, not mashed.
Step 2 – Sauté the aromatics
Add the onion, garlic, carrots, and celery to the pot. Sauté until softened and the onion is translucent, about 5–7 minutes.
Visual cue: Vegetables should look glossy and softened, and garlic will be fragrant but not browned.
Pro cue: Keep the heat at medium; browning garlic makes it bitter. Stir occasionally to prevent sticking.
Step 3 – Add tomatoes, beans, broth, and herbs
Stir in the diced tomatoes (with their juices), drained and rinsed cannellini beans, broth, dried oregano, dried basil, salt, and pepper. Bring the pot to a gentle boil.
Visual cue: The pot will become visibly saucy and aromatic with small bubbles forming at the surface.
Pro cue: Taste a spoonful of the broth once it simmers to check the salt level before adding pasta.
Step 4 – Add the pasta and simmer
Add the small pasta and reduce heat to a simmer. Cook until the pasta is al dente, about 8–10 minutes — check the package for exact timing.
Visual cue: The pasta should be tender but still slightly firm to the bite; the broth will thicken slightly as the pasta releases starch.
Pro cue: Stir occasionally while the pasta cooks to keep it from clumping and to prevent sticking to the bottom.
Step 5 – Adjust seasoning and finish
Adjust salt and pepper to taste. Ladle into bowls and top with grated Parmesan if desired. Serve warm.
Visual cue: A finished bowl will have a balanced broth, visible beans and pasta, and a glossy sheen from the olive oil.
Pro cue: If the soup thickens too much after sitting, thin with a splash of extra broth or water while reheating.
Pro Tips for Success
- Heat control: Keep the sauté at medium so vegetables soften without burning; maintain a gentle simmer after adding pasta.
- Texture control: Cook pasta directly in the soup to absorb flavor, but don’t overcook — al dente is best to avoid mushy pasta later.
- Seasoning balance: Canned ingredients can be salty; always taste and adjust salt near the end.
- Starch awareness: Stir occasionally once pasta is added to release starch evenly and prevent clumping.
- Batch timing: If making a larger pot, increase pasta a little at a time and monitor doneness closely — larger volumes take longer to come back to a simmer.
- Avoid thinning: If your soup becomes too thin, mash a few beans against the side of the pot to naturally thicken the broth.
- Garnish last: Add Parmesan at serving to keep it from melting too quickly into the broth if you want defined cheesy bites.
Flavor Variations (Optional)
- Spicy version: Add a pinch of red pepper flakes while sautéing the vegetables for gentle heat.
- Cheesy version: Stir in 1/4 cup grated Parmesan into the soup just before serving for a creamier finish (optional).
- Lemony brightness: Finish with a squeeze of fresh lemon juice at the end for a bright lift.
- Herb-forward: Stir in a handful of chopped fresh parsley or basil at the end for herbal freshness (optional).
- Hearty boost: Add a cup of cooked greens (like chopped spinach) in the last minute of cooking—just don’t let them wilt too long.
- Bean swap (optional): Use two cans of beans (drained) and reduce pasta slightly for a more stew-like, protein-forward bowl.
Serving Suggestions
- With crusty bread: A warm baguette or ciabatta is perfect for sopping up the broth.
- Simple salad: A crisp green salad with lemon vinaigrette balances the richness.
- Light antipasti: Pair with olives, roasted peppers, and cheeses for an Italian-style starter.
- Sandwich pairing: Serve alongside a grilled cheese for a comforting combo.
- Weeknight dinner: Make it the main course with a side of roasted vegetables.
- Entertaining: Serve small bowls as a first course before a heartier main.
- For an easy main-and-soup night, pair it with simple one-pan chicken recipes to round out a full meal without fuss.
Make-Ahead, Storage & Reheating
- Make-ahead: You can prepare the soup up to the point of adding pasta. Cool, refrigerate, and add pasta and finish cooking when ready to serve.
- Refrigerator storage: Store in an airtight container for up to 3–4 days.
- Reheating on stove: Reheat gently over low-medium heat, adding a splash of broth or water if the soup has thickened.
- Reheating in microwave: Heat in 1-minute intervals, stirring between, and add liquid if needed.
- Texture changes: Pasta absorbs broth over time — the soup will thicken in the fridge. Add extra broth or water when reheating to restore consistency.
Storage and Freezing Instructions
- Freezing: The soup can be frozen, but pasta texture will degrade when thawed. For best results, freeze without cooking the pasta: cool the base (tomatoes, beans, vegetables, broth) and freeze in an airtight container for up to 3 months. Thaw overnight, reheat, then cook fresh pasta and add to the soup.
- If already cooked with pasta: Freezing cooked soup is possible, but expect softer, sometimes slightly mushy pasta after thawing. Consider reheating and serving as a thick stew or spooning over freshly cooked pasta.
- Thawing tip: Thaw frozen soup in the refrigerator overnight, reheat gently on the stove, and add fresh pasta for best texture.
Nutrition Facts (Per Serving)
| Calories | Protein | Carbs | Fat | Fiber | Sodium |
|———|——–|——|—–|——|——-|
| 270 kcal | 13 g | 44 g | 7 g | 10 g | 650 mg |
Nutrition values are estimates and may vary depending on ingredients and portion sizes.
FAQ About Best Pasta Fagioli
Q: My pasta turned mushy after refrigerating — what went wrong?
A: Pasta absorbs broth and softens in the fridge. Next time, store the soup without pasta and cook fresh pasta when reheating.Q: Can I use dry beans instead of canned?
A: Yes — cook dry beans separately until tender, then add them with the tomatoes and broth. Make sure they’re fully cooked before combining.Q: The soup tastes flat — how can I brighten it?
A: Add a pinch more salt, a squeeze of lemon juice, or a splash of broth vinegar (if available) to lift the flavors.Q: How do I make it vegetarian?
A: Use vegetable broth instead of chicken broth; the recipe as written is easily vegetarian-friendly.Q: How long will it keep in the fridge?
A: Stored in an airtight container, it will keep 3–4 days. Reheat thoroughly before eating.Q: Can I make this spicier or milder?
A: Yes — add red pepper flakes for heat or leave them out for a milder version. Adjust to taste while simmering.
Notes
- Plating idea: Serve in shallow bowls, topped with a drizzle of good olive oil and freshly grated Parmesan for a restaurant feel.
- Small flavor upgrade: Toast the dried oregano and basil briefly in the pot before adding the tomatoes to release their aroma.
- Season in layers: Season lightly while cooking and taste at the end to fine-tune.
- Presentation tip: Garnish with a few whole cannellini beans and a sprig of basil for a pretty finish.
- Leftover hack: Spoon reheated soup over a bed of freshly cooked pasta to refresh texture if stored with cooked pasta.
- Salt caution: Canned ingredients vary in salt — add salt gradually and taste frequently to avoid overseasoning.
Best Pasta Fagioli
Ingredients
For the Base
- 1 cup small pasta (like ditalini or elbow) Use gluten-free small pasta for a gluten-free option.
- 1 can (15 oz) cannellini beans, drained and rinsed Navy or great northern beans can be used as substitutes.
- 1 can (15 oz) diced tomatoes Choose low-sodium canned tomatoes to control salt levels.
For the Vegetables & Broth
- 1 medium onion, diced
- 2 cloves garlic, minced
- 2 medium carrots, diced
- 2 stalks celery, diced
- 4 cups vegetable or chicken broth Use vegetable broth for a vegetarian option.
For Seasoning & Finishing
- 1 teaspoon dried oregano Can use fresh herbs for brighter flavor.
- 1 teaspoon dried basil Add fresh herbs towards the end of cooking.
- to taste Salt and pepper Add gradually to avoid over seasoning.
Instructions
Preparation
- Heat a drizzle of olive oil in a large pot over medium heat. Dice the onion, carrots, and celery; mince the garlic so it's ready to add.
- Add the onion, garlic, carrots, and celery to the pot. Sauté until softened and the onion is translucent, about 5–7 minutes.
- Stir in the diced tomatoes (with their juices), drained and rinsed cannellini beans, broth, dried oregano, dried basil, salt, and pepper. Bring the pot to a gentle boil.
- Add the small pasta and reduce heat to a simmer. Cook until the pasta is al dente, about 8–10 minutes.
- Adjust salt and pepper to taste. Ladle into bowls and top with grated Parmesan if desired. Serve warm.