
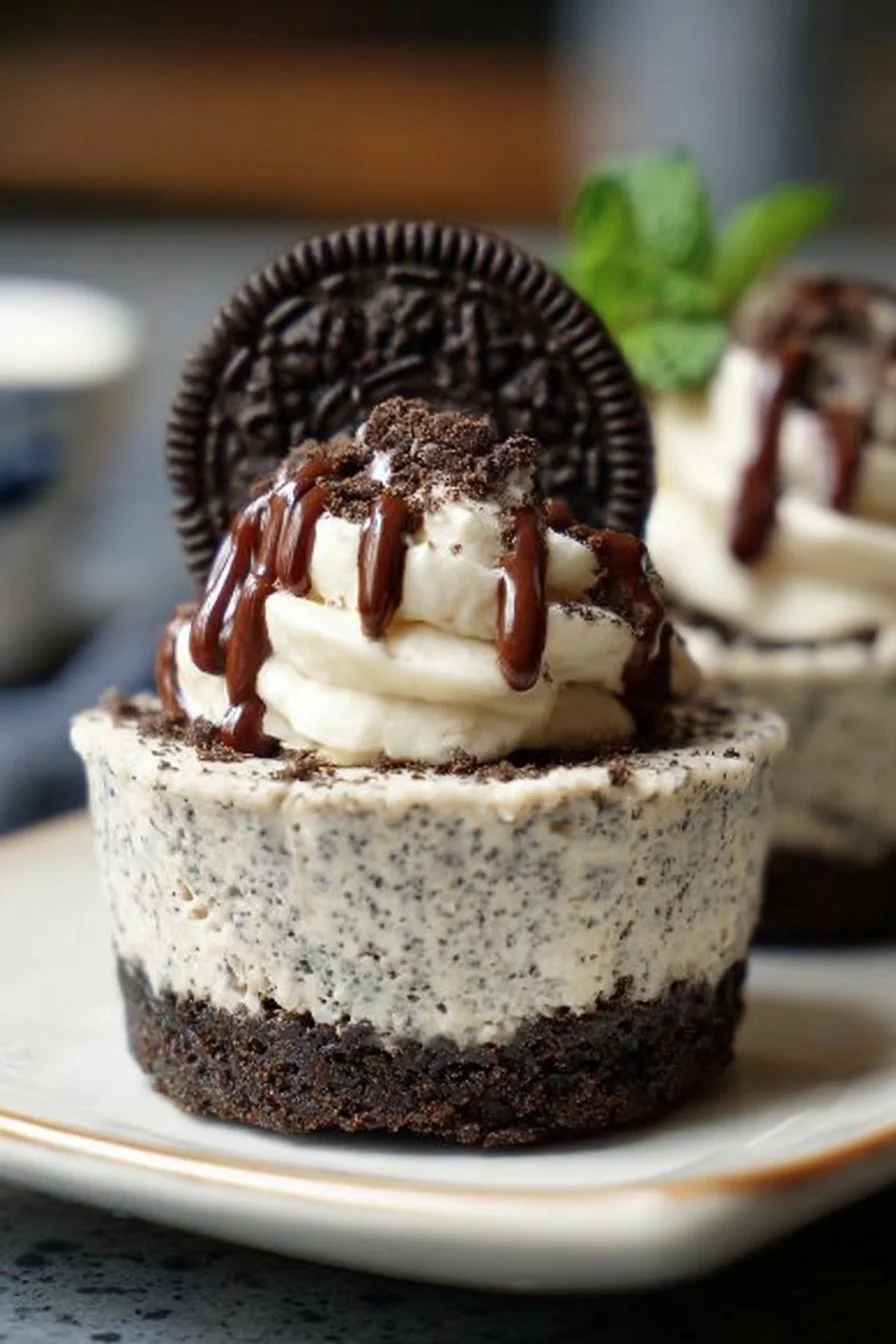
Indulge in Mini Oreo Cheesecakes
There’s something undeniably delightful about mini cheesecakes, especially when they’re packed with the flavor of everyone’s favorite cookie: Oreos. These Mini Oreo Cheesecakes are not only gluten-free and dairy-free, but they also bring a fun twist to any gathering. Perfect for parties, family celebrations, or just a cozy night in, they offer a rich and creamy texture paired with the classic crunch of Oreos. Trust me, once you take a bite, you’ll understand why these little treats are a must-have.
Why You’ll Love This Dish
This recipe is more than just delicious; it’s convenient and tailored for various dietary needs. Whether you’re following a gluten-free, dairy-free, or even keto diet, these mini cheesecakes can cater to your preferences. They’re quick to prepare, and with only a few ingredients, you can whip up a dessert that feels indulgent without derailing your healthy eating goals.
"These Mini Oreo Cheesecakes are a game-changer! I made them for a family gathering, and they disappeared in minutes. Everyone loved them!" – Jessica R.
Plus, they require minimal baking time and can be made ahead, making them the perfect choice for busy schedules or last-minute gatherings.
Preparing Mini Oreo Cheesecakes (Gluten-free + Dairy-free)
Making these mini cheesecakes is straightforward and efficient. You’ll need to follow a few simple steps: prepare the crust, whisk the filling, and assemble everything into muffin cups for chilling. In just a few hours, you’ll have a scrumptious dessert ready to impress your guests or satisfy your sweet tooth.
What You’ll Need
To get started, gather these key ingredients:
- 23 Gluten-free Oreos (divided into 15 and 8)
- 4 tablespoons vegan butter (melted)
- 3/4 cup heavy vegan cream
- 3/4 cup powdered sugar (divided; or monk fruit powdered sugar for Keto or Paleo)
- 8 ounces dairy-free cream cheese
- 1 teaspoon vanilla extract
Keep in mind that substitutions can be made! For a keto-friendly option, opt for monk fruit sweeteners.
Step-by-Step Instructions
- Begin by blending 15 Oreos in a food processor until they’re fine crumbs. Add the melted vegan butter and blend until combined.
- If you don’t have a food processor, don’t fret! Place those Oreos in a ziplock bag and crush them using a kitchen mallet or rolling pin until they’re finely crumbled.
- Spoon 1.5 tablespoons of your crumb mixture into the bottom of the muffin tin cups (silicone or lined with muffin liners). Pack down flat, using the back of a measuring cup for assistance.
- Place the muffin tin in the fridge while you prepare the filling.
- In a large mixing bowl, add the coconut cream, 1/2 cup of powdered sugar, and vanilla. Beat on high speed until you achieve stiff peaks.
- In another bowl, whip the dairy-free cream cheese with the remaining 1/4 cup of powdered sugar for about a minute until fluffy.
- Gently combine both mixtures and fold in the crushed 8 Oreos.
- Remove your muffin tin from the fridge and evenly distribute about 1/4 cup of the cream cheese mixture into each cup, pressing down to create an even layer.
- Chill in the fridge for at least 4 hours or overnight. For added flair, top with extra whipped cream, Oreo crumbs, or a full Oreo before serving.
Best Ways to Enjoy It
These Mini Oreo Cheesecakes are best enjoyed chilled. If you’re looking to plate them up for a special occasion, consider garnishing with fresh mint leaves for a pop of color or serving them alongside a scoop of dairy-free ice cream. They also pair wonderfully with a cup of coffee or a glass of almond milk, making for a delightful dessert experience.
Storage and Reheating Tips
These mini cheesecakes store exceptionally well! Keep them in an airtight container in the fridge for up to a week. If you want to prepare them ahead of time, they can be frozen for longer storage—just be sure to defrost them in the refrigerator before serving.
Helpful Cooking Tips
- To get a perfectly smooth cheesecake filling, make sure all ingredients are at room temperature before mixing.
- Chill your bowl and beaters before whipping the cream for an even fluffier texture.
- If you love a stronger Oreo flavor, consider adding a bit of crushed Oreo into the cream cheese filling.
Creative Twists
Feeling adventurous? Try swapping out the traditional vanilla for flavored extracts like peppermint or almond for a unique take. You can also experiment with toppings such as crushed nuts, fruit purees, or different types of dairy-free chocolate.
Your Questions Answered
What is the prep time for these cheesecakes?
The prep time is roughly 20-30 minutes, depending on your kitchen setup.
Can I use regular Oreos if I’m not gluten-free?
Absolutely! If gluten isn’t an issue, standard Oreos will work perfectly.
How long will these last in the fridge?
These cheesecakes can last up to a week when stored properly in the fridge.
For another delightful treat, check out my recipe for Crunchy Mini Potato Skins. These savory bites complement perfectly with your dessert choice!