
Indulge in a Simple Yet Delightful Dessert Experience
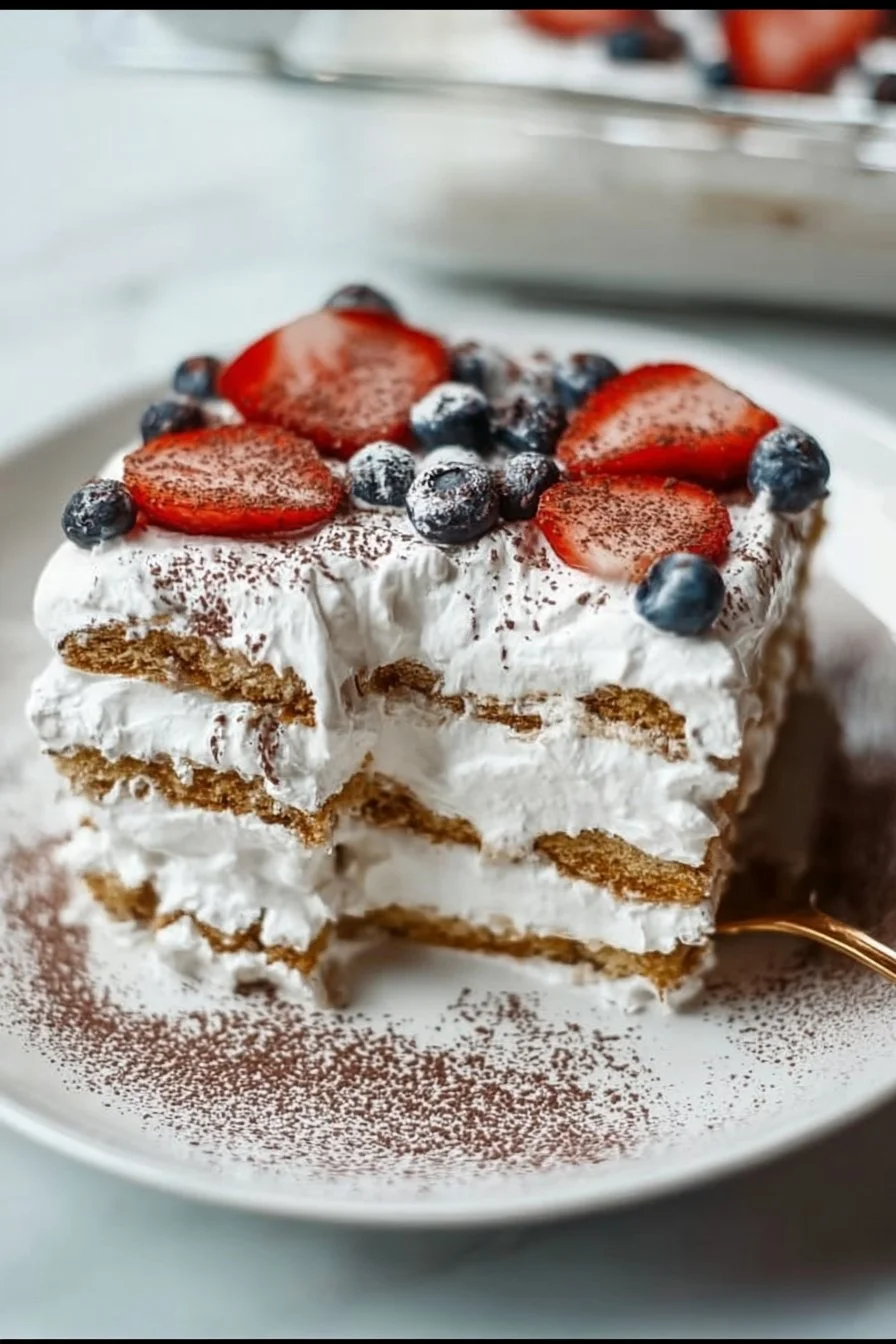
There’s something magical about a chilled dessert that embodies the essence of summer, isn’t there? This Gluten Free Icebox Cake is no ordinary dessert; it’s a delightful treat that combines the creaminess of whipped coconut with the freshness of fruits, all layered between gluten-free cookies or graham crackers. Perfect for family gatherings, picnics, or simply to satisfy a sweet craving, this cake doesn’t require any baking and comes together effortlessly. If you’re looking to impress without the fuss, this quick and health-conscious recipe is bound to be a hit!
Why You’ll Love This Dish
Why go through the hassle of elaborate desserts when you can whip up this delightful icebox cake with minimal effort? This recipe shines for its simplicity and versatility. It’s gluten-free, making it suitable for those with dietary restrictions, and it’s a fantastic way to incorporate fresh fruit into your dessert. Whether for a weekday indulgence, a summer barbecue, or a special occasion, this cake delivers both taste and aesthetic pleasure.
“This icebox cake is a total crowd-pleaser! I made it for a family gathering, and everyone, gluten-free or not, loved it. — Jane D.”
Preparing Gluten Free Icebox Cake
Making this Gluten Free Icebox Cake is as simple as layering your favorite ingredients. Here’s a brief overview of what to expect:
- You’ll create a fluffy coconut cream filling.
- Layer gluten-free cookies with whipped cream and fresh fruit.
- Refrigerate until set, giving you time to relax while it does the magic.
This straightforward process makes it easy to follow along, even for novice bakers!
What You’ll Need
Gather these items to recreate this delicious cake:
- Gluten-free cookies or graham crackers: Offer the crunch and base of your cake.
- Coconut cream: The star ingredient! Provides a creamy texture.
- Fruits: Think strawberries, blueberries, or bananas for freshness.
- Vanilla extract: Adds depth to your whipped cream.
- Sweetener (optional): Maple syrup or agave to enhance sweetness.
Feel free to mix and match fruits based on your preference or what’s in season!
Step-by-Step Instructions
Follow these directions to create your own Gluten Free Icebox Cake:
- In a mixing bowl, whip the coconut cream with vanilla extract and sweetener until fluffy.
- In a rectangular dish, start layering with gluten-free cookies, followed by a generous layer of the whipped coconut cream.
- Add a layer of sliced fruit on top of the whipped cream.
- Repeat the layers until all ingredients are used, finishing with a top layer of whipped cream.
- Cover and refrigerate for at least 4 hours or overnight to let it set.
- Just before serving, decorate with more fresh fruit for that beautiful presentation.
Best Ways to Enjoy It
When it comes to serving, presentation is key! Try plating slices on individual dessert plates topped with a drizzle of maple syrup or a sprinkle of toasted coconut for an extra touch. Pair your icebox cake with a scoop of dairy-free ice cream or a dollop of fresh whipped cream to elevate the experience. This cake also makes for an impressive centerpiece at any gathering.
Storage and Reheating Tips
Leftovers? No problem! Store your Gluten Free Icebox Cake in an airtight container in the refrigerator. It will keep well for up to three days, making it a perfect make-ahead dessert option. If you want to enjoy it later, consider freezing individual slices. Just let them thaw in the fridge before serving to maintain the best texture and flavor.
Helpful Cooking Tips
Here are some pro tips to ensure your icebox cake comes out perfectly every time:
- For a richer flavor, use full-fat coconut cream and chill it beforehand so it whips up beautifully.
- Don’t hesitate to experiment with different fruits or even add a layer of nut butter for added richness.
- If you’re not keen on using sweeteners, the natural sweetness of the fruit may be enough for you.
Creative Twists
Looking to change things up? Consider incorporating different flavors—add cocoa powder to the whipped coconut cream for a chocolate twist, or layer in some crushed cookies for added crunch. You can even try different fruits based on the season or your mood. The possibilities with this icebox cake are endless!
Common Questions
What is the prep time for this Gluten Free Icebox Cake?
Prep time is roughly 30 minutes, with a recommended chilling time of 4 hours to overnight.Can I use a different type of sweetener?
Absolutely! You can substitute with your choice of sweetener, including honey, agave, or even a sugar alternative.Is this cake suitable for vegans?
Yes, by using coconut cream and a plant-based sweetener, this dessert is perfect for vegan diets!
Whether you’re keeping it simple or getting creative, this Gluten Free Icebox Cake is sure to impress. Ready to indulge in a dessert that feels both effortless and elegant?