
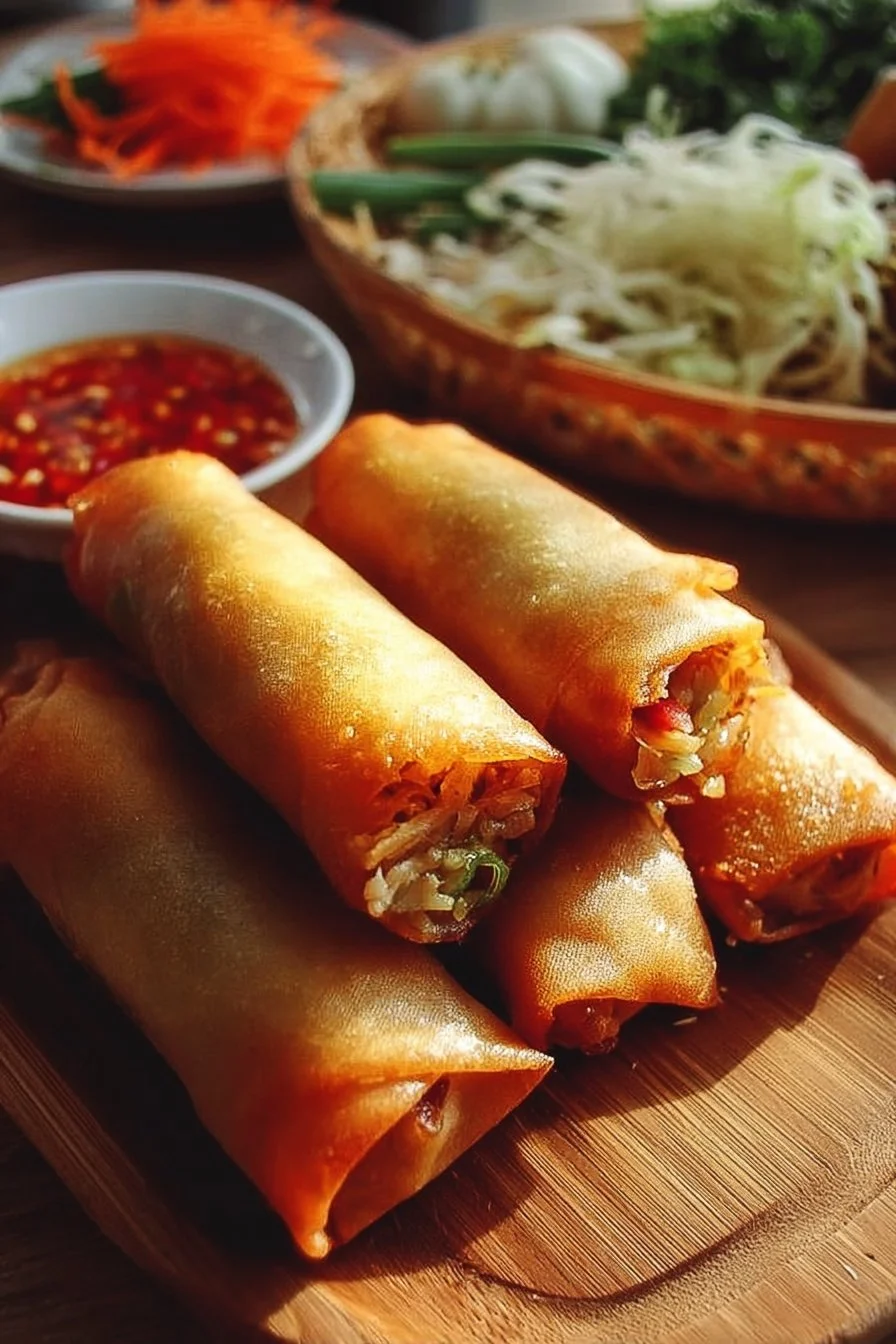
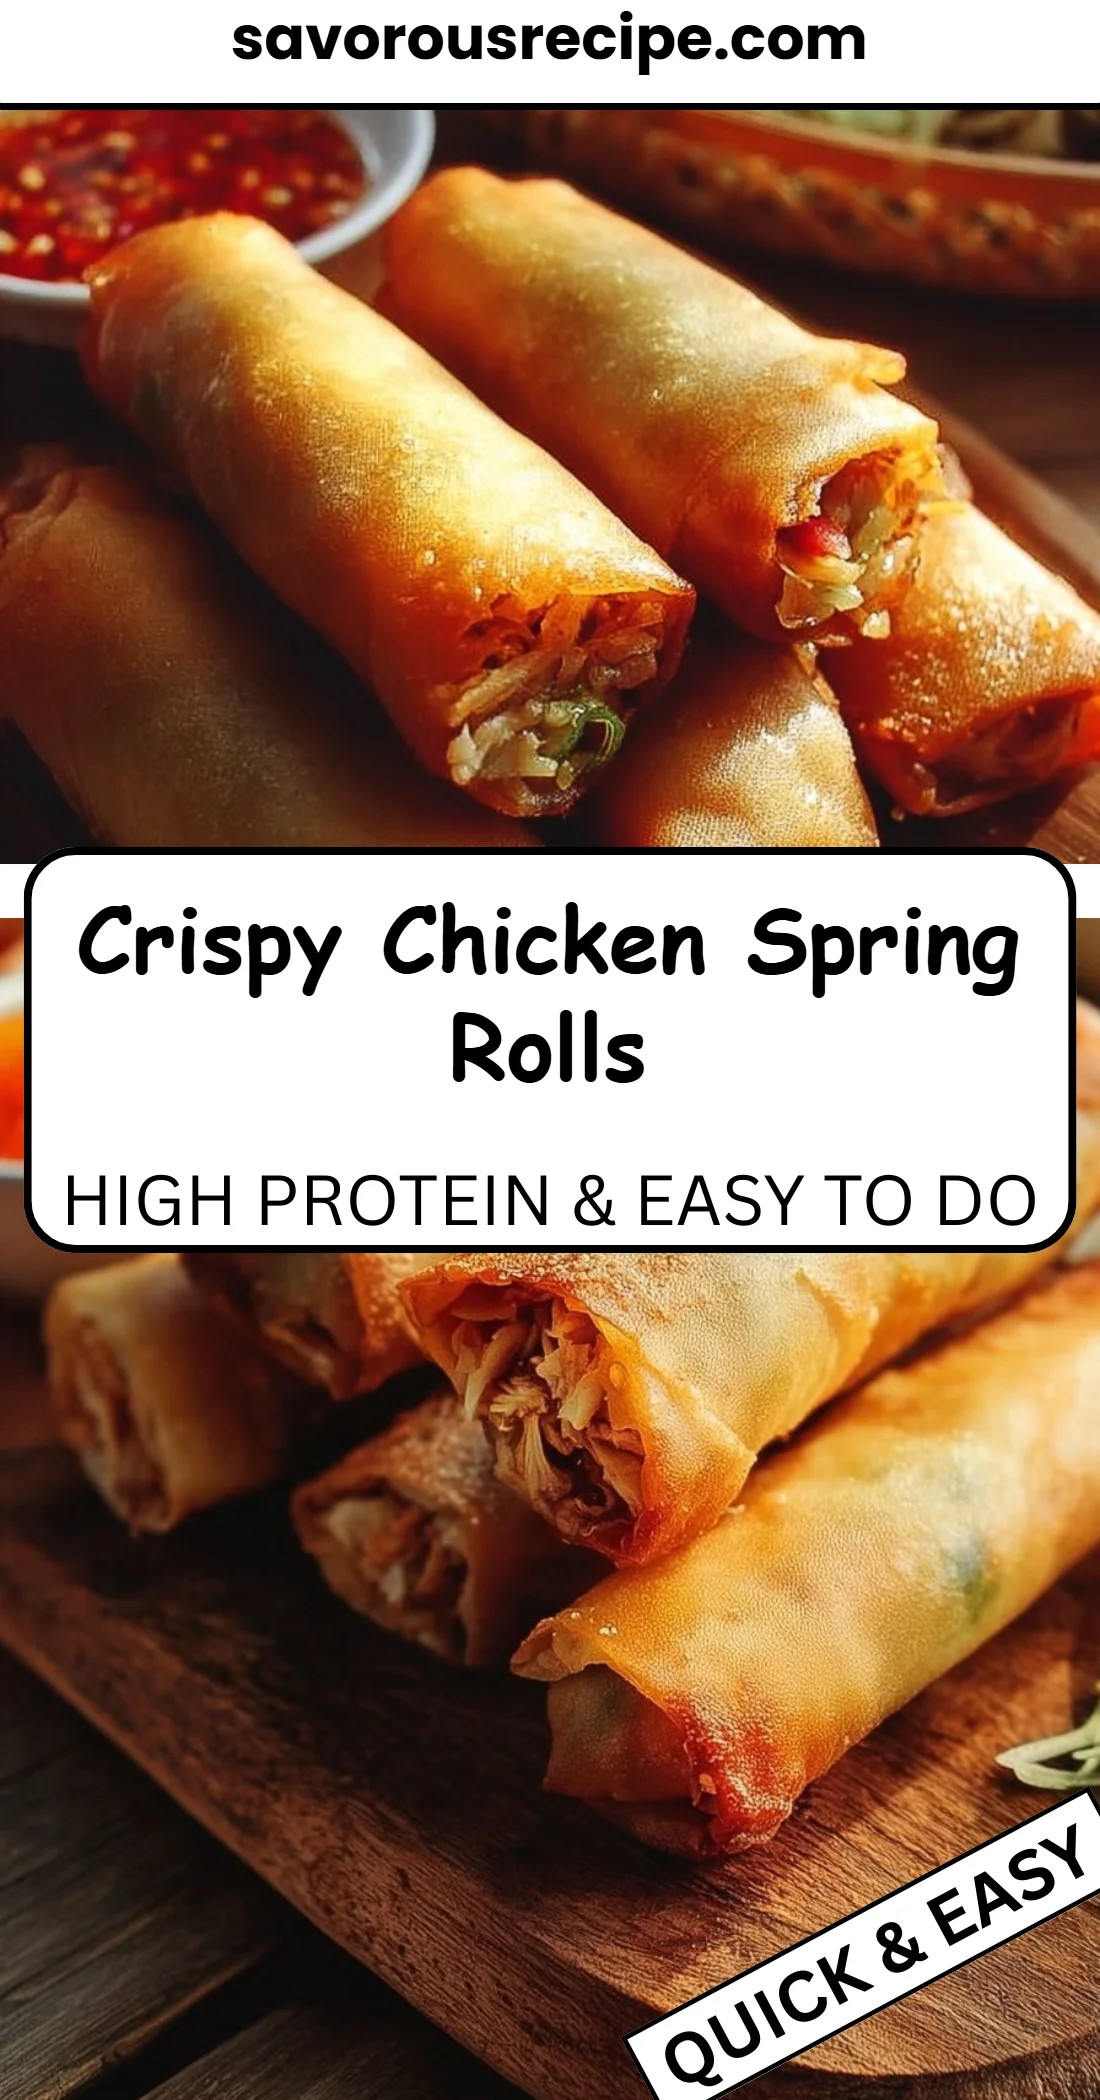
Crispy chicken spring rolls are a little crunchy, a little savory, and wildly addictive—thin rice-paper shells fried until golden, hugging a colorful mix of shredded chicken, sweet carrots, crisp bell pepper, and bright green onions with a hit of ginger and soy. They’re comfort in hand-held form: light but satisfying, perfect for dipping, sharing, or making ahead for a crowd. These rolls come together quickly with pantry-friendly ingredients and fry up in minutes for an irresistible appetizer or weeknight dinner. If you want a classic starting point to customize from, check out my chicken spring rolls recipe for more inspiration.
Why You’ll Love This Crispy Chicken Spring Rolls
- Crunchy exterior contrasts beautifully with a tender, savory filling.
- Bright veg (carrots and bell pepper) keeps the flavor fresh and colorful.
- Uses simple, everyday ingredients you probably already have.
- Fast assembly and quick frying—ready in about 30 minutes.
- Versatile: serve as an appetizer, light dinner, or party snack.
- Easy to scale up for a crowd or make a smaller batch for weeknights.
- Great for dipping—pair with sweet chili, soy-based, or peanut sauces.
What Is Crispy Chicken Spring Rolls?
Crispy Chicken Spring Rolls are rice-paper wrapped rolls filled with cooked shredded chicken, shredded carrots, sliced bell peppers, green onions, grated ginger, and soy sauce, then pan-fried until crisp and golden. The texture is all about the crunch of the fried rice paper giving way to a juicy, savory filling with a touch of sweetness from the carrots and natural pepper flavor from the bell peppers. These are typically fried in a shallow pan with oil for a quick, even crisp—different from fresh (unfried) spring rolls that are served cold.
People often serve them as party appetizers, game-day snacks, or as a shareable starter at casual dinners. The overall vibe is easy, unfussy comfort food with a light Asian-inspired flavor profile that’s approachable and family-friendly.
Ingredients for Crispy Chicken Spring Rolls
For the Base
- 1 cup cooked shredded chicken
- 1 cup shredded carrots
- 1 cup sliced bell peppers
- 1/2 cup chopped green onions
- 1 tablespoon grated ginger
- 1 tablespoon soy sauce
For Wrapping & Frying
- 1 package rice paper wraps
- Oil for frying (vegetable, canola, or other neutral oil)
For Serving
- Dipping sauce of choice
Ingredient Notes (Substitutions, Healthy Swaps)
- Soy sauce: For a gluten-free option, substitute tamari or a gluten-free soy sauce. Low-sodium soy sauce will reduce salt if preferred.
- Rice paper wraps: These are naturally gluten-free and light. If you only have small wrappers (like egg roll wrappers), the frying technique will still work but texture and thickness will differ.
- Cooked shredded chicken: Use leftover rotisserie chicken or quickly poach breasts and shred. For a lighter protein option, swap in shredded cooked turkey (optional).
- Oil for frying: To reduce fat, you can shallow-fry with less oil or use an air-fryer for a crisp finish—this is optional and keeps the base recipe intact.
- Vegetables: Keep the spirit of the recipe by sticking to crunchy, shredded or thinly sliced veg. Avoid adding wet vegetables that will release excess moisture and make wrapping soggy.
Step-by-Step Instructions
Keep this to 5–8 clear steps that reflect the original directions.
Step 1 – Make the Filling
In a large bowl, combine the cooked shredded chicken, shredded carrots, sliced bell peppers, chopped green onions, grated ginger, and soy sauce. Mix until everything is evenly coated.
Visual cue: The filling should look colorful and slightly glossy from the soy sauce, with no large wet puddles.
Pro cue: If your chicken is cold from the fridge, let it sit a few minutes at room temperature so the flavors meld better when you mix.
Step 2 – Soften the Rice Paper
Fill a shallow dish with warm water. Dip one rice paper wrap into the water for about 10–15 seconds or until soft.
Visual cue: The rice paper should be pliable and slightly cloudy but not falling apart.
Pro cue: Work one at a time and keep the rest of the wrappers covered; over-soaking will make the paper gummy and hard to handle.
Step 3 – Assemble the Rolls
Place the softened wrap on a clean surface and add a couple of tablespoons of the chicken mixture to the lower third of the wrap. Fold the sides over the filling and roll it up tightly.
Visual cue: Rolls should be compact with no gaps—ends tucked in for a neat, sealed roll.
Pro cue: Don’t overfill; a thinner roll fries crisper and holds together better.
Step 4 – Repeat
Repeat with remaining wraps and filling until all the mixture is used.
Visual cue: Arrange finished rolls on a tray with seam-side down to keep them from unrolling.
Pro cue: If you’re making ahead, place the rolls on a parchment-lined tray and chill briefly to set the seam.
Step 5 – Heat the Oil
Heat oil in a frying pan over medium heat. You want enough oil to cover about 1/4 inch of the pan for even shallow frying.
Visual cue: Oil should shimmer but not smoke.
Pro cue: Test with a small scrap of rice paper—if it sizzles and browns within 30–40 seconds, the oil is ready.
Step 6 – Fry Until Golden
Fry the spring rolls until golden brown and crispy, about 3–4 minutes per side. Drain on paper towels and serve warm with your favorite dipping sauce.
Visual cue: Each roll should be an even golden brown all around and sound crisp when tapped.
Pro cue: Fry in batches without crowding the pan; turning gently with tongs helps keep the filling intact.
Pro Tips for Success
- Use dry fillings: Squeeze excess moisture from any wet vegetables to prevent soggy rolls.
- Work quickly with rice paper: It becomes delicate after soaking, so assemble promptly.
- Even heat: Maintain medium heat—too hot and the rice paper burns before the filling heats through.
- Don’t overcrowd: Fry in small batches to keep oil temperature steady and ensure crisping.
- Test one roll: If the first roll bursts or leaks, check for overfilling or too-hot oil.
- Drain well: Lay rolls on a wire rack or paper towels to remove excess oil for a crisper texture.
- Season boldly: Soy sauce is the main seasoning here—taste your chicken beforehand and adjust if needed.
Flavor Variations (Optional)
- Spicy kick: Add a teaspoon of sriracha or chili paste to the filling for heat.
- Herb boost: Fold in chopped cilantro or mint (optional) after mixing for fresh brightness.
- Peanut crunch: Add 2 tablespoons of finely chopped peanuts for texture and extra flavor.
- Citrus twist: Mix a little lime zest into the filling for a fresh pop.
- Lighter version: Bake or air-fry the assembled rolls at 400°F (200°C) for 10–12 minutes, flipping halfway, until golden (optional and keeps the base recipe intact).
- Vegetarian swap (optional): Replace chicken with shredded, seasoned tofu—this changes the protein but keeps the method.
Serving Suggestions
- Dipping ideas: Sweet chili, hoisin-soy, peanut sauce, or a simple soy-vinegar mix all pair beautifully.
- Sides: Serve with a crisp green salad, pickled cucumber, or steamed rice for a fuller meal.
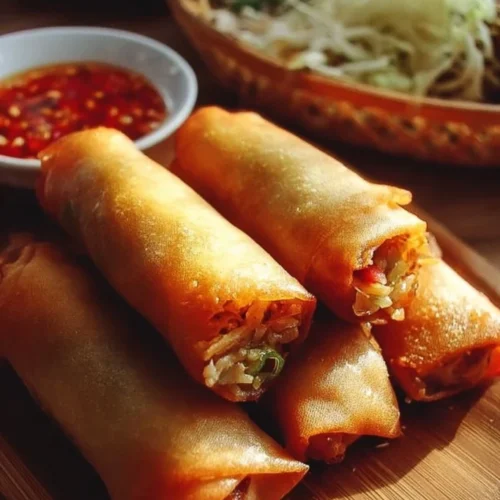
- Plating: Arrange rolls seam-side down on a platter with dipping bowls and a sprinkle of chopped green onions.
- Occasions: Great for game day, potlucks, casual dinner parties, or as a make-ahead appetizer.
- Pairings: Light beers, jasmine tea, or a citrusy mocktail match the crisp texture and fresh filling.
Make-Ahead, Storage & Reheating
- Make-ahead options: Assemble rolls and refrigerate on a tray covered loosely for up to a few hours before frying. The seam will set and make frying easier.
- Refrigerator storage: Store cooked rolls in an airtight container for up to 3 days. They’ll lose some crispness but remain tasty.
- Reheating: Re-crisp in a skillet over medium heat for a few minutes per side, or use an air-fryer at 350°F (175°C) for 4–6 minutes. Avoid microwaving if you want to preserve crispness—it will make them soggy.
- Texture notes: Fried rolls will never be quite as crisp after refrigeration, so re-crisping in a hot pan or air-fryer is best.
Storage and Freezing Instructions
- Freezing before cooking: You can freeze assembled, uncooked rolls on a tray until firm, then transfer to a freezer bag for up to 1 month. Fry from frozen—add an extra minute or two per side, and watch for oil splatter.
- Freezing after cooking: Fried rolls can be frozen but will lose more crispness; reheat in an air-fryer or oven to restore texture.
- If freezing isn’t ideal: If you’re concerned about sogginess, freeze uncooked and fry fresh when needed for the best crunch.
Nutrition Facts (Per Serving)
| Calories | Protein | Carbs | Fat | Fiber | Sodium |
|———|——–|——|—–|——|——-|
| 110 kcal | 6 g | 12 g | 5 g | 1.5 g | 300 mg |
Nutrition values are estimates and may vary depending on ingredients and portion sizes.
FAQ About Crispy Chicken Spring Rolls
Q: Why did my rice paper tear?
A: It was likely soaked too long or handled roughly. Soak just 10–15 seconds and transfer to a flat surface immediately.
Q: My filling is soggy—what went wrong?
A: Too much moisture from freshly grated veggies or a watery sauce can cause sogginess. Squeeze excess water and use minimal liquid in the filling.
Q: Can I tell when the chicken filling is heated through?
A: When frying, 3–4 minutes per side at medium heat should warm the filling. If unsure, cut one open to check that the filling is hot.
Q: How long do leftovers keep?
A: Store in the refrigerator for up to 3 days. Re-crisp in a skillet or air-fryer before serving.
Q: Can I bake them instead of frying?
A: Yes—baking or air-frying is an optional lighter method. Brush lightly with oil and bake at 400°F (200°C) for about 10–12 minutes, flipping once.
Q: What dipping sauce works best?
A: Sweet chili, hoisin mixed with soy, or a simple soy-vinegar dip are classic choices. Choose a sauce that complements the ginger-soy flavor in the filling.
For more variations and serving ideas, see other chicken spring rolls that explore similar flavor combinations and techniques.
Notes
- Presentation tip: Slice rolls on the diagonal to show the colorful cross-section and make them easy to pick up.
- Small upgrades: Add a sprinkle of toasted sesame seeds or thinly sliced chili on the dipping sauce for visual appeal.
- Seasoning check: Taste the filling before wrapping—adjust soy sauce or ginger to suit your palate.
- Crowd feeds: Double the recipe and set up an assembly line for fast prep at parties.
- Safety note: Keep oil temperature steady to avoid undercooked centers or burnt wrappers.
Crispy Chicken Spring Rolls
Ingredients
For the filling
- 1 cup cooked shredded chicken Use leftover rotisserie chicken or poach and shred.
- 1 cup shredded carrots
- 1 cup sliced bell peppers Use a mix of colors for presentation.
- 1/2 cup chopped green onions
- 1 tablespoon grated ginger For fresh flavor.
- 1 tablespoon soy sauce Use tamari for gluten-free.
For wrapping & frying
- 1 package rice paper wraps Gluten-free.
- as needed for frying Oil (vegetable or canola) Use for shallow frying.
For serving
- to taste Dipping sauce of choice Sweet chili, soy-based, or peanut sauces work well.
Instructions
Preparing the Filling
- In a large bowl, combine the cooked shredded chicken, shredded carrots, sliced bell peppers, chopped green onions, grated ginger, and soy sauce. Mix until everything is evenly coated.
Soften the Rice Paper
- Fill a shallow dish with warm water. Dip one rice paper wrap into the water for about 10–15 seconds or until soft.
Assembling the Rolls
- Place the softened wrap on a clean surface and add a couple of tablespoons of the chicken mixture to the lower third of the wrap. Fold the sides over the filling and roll it up tightly.
Repeat Assembly
- Repeat with remaining wraps and filling until all mixture is used.
Heating the Oil
- Heat oil in a frying pan over medium heat, enough to cover about 1/4 inch of the pan.
Frying the Rolls
- Fry the spring rolls until golden brown and crispy, about 3–4 minutes per side. Drain on paper towels before serving.