
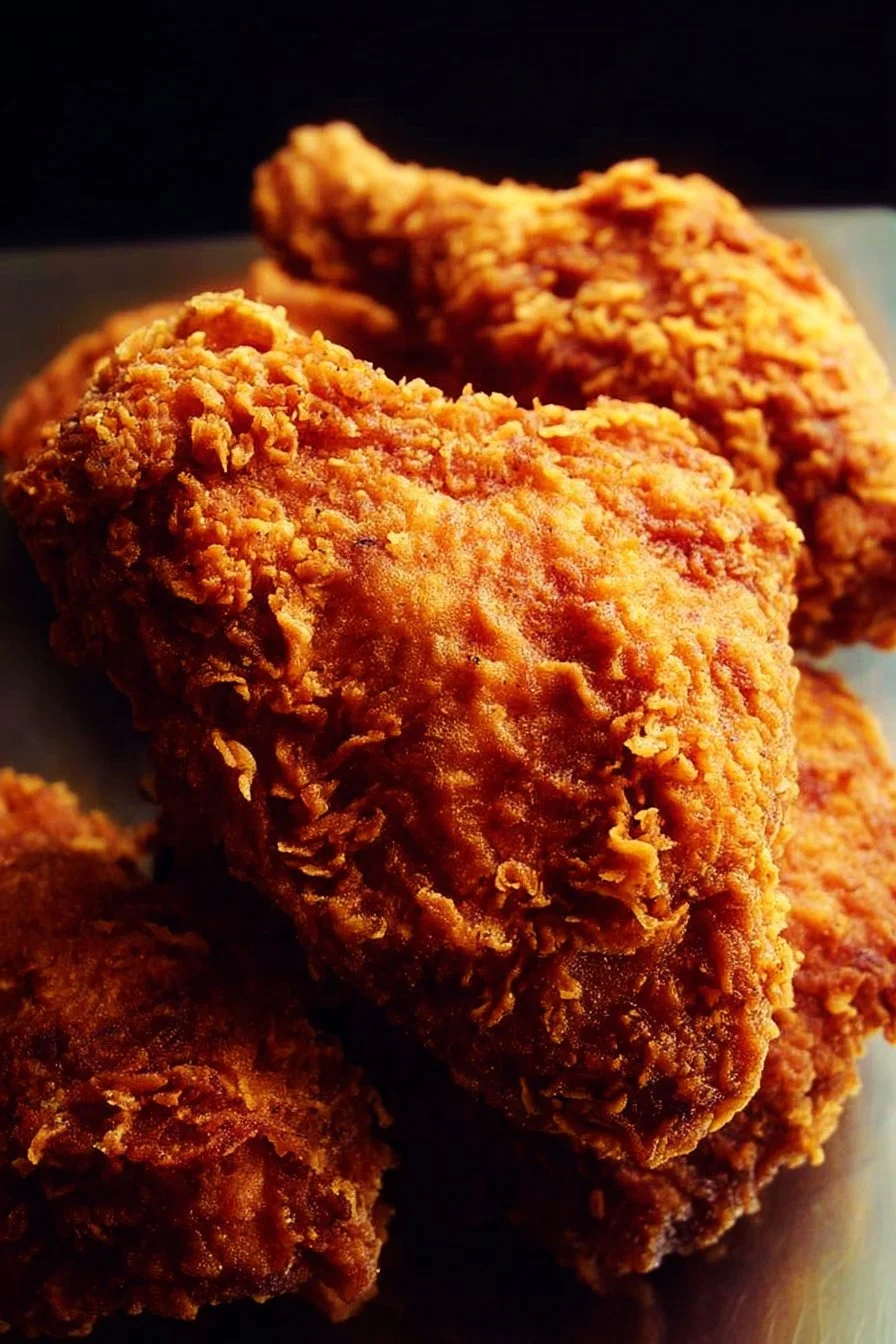
There’s something deeply comforting about a plate of golden, crunchy fried chicken: the tang of buttermilk, the satisfying crack of the crust, and juicy meat inside. This simple buttermilk-fried chicken recipe uses a short ingredient list and straightforward technique to deliver that classic result—perfect for weeknight dinners, casual gatherings, or a nostalgic Sunday supper. If you enjoy bold party bites, you might also like the spicy crowd-pleaser found in this Buffalo Chicken Bombs recipe for a complementary appetizer.
Why you’ll love this dish
This recipe shines because it’s reliable, forgiving, and kid-approved. Marinating in buttermilk tenderizes the meat and gives the coating something to cling to, which produces a crisp, flavorful crust without a complicated breading process. It’s quick enough for a midweek meal if you marinate for an hour, but it benefits from an overnight soak for maximum tenderness.
“Crispy outside, juicy inside—exactly the kind of fried chicken that disappears from a family table.” — a satisfied home cook
Perfect occasions: weeknight dinners, casual gatherings, potlucks, or when you want a comforting, budget-friendly meal that feeds a crowd.
Step-by-step overview
Before you start, here’s what to expect: marinate, dredge, fry, and rest. The buttermilk soak loosens proteins so the flour coating adheres. Dredging in a seasoned flour mix creates a flavorful crust. Fry in hot oil (350–375°F / 175–190°C) until the chicken reaches 165°F (74°C) inside. Rest briefly so juices redistribute and the crust firms up.
Timing snapshot:
- Active hands-on time: ~25–40 minutes (not counting marinating)
- Frying per piece: about 12–18 minutes depending on size
- Marinate: 1 hour minimum, overnight best
What you’ll need
- 4 pieces of chicken (legs, thighs, breasts)
- 1 cup buttermilk (full-fat for best flavor; low-fat works)
- 2 cups all-purpose flour
- 1 teaspoon garlic powder
- 1 teaspoon onion powder
- 1 teaspoon paprika (smoked or sweet, your choice)
- Salt and pepper to taste
- Vegetable oil for frying (canola, peanut, or sunflower oil)
Notes and substitutions:
- Buttermilk: plain yogurt thinned with milk (¾ cup yogurt + ¼ cup milk) is a quick substitute.
- Flour: for extra crunch, replace ¼–½ cup flour with cornstarch.
- Oil: use a neutral oil with a high smoke point. Avoid olive oil for deep frying.
Step-by-step instructions
- Marinate: Place chicken pieces in a bowl or zip-top bag and pour over the buttermilk. Ensure pieces are coated. Refrigerate for at least 1 hour, or overnight for best results.
- Make the dredge: In a shallow bowl or dish, whisk together flour, garlic powder, onion powder, paprika, and a generous pinch of salt and pepper. Taste a pinch of the dry mix to adjust seasoning.
- Heat the oil: Pour oil into a deep skillet or Dutch oven to a depth of about 1–1½ inches. Heat over medium to medium-high until it reaches 350–375°F (175–190°C). If you don’t have a thermometer, test with a small pinch of flour—the oil should sizzle and brown the flour slowly.
- Dredge the chicken: Remove chicken from buttermilk, letting excess drip back into the bowl. Press each piece into the flour mixture so it’s well-coated. Shake off loose flour; for a thicker crust, dip back briefly into buttermilk and dredge again.
- Fry: Carefully place the chicken pieces skin-side down into the hot oil—don’t crowd the pan. Fry in batches if needed. Maintain oil temperature between 325–350°F after adding chicken. Turn occasionally so the crust browns evenly. Fry until the internal temperature reaches 165°F (74°C): roughly 12–18 minutes depending on piece size. Dark meat (thighs/legs) may take a little longer.
- Drain and rest: Remove chicken to a wire rack set over a sheet pan or paper towels. Rest 5–10 minutes before serving to let juices settle and the crust firm up.
Best ways to enjoy it
Serve hot with classic sides like mashed potatoes, coleslaw, cornbread, or a crisp green salad. For a picnic or sandwich, place a piece on a soft brioche or potato roll with pickles and a smear of mayo for a crunchy fried-chicken sandwich. If you prefer a lighter contrast, drizzle with a squeeze of lemon or serve alongside a tangy vinegar-based slaw.
For an easy weeknight protein comparison, try pairing ideas from a simple chicken breast recipe when you want a quicker pan-seared option instead of frying.
Storage and reheating tips
- Refrigerator: Store cooled chicken in an airtight container for up to 3–4 days.
- Freezer: Flash-freeze on a tray, then transfer to a freezer bag for up to 2 months. Reheat from frozen in a 375°F oven until heated through.
- Reheating: For best texture, reheat in a 375°F oven on a wire rack for 10–15 minutes, or use an air fryer for 6–8 minutes. Microwaving makes the crust soggy; only microwave briefly if needed and then crisp in the oven.
- Safety: Always ensure the internal temperature reads 165°F (74°C) when reheating to guarantee safety.
Pro chef tips
- Double dredge for crunch: Dip the chicken back into buttermilk and recoat to create a thicker crust.
- Keep oil temperature steady: Use a thermometer and lower the heat slightly after adding chicken to maintain 325–350°F; too-cool oil yields greasy chicken, too-hot burns the crust before the center cooks.
- Use a wire rack: Drain on a rack rather than paper towels to keep the underside crisp.
- Don’t overcrowd: Fry in batches so pieces brown evenly and oil temperature doesn’t crash.
- Even cooking: If breasts are very thick, butterfly or pound them to even thickness so they cook at the same rate as thighs and legs.
Creative twists
- Spicy: Add 1 teaspoon cayenne or 1–2 teaspoons hot paprika to the flour mix for heat.
- Herby: Fold 1–2 tablespoons chopped fresh herbs (parsley, thyme) into the flour for an aromatic twist.
- Southern-style: Add 1 tablespoon sugar and 1 teaspoon baking powder to the flour for a lighter, crispier crust.
- Gluten-free: Use a 1:1 gluten-free flour blend and 2 tablespoons cornstarch for extra crisp.
- Oven-fried: For a lower-oil version, spray coated chicken with oil and bake at 425°F for 25–35 minutes, finishing under the broiler for 1–2 minutes to crisp.
Common questions
Q: How long should I marinate the chicken?
A: At least 1 hour to tenderize and flavor the meat. Overnight (6–12 hours) is ideal for best tenderness and flavor.
Q: What temperature should I fry at?
A: Maintain oil between 350–375°F (175–190°C) before adding chicken; after adding, aim for 325–350°F so the crust browns without burning while the inside cooks.
Q: Can I use bone-in vs. boneless pieces?
A: Yes. Bone-in pieces take longer (about 12–18 minutes). Boneless breasts and thighs will cook faster—monitor internal temperature and adjust time accordingly.
Q: Is the leftover chicken safe to eat the next day?
A: Yes. Refrigerate within two hours of cooking and consume within 3–4 days. Reheat until the internal temp reaches 165°F.
Q: How do I keep the crust crispy after frying?
A: Rest on a wire rack (not directly on paper towels), serve soon after resting, and re-crisp in a hot oven or air fryer if reheating.
If you want a printable version of this ingredient checklist and directions, copy the ingredient section above and make a quick shopping list before you start. Enjoy the crunchy, buttery satisfaction of homemade fried chicken—simple technique, big reward.

Buttermilk Fried Chicken
Ingredients
For the Chicken
- 4 pieces chicken (legs, thighs, breasts)
- 1 cup buttermilk (full-fat for best flavor; low-fat works) Can substitute with ¾ cup yogurt + ¼ cup milk.
For the Dredge
- 2 cups all-purpose flour For extra crunch, replace ¼–½ cup flour with cornstarch.
- 1 teaspoon garlic powder
- 1 teaspoon onion powder
- 1 teaspoon paprika (smoked or sweet)
- Salt and pepper to taste
For Frying
- Vegetable oil for frying (canola, peanut, or sunflower oil) Use a neutral oil with a high smoke point. Avoid olive oil.
Instructions
Marinate
- Place chicken pieces in a bowl or zip-top bag and pour over the buttermilk. Ensure pieces are coated. Refrigerate for at least 1 hour, or overnight for best results.
Make the Dredge
- In a shallow bowl or dish, whisk together flour, garlic powder, onion powder, paprika, and a generous pinch of salt and pepper. Taste a pinch of the dry mix to adjust seasoning.
Heat the Oil
- Pour oil into a deep skillet or Dutch oven to a depth of about 1–1½ inches. Heat over medium to medium-high until it reaches 350–375°F (175–190°C). Test with a small pinch of flour.
Dredge the Chicken
- Remove chicken from buttermilk, letting excess drip back into the bowl. Press each piece into the flour mixture so it’s well-coated. Shake off loose flour; for a thicker crust, dip back briefly into buttermilk and dredge again.
Fry
- Carefully place the chicken pieces skin-side down into the hot oil, being careful not to crowd the pan. Maintain oil temperature between 325–350°F after adding chicken. Fry until the internal temperature reaches 165°F (74°C): roughly 12–18 minutes depending on piece size. Dark meat may take a little longer.
Drain and Rest
- Remove chicken to a wire rack set over a sheet pan or paper towels. Rest 5–10 minutes before serving to let juices settle and the crust firm up.