
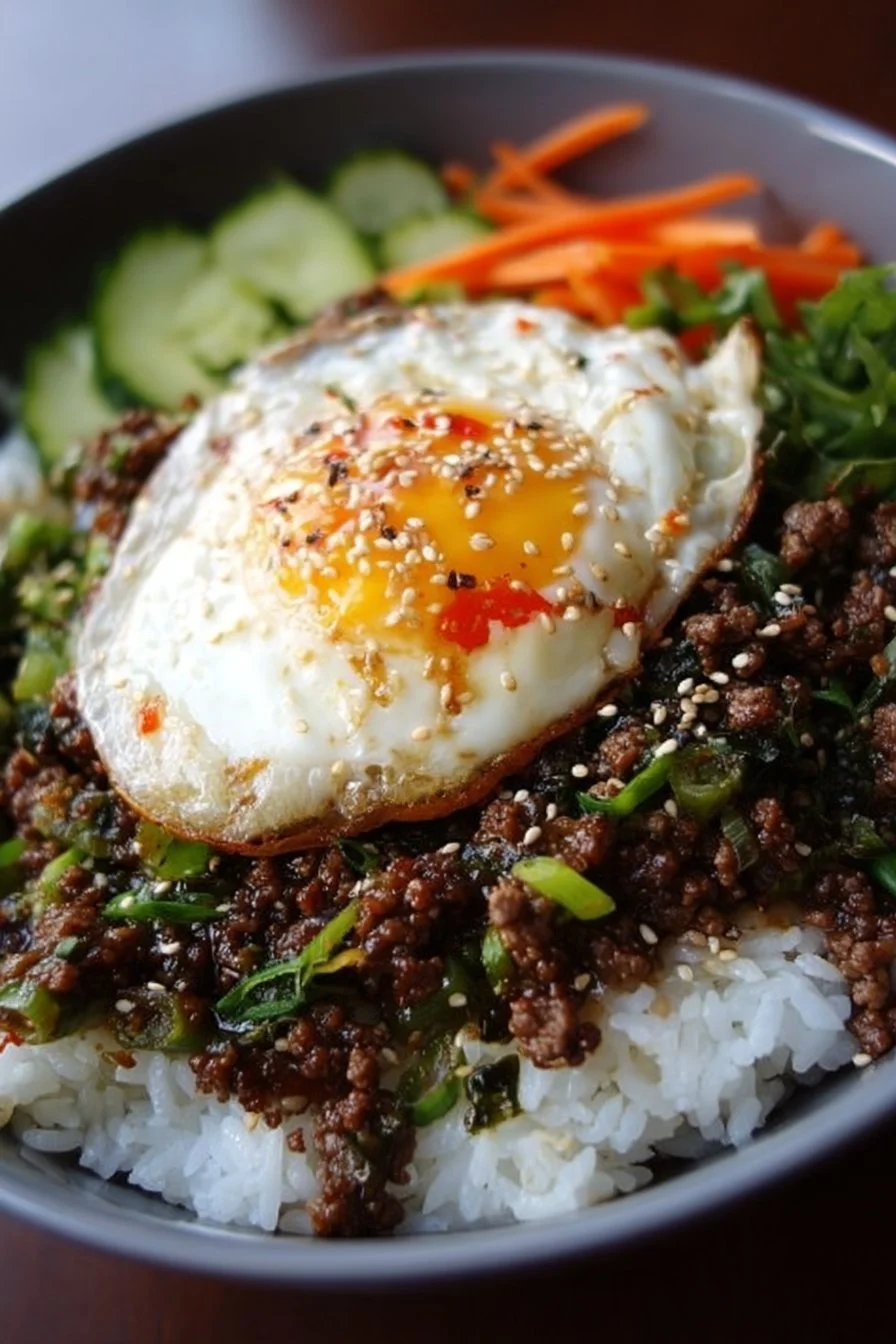
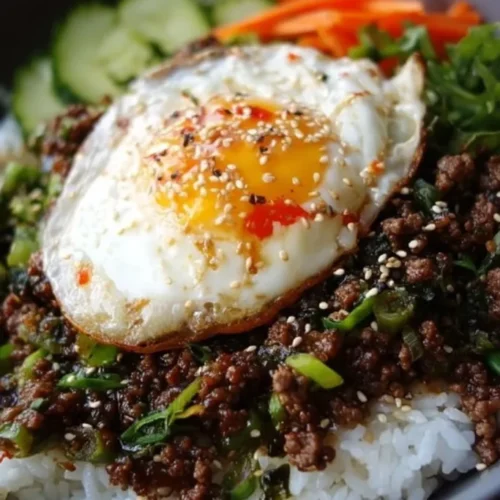
This saucy, savory Korean ground beef bowl is the kind of weeknight dinner that feels special without demanding extra time. Ready in about 15 minutes, it layers umami soy, toasted sesame, and a hint of heat over simple cooked rice for a bowl everyone will ask for seconds of. If you like quick ground-beef dinners with bold flavors, try this ground beef potato hash for a different take on speedy comfort food.
Why you’ll love this dish
This bowl hits the sweet, salty, and slightly spicy notes in one skillet. It’s fast, uses pantry staples, and scales beautifully when you’re feeding a family or meal-prepping for the week. Because the sauce is mostly soy and brown sugar, it caramelizes and clings to the beef for a sticky, satisfying bite—perfect over rice, noodles, or even a bed of greens.
"A go-to for busy nights: bold flavor, minimal fuss, and everyone eats it." — home-cook tested
Perfect occasions: weeknight dinners, quick lunches, or an easy dish to bring to potlucks. It’s also budget-friendly and kid-friendly when you dial back the red pepper flakes.
How this recipe comes together
Start by browning the beef to build flavor. Adding garlic near the end prevents burning and keeps the aromatics bright. The soy sauce and brown sugar create a glossy, reduced sauce in just a few minutes; finish with sesame oil for fragrance and sliced green onions for freshness. Serve over hot rice and you have a complete meal in under 20 minutes.
What you’ll need
- 1 pound ground beef (80/20 or 85/15 for flavor; leaner if you prefer less grease)
- 3 cloves garlic, minced
- 1/4 cup soy sauce (use low-sodium if watching salt)
- 2 tablespoons brown sugar (light or dark)
- 1 teaspoon sesame oil
- 1/2 teaspoon red pepper flakes (adjust to taste)
- 2 green onions, thinly sliced
- Cooked rice, for serving
Substitution notes: Swap ground turkey or chicken for a lighter version. For gluten-free, use tamari instead of soy sauce. If you want more depth, add 1 tablespoon of gochujang or 1 teaspoon toasted sesame seeds.
Step-by-step instructions
- Heat a large skillet over medium heat. Add the ground beef and break it up with a spatula. Cook until nicely browned, about 5–7 minutes. Drain excess fat if you prefer a leaner finish.
- Stir in the minced garlic and cook for about 1 minute, until fragrant but not browned.
- Add the soy sauce and brown sugar, stir to combine. Pour in the sesame oil and sprinkle the red pepper flakes. Let the mixture simmer and thicken for 3–4 minutes, stirring occasionally so the sugar dissolves and the sauce reduces.
- Taste and adjust: add a pinch more sugar if you want sweeter, or a splash of water to loosen it if it gets too sticky. Remove from heat and stir in half the green onions.
- Serve the beef over hot cooked rice and scatter the remaining green onions on top.
Keep steps short and deliberate: browning builds flavor, garlic is short-cooked to stay bright, and the sauce needs only a brief reduce to cling to the meat.
Best ways to enjoy it
Serve this bowl with steamed white or brown rice. For a lighter plate, try it over cauliflower rice or a bed of mixed greens. I also like topping it with a fried egg for richness or stirring in quick-pickled cucumbers for acidity. For a crowd, set out kimchi, steamed vegetables, and sliced cucumbers so everyone customizes their bowl. If you’re craving Tex-Mex flair one night, this beef can also be folded into tortillas much like ground beef tacos, swapping rice for warm tortillas and adding shredded cabbage.
Storage and reheating tips
- Refrigerator: Store cooled beef in an airtight container for up to 3–4 days.
- Freezer: Freeze in a shallow airtight container or freezer bag for up to 3 months. Thaw overnight in the fridge before reheating.
- Reheating: Reheat gently in a skillet over medium-low heat with a splash of water or soy to revive the sauce; microwave in 30-second bursts, stirring between, until hot. Ensure it reaches 165°F (74°C) before serving.
- Safety: Refrigerate within 2 hours of cooking to prevent bacterial growth.
Pro chef tips
- Use moderate heat when browning: too high makes the beef dark outside but undercooked inside; too low and you’ll stew it instead of getting browned bits.
- Deglaze the pan with a tablespoon of water or stock after browning to lift those flavorful browned bits into the sauce.
- If you prefer less grease, drain the beef on paper towels or remove excess fat from the skillet before adding the sauce.
- Toast your sesame oil briefly in the pan (off-heat) to amplify aroma—just a few seconds is enough.
- If the sauce seems thin, simmer a touch longer; if it’s too thick, thin with a splash of water or rice vinegar.
Creative twists
- Spicy gochujang version: Add 1 tablespoon gochujang with the soy sauce for depth and fermented heat.
- Veg-forward bowl: Stir in shredded carrots, frozen peas, or diced bell pepper toward the end for color and texture.
- Vegetarian swap: Use crumbled firm tofu or textured vegetable protein in place of beef, increase soy to taste.
- Lettuce wraps: Serve the beef in butter lettuce cups and top with shredded carrot and chopped peanuts for crunch.
- Bulk it up: Add kimchi and a soft-cooked egg for an elevated kimchi-bowl experience.
Common questions
Q: How long does this take from start to finish?
A: About 15–20 minutes total: 5–7 minutes to brown the meat, a minute for garlic, and 3–4 minutes to reduce the sauce.
Q: Can I make this ahead for meal prep?
A: Yes. Store beef and rice separately in meal-prep containers; they’ll keep 3–4 days in the fridge. Reheat in a microwave or skillet and add fresh green onions just before serving.
Q: Is this gluten-free?
A: Not with regular soy sauce. Substitute tamari or a certified gluten-free soy sauce to make the recipe gluten-free.
Q: How can I make it less salty?
A: Use low-sodium soy sauce and taste before adding more. A squeeze of lime or a spoon of rice vinegar added at the end brightens flavor without extra salt.
Q: Can I scale it up for a crowd?
A: Absolutely—double the ingredients and use a wide skillet or an oven-safe pan to brown in batches. Keep the ratio of soy to brown sugar consistent for the right balance.
If you want more quick ground beef dinner ideas, try one of the linked recipes earlier in this article for inspiration.
Korean Ground Beef Bowl
Ingredients
Main Ingredients
- 1 pound ground beef (80/20 or 85/15) Use leaner if preferred.
- 3 cloves garlic, minced Add towards the end to prevent burning.
- 1/4 cup soy sauce Use low-sodium if watching salt.
- 2 tablespoons brown sugar Light or dark, to taste.
- 1 teaspoon sesame oil Toast briefly for more aroma.
- 1/2 teaspoon red pepper flakes Adjust to taste.
- 2 green onions, thinly sliced For garnish and flavor.
- Cooked rice for serving Use white, brown, or cauliflower rice.
Instructions
Preparation
- Heat a large skillet over medium heat. Add the ground beef and break it up with a spatula. Cook until nicely browned, about 5–7 minutes. Drain excess fat if you prefer a leaner finish.
- Stir in the minced garlic and cook for about 1 minute, until fragrant but not browned.
Cooking
- Add the soy sauce and brown sugar, stir to combine. Pour in the sesame oil and sprinkle the red pepper flakes. Let the mixture simmer for 3–4 minutes, stirring occasionally.
- Taste and adjust: add more sugar for sweetness, or a splash of water if it gets too sticky. Remove from heat and stir in half of the green onions.
- Serve the beef over hot cooked rice and scatter the remaining green onions on top.