
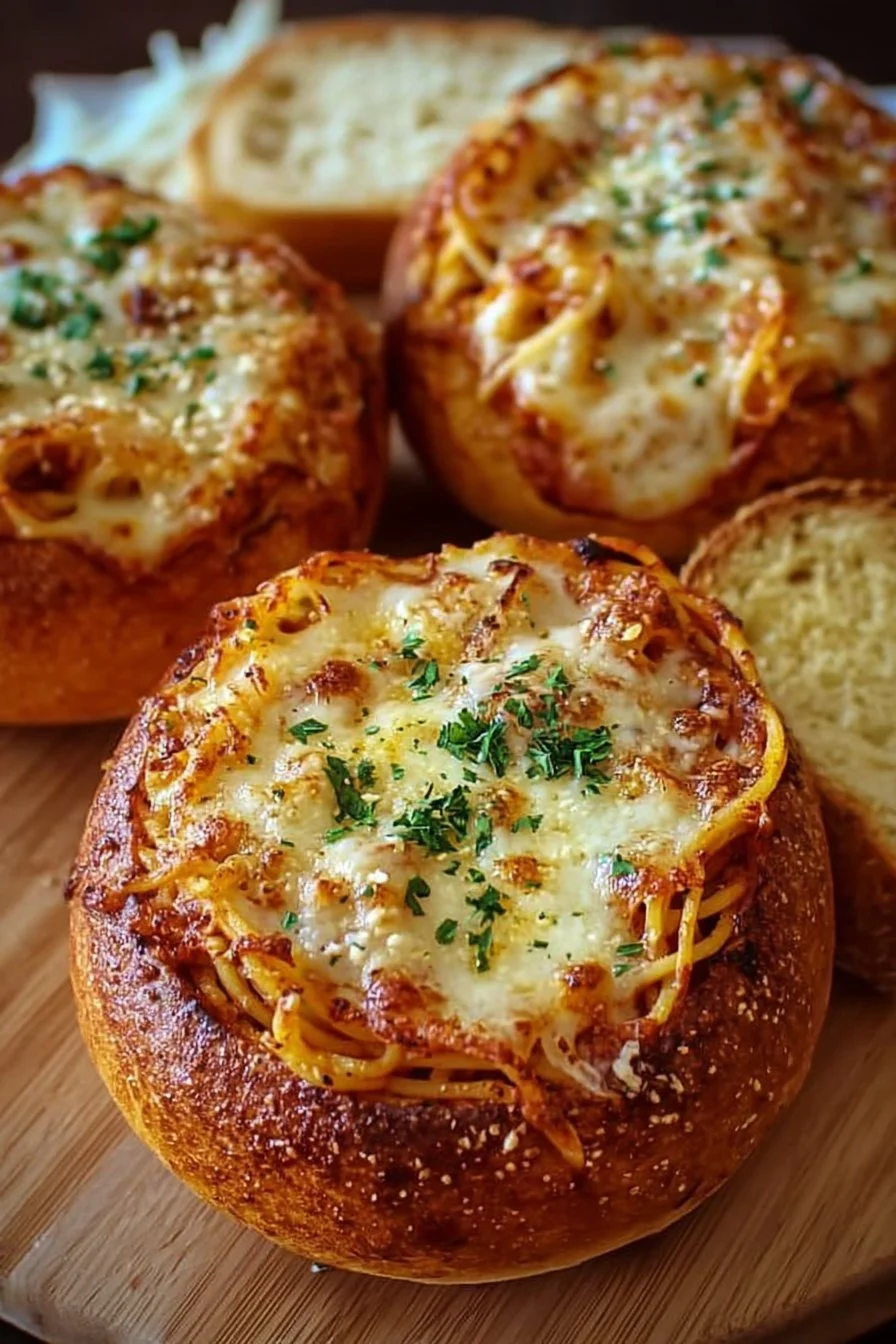
There’s something deeply comforting about spaghetti tucked into a crusty, garlicky bread bowl — it’s pasta and garlic bread in one handheld package. This Spaghetti Garlic Bread Bowls recipe turns weeknight spaghetti into a fun, crowd-pleasing meal for kids, picky eaters, or anyone who loves cheesy, saucy comfort food. It’s fast, adaptable, and perfect for casual dinners, game nights, or when you want an easy make-ahead option that still feels special.
Why you’ll love this dish
This recipe checks a lot of boxes: it’s quick, family-friendly, and feeds a crowd without fuss. Using store-bought garlic bread bowls makes assembly fast; homemade bowls level up the flavor if you’ve got a little extra time. The concept — pasta served inside garlic bread — eliminates plates and doubles as a dramatic presentation for potlucks or cozy dinners.
“We made these for a Sunday movie night — everyone loved tearing into a cheesy bread bowl packed with spaghetti. Zero forks, all smiles.”
If you’re a garlic fan looking for more ideas, you might also enjoy this savory twist on comfort food like garlic Parmesan cheeseburger bombs, which follow the same bold-flavor, handheld approach.
The cooking process explained
This is how the recipe flows from pantry to plate: boil the spaghetti, warm and season your sauce (and soften any veggies), combine pasta with sauce, hollow the garlic bread bowls a bit, stuff them, top with cheeses, and bake until melted and bubbly. The whole active cook time is about 20–30 minutes if you use ready-made bread bowls and sauce. Plan for a short resting time after baking so the bowls set up and don’t spill.
What you’ll need
- 1 package spaghetti (about 12–16 oz; cook according to package directions)
- 4 garlic bread bowls (store-bought or homemade) — hollowed slightly before filling
- 2 cups pasta sauce (marinara, tomato-basil, or your favorite)
- 1 cup shredded mozzarella cheese
- 1/2 cup grated Parmesan cheese
- Optional veggies: diced bell peppers, sliced mushrooms, handfuls of spinach
- Olive oil (1–2 tbsp for sautéing veggies if using)
- Salt and pepper to taste
Ingredient notes and substitutions:
- Swap spaghetti for penne or rotini if you want shorter pasta that’s easier to eat.
- Use gluten-free pasta and gluten-free bread bowls for a GF version.
- For vegan diets, choose plant-based cheeses and a vegan garlic bread.
- If your sauce is thin, simmer a few minutes to thicken before combining with the pasta.
Step-by-step instructions
- Preheat the oven to 375°F (190°C).
- Bring a large pot of salted water to a boil and cook the spaghetti according to package instructions until al dente. Drain and set aside; toss with a little olive oil so it doesn’t clump.
- While pasta cooks, heat 1–2 tablespoons olive oil in a saucepan over medium heat. Add optional veggies (sliced mushrooms about 4–5 minutes, diced peppers 3–4 minutes, spinach wilts fast). Sauté until tender.
- Pour 2 cups pasta sauce into the pan with the veggies, reduce heat, and simmer a few minutes. Season with salt and pepper. If using a chunky sauce you can blend or mash slightly for a smoother filling.
- Mix the cooked, drained spaghetti into the sauce until evenly coated. Taste and adjust seasoning.
- Using a spoon, scoop out some of the center of each garlic bread bowl to make space for the spaghetti mixture; keep a roughly 1/2–3/4 inch rim so the bowl holds its structure.
- Fill each garlic bread bowl with a generous portion of the spaghetti mixture. Do not overfill — leave some rim so the bowl doesn’t sag.
- Sprinkle about 1/4 cup shredded mozzarella plus a tablespoon or two of Parmesan on each filled bowl (adjust to taste).
- Place the filled bowls on a baking sheet and bake 10–15 minutes, until the cheese melts and becomes bubbly. For a golden top, broil 1–2 minutes at the end — watch closely to avoid burning.
- Let bowls rest 2–3 minutes before serving to allow the fillings to settle.
Quick timing summary: active time ~20–30 minutes (less with store-bought sauce and bowls). Oven time: 10–15 minutes.
Best ways to enjoy it
Serve these bowls warm straight from the oven. Pairings and presentation ideas:
- Add a crisp side salad (arugula with lemon vinaigrette) to cut through the richness.
- Offer extra grated Parmesan, chili flakes, and chopped fresh basil at the table.
- For a heartier spread, serve with roasted vegetables or garlic-roasted green beans. If you want another crowd-pleasing garlic main, try pairing with a delicate fish option like garlic butter salmon for a dinner that loves garlic from starter to main.
- If serving to kids, slice the bowl in half and plate it alongside baby carrots or fruit.
Pro tip for plating: place the bowl on a small plate to catch any spillover, and garnish with a sprinkle of parsley for color.
Storage and reheating tips
- Refrigerator: Store leftovers (covered) for up to 3–4 days. To maintain texture, place in a shallow airtight container rather than stacking.
- Freezing: You can freeze filled but unbaked bread bowls for up to 1 month. Wrap tightly in foil and plastic to prevent freezer burn. Thaw overnight in the fridge before baking. Avoid freezing once baked — the bread gets soggy.
- Reheating: Reheat in a 350°F (175°C) oven for 10–12 minutes covered with foil, then remove foil and bake 3–5 more minutes to crisp the crust. For a quick microwave reheat, cover loosely and zap in 30–60 second increments until 165°F internally, but expect a softer crust.
- Food safety: Reheat leftovers to an internal temperature of 165°F (74°C). Do not leave perishable food out more than 2 hours at room temperature.
Pro chef tips
- Dry spaghetti briefly after draining: toss with a teaspoon of olive oil to prevent clumping and help sauce adhere.
- Don’t over-scoop the bread bowl: leave enough wall thickness so the bowl keeps its shape and won’t leak.
- Warm the sauce before mixing with pasta: cold sauce cools the pasta and can collapse the bowl’s structure.
- Layer cheeses: a thin bed of Parmesan directly on the bread can help shield it from becoming soggy, while mozzarella on top melts beautifully.
- Broil at the end for color: 1–2 minutes under a high broil gives a golden, appetizing finish — watch carefully.
- For crispier bottoms: place the baking sheet on a preheated baking stone or hot sheet to give immediate heat contact.
Creative twists
- Meat lovers: add cooked Italian sausage, meatballs, or shredded rotisserie chicken to the sauce before filling.
- Veg-forward: roast a mix of eggplant, zucchini, and peppers, then fold into the pasta for Mediterranean flair.
- White sauce version: swap marinara for Alfredo or garlic-cream sauce and top with fontina and Parmesan.
- Spicy kick: stir in red pepper flakes or a spoonful of arrabbiata sauce.
- Breakfast spin: fill bowls with spaghetti tossed in a light tomato sauce and top with a baked egg for brunch.
- Mini versions: use smaller rolls or hollowed dinner rolls to create individual appetizer bites.
Common questions
Q: Can I assemble these ahead of time?
A: Yes — you can fill bread bowls and refrigerate up to 24 hours before baking. Keep them tightly covered and bring to room temperature for 20 minutes before baking. If frozen, thaw overnight in the fridge and follow baking instructions.
Q: Will the bread get soggy?
A: Some softening is normal. To reduce sogginess, slightly under-fill, pre-toast the hollowed bread for 3–4 minutes at 375°F, and sprinkle a thin layer of Parmesan on the inside before filling to create a moisture barrier.
Q: Can I use leftover spaghetti?
A: Absolutely. Leftover spaghetti works well; warm the sauce and toss with the pasta so the filling is hot before stuffing the bowls.
Q: How long do I bake filled bread bowls?
A: Bake 10–15 minutes at 375°F until cheese is melted and bubbly. Add 1–2 minutes under broil for browning if desired.
Q: Is this recipe kid-friendly and customizable for picky eaters?
A: Yes. Keep fillings simple (plain marinara and mozzarella) for picky eaters and offer mix-ins on the side so everyone builds their own bowl.
If you’d like a printable checklist or measurements adjusted for a larger crowd, tell me how many people you’re feeding and I’ll scale the recipe and timings for you.

Spaghetti Garlic Bread Bowls
Ingredients
Pasta and Sauce
- 1 package 1 package spaghetti (about 12–16 oz; cook according to package directions)
- 2 cups 2 cups pasta sauce (marinara, tomato-basil, or your favorite)
Garlic Bread Bowls
- 4 pieces 4 garlic bread bowls (store-bought or homemade) Hollowed slightly before filling
Cheeses
- 1 cup 1 cup shredded mozzarella cheese
- 1/2 cup 1/2 cup grated Parmesan cheese
Optional Vegetables
- optional diced bell peppers, sliced mushrooms, handfuls of spinach
Sauté Ingredients
- 1–2 tbsp Olive oil (for sautéing veggies if using)
- Salt and pepper to taste
Instructions
Preparation
- Preheat the oven to 375°F (190°C).
- Bring a large pot of salted water to a boil and cook the spaghetti according to package instructions until al dente. Drain and set aside; toss with a little olive oil so it doesn’t clump.
- While pasta cooks, heat 1–2 tablespoons olive oil in a saucepan over medium heat. Add optional veggies (sliced mushrooms about 4–5 minutes, diced peppers 3–4 minutes, spinach wilts fast). Sauté until tender.
Mix Ingredients
- Pour 2 cups pasta sauce into the pan with the veggies, reduce heat, and simmer a few minutes. Season with salt and pepper.
- Mix the cooked, drained spaghetti into the sauce until evenly coated. Taste and adjust seasoning.
Prepare Bread Bowls
- Using a spoon, scoop out some of the center of each garlic bread bowl to make space for the spaghetti mixture; keep a roughly 1/2–3/4 inch rim so the bowl holds its structure.
- Fill each garlic bread bowl with a generous portion of the spaghetti mixture. Do not overfill — leave some rim so the bowl doesn’t sag.
- Sprinkle about 1/4 cup shredded mozzarella plus a tablespoon or two of Parmesan on each filled bowl (adjust to taste).
Bake
- Place the filled bowls on a baking sheet and bake for 10–15 minutes, until the cheese melts and becomes bubbly.
- For a golden top, broil for 1–2 minutes at the end — watch closely to avoid burning.
- Let bowls rest for 2–3 minutes before serving to allow the fillings to settle.