
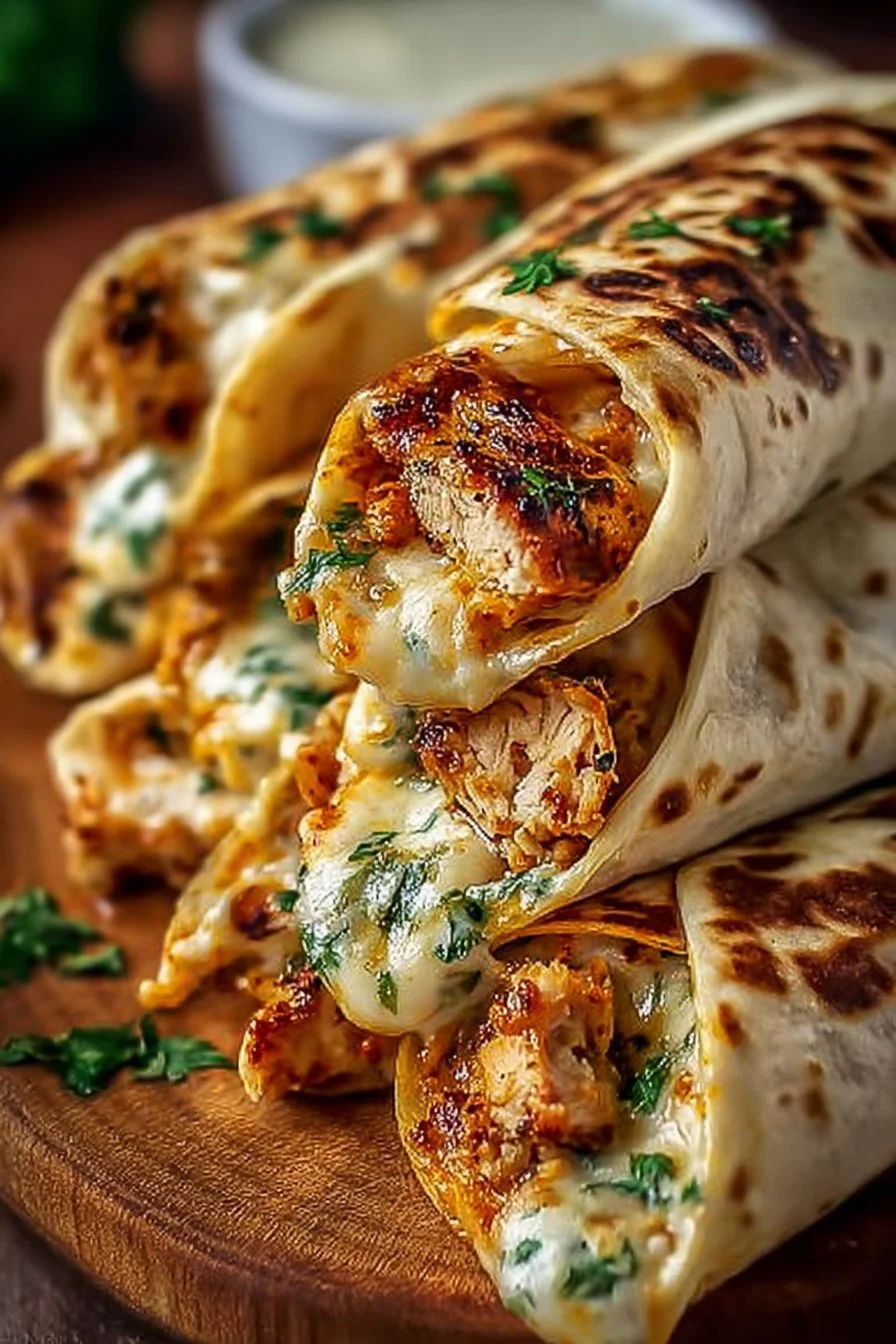
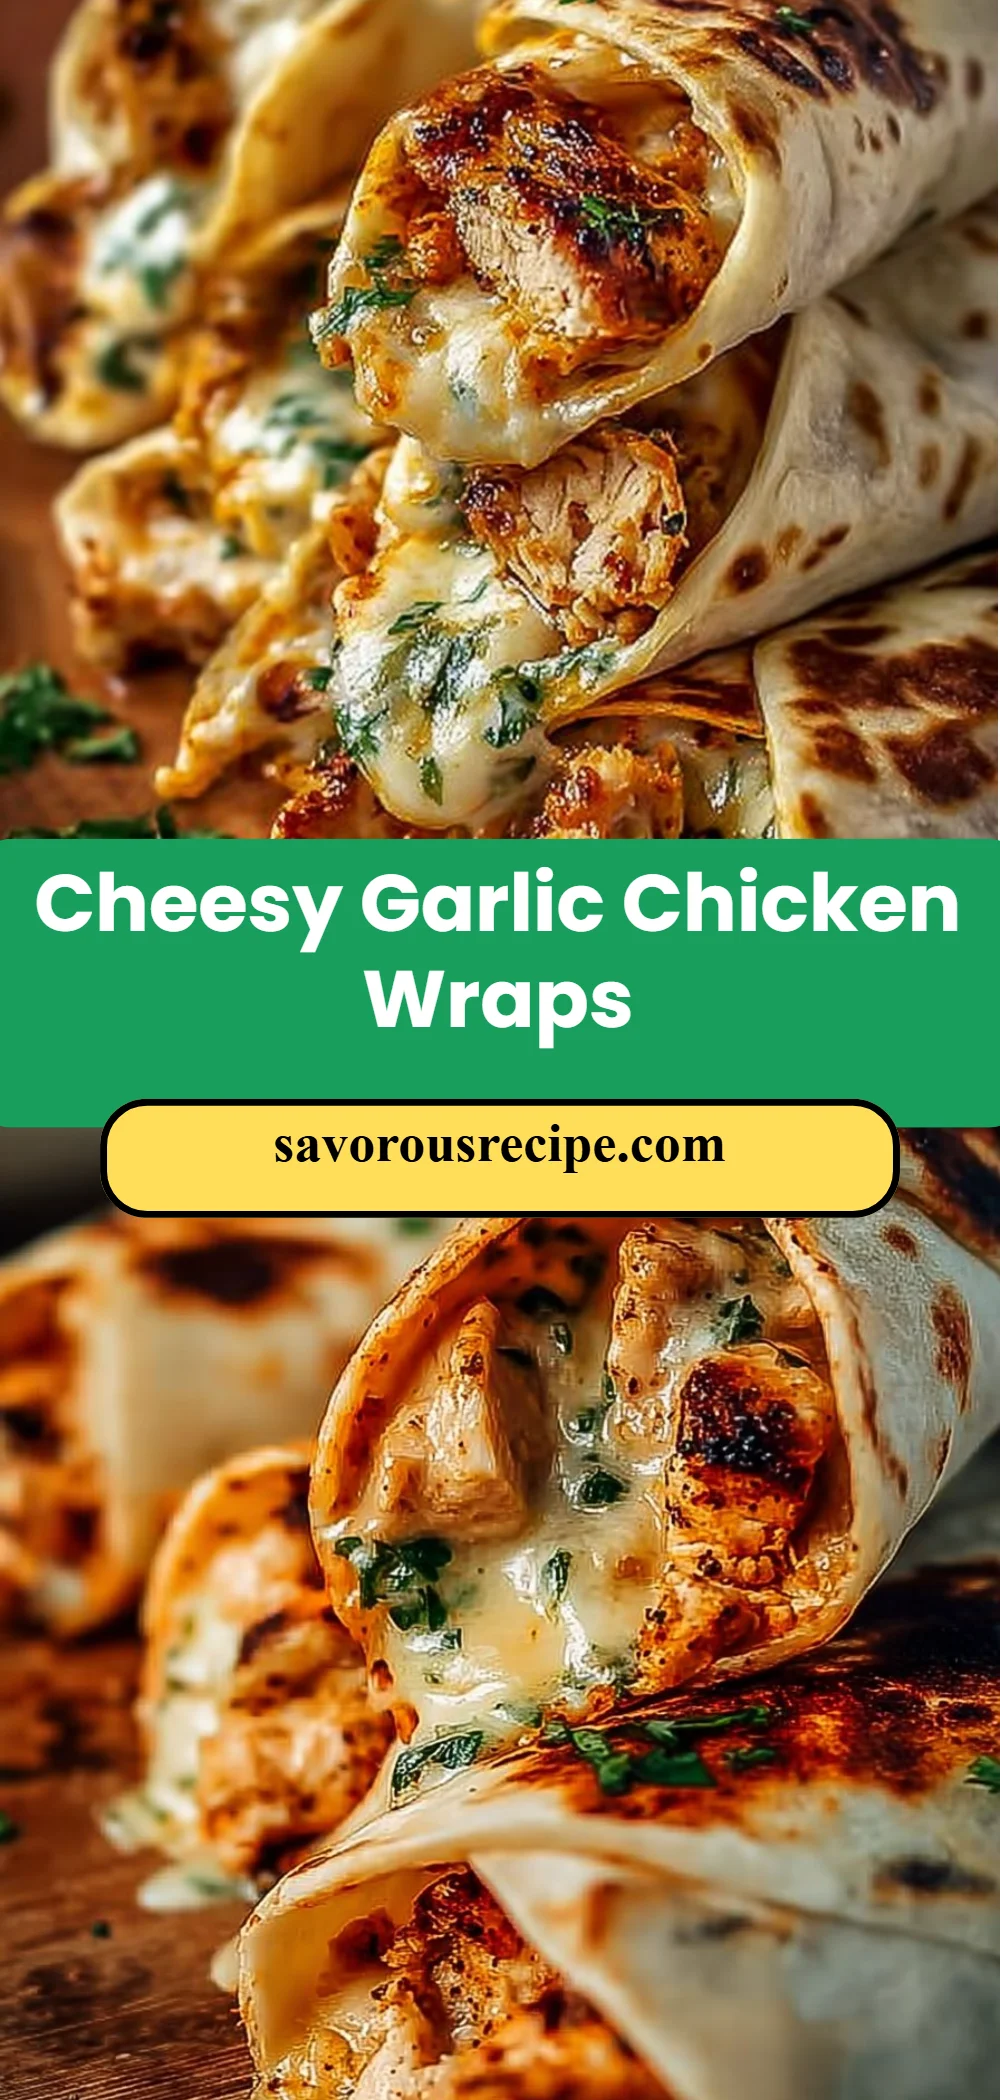
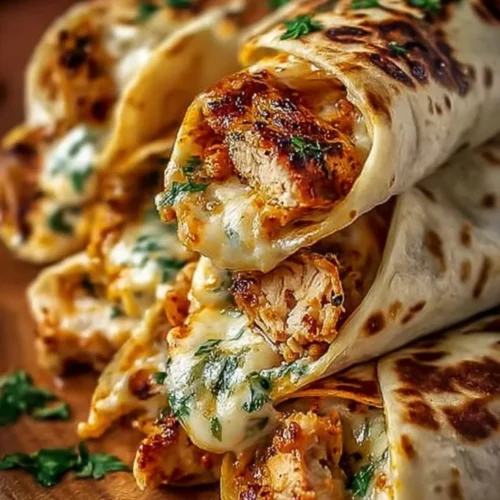
There’s something immediately comforting about warm, garlicky chicken tucked into a crisp lettuce leaf or soft tortilla with a blanket of melted cheese—this recipe hits all those cozy notes. These Cheesy Garlic Chicken Wraps are savory, garlicky, and satisfyingly gooey without any fuss, making them perfect for busy weeknights, quick lunches, or a simple weekend meal. Ready in minutes, they deliver bright garlic aroma, tender shredded chicken, and a melty cheese pull that’s impossible not to love. If you want a lighter take, swap the tortillas for the large lettuce leaves included here; for a low-carb twist, you can also try the low-carb cheesy garlic chicken wrap variation that keeps the same flavors with fewer carbs.
Why You’ll Love This Cheesy Garlic Chicken Wraps
- Big garlic flavor with just two cloves—aromatic without overpowering.
- Melty cheese brings comforting richness and a satisfying texture.
- Uses cooked shredded chicken, so it’s fast and perfect for using leftovers.
- Flexible—serve in lettuce leaves for a lighter meal or tortillas for a heartier wrap.
- Minimal ingredients and simple technique: sauté, heat, melt, assemble.
- Easily customized with optional toppings like diced tomatoes, avocado, or sour cream.
- Great for meal prep or last-minute dinners when you want something tasty and quick.
- Kid-friendly and crowd-pleasing—easy to adapt for picky eaters.
What Is Cheesy Garlic Chicken Wraps?
Cheesy Garlic Chicken Wraps are a straightforward handheld meal made from shredded cooked chicken sautéed briefly with minced garlic and finished with shredded cheese, then wrapped in either large lettuce leaves or low-carb tortillas. The taste is a warm garlic-forward savory profile with creamy, melty cheese that binds the chicken into a cohesive filling. Cooking method is minimal stovetop work—sauté garlic, heat the chicken, then melt in the cheese. These wraps work well as a weeknight comfort meal, a quick lunch, or a casual dinner for friends and family. Overall, the vibe is uncomplicated comfort food: satisfying, quick, and slightly indulgent thanks to the melted cheese.
Ingredients for Cheesy Garlic Chicken Wraps
For the Base
- 2 cups cooked chicken, shredded
For the Flavor & Binding
- 2 cloves garlic, minced
- 2 tablespoons olive oil
- 1 cup shredded cheese (cheddar, mozzarella, or your choice)
For Assembly
- 2 large lettuce leaves or low carb tortillas
- Salt and pepper to taste
Optional toppings
- diced tomatoes
- avocado
- sour cream
Ingredient Notes (Substitutions, Healthy Swaps)
- Dairy alternatives: Use a plant-based shredded cheese if you need a dairy-free option; choose one that melts well for the best texture.
- Gluten-free option: Use large lettuce leaves (as listed) or certified gluten-free tortillas.
- Lower-fat swap: Reduce the cheese to 1/2 cup and add a tablespoon of plain Greek yogurt as an optional creamy topping (optional—do not add into cooking unless using as topping).
- Budget swaps: Use a more economical shredded cheese blend if cheddar or mozzarella is pricey; pre-shredded cheeses are convenient but can contain anti-caking agents.
- Protein alternatives (optional): If you want a different protein, keep the same technique—swap to shredded rotisserie turkey or chicken breast leftovers, but do not introduce pork or other meats not listed in the original recipe.
Step-by-Step Instructions
Step 1 – Prep the ingredients
Gather the shredded chicken, mince the garlic, and measure the cheese and olive oil. Lay out your lettuce leaves or tortillas.
Visual cue: Garlic should be finely minced and chicken loosely shredded so it heats evenly.Step 2 – Heat the oil and garlic
In a skillet, heat 2 tablespoons olive oil over medium heat. Add the minced garlic and sauté until fragrant, about 30–60 seconds.
Visual cue: Garlic should turn slightly golden and smell aromatic—don’t let it brown too much.
Pro cue: Keep the heat at medium; garlic burns quickly and develops a bitter taste if the pan is too hot.Step 3 – Add and heat the chicken
Add the shredded chicken to the skillet and cook until heated through, stirring to coat in the garlicky oil. Season with salt and pepper to taste.
Visual cue: Chicken should steam slightly and become hot throughout with small flecks of garlic visible.
Pro cue: Stir frequently so the chicken warms evenly and doesn’t dry out; if the chicken seems dry, a teaspoon of water can loosen it up briefly while heating.Step 4 – Melt in the cheese
Remove the skillet from the heat and immediately stir in the shredded cheese until it melts into the chicken.
Visual cue: Cheese should be fully melted and create a sticky, cohesive mixture that holds together when scooped.
Pro cue: Take the skillet off the heat before adding cheese—residual heat melts it without overcooking the chicken or changing texture.Step 5 – Assemble the wraps
Lay the lettuce leaves or tortillas flat and spoon the cheesy chicken mixture onto each. Add any optional toppings you like—diced tomatoes, avocado, or a dollop of sour cream.
Visual cue: Each wrap should have a generous strip of cheesy chicken in the center ready to be folded.Step 6 – Wrap and serve
Wrap them up tightly and serve immediately while the cheese is still melty.
Pro cue: If using tortillas, fold the sides in and roll tight; for lettuce leaves, tuck the bottom and roll to form a neat bundle.
Pro Tips for Success
- Use warm chicken: Cold chicken straight from the fridge can cool the skillet and take longer to heat; let it sit at room temperature for 10 minutes if possible.
- Control garlic heat: Sauté garlic just until fragrant—overcooked garlic becomes bitter.
- Even cheese melt: Remove the pan from direct heat before adding cheese to avoid tough, grainy texture.
- Season gradually: Add salt and pepper after the chicken is heated so you can adjust the seasoning accurately.
- Don’t overfill wraps: Too much filling makes them hard to wrap and messy to eat—divide the mixture evenly.
- Quick cleanup: Use a non-stick skillet or a well-seasoned pan for easier cleanup when melting cheese.
- Timing: Total cook time from skillet to serving is under 10 minutes, making this ideal for fast weeknight dinners.
Flavor Variations (OPTIONAL)
- Spicy version: Add a pinch of red pepper flakes to the garlic as it sautés for a subtle kick.
- Herb-lift (optional): Stir in chopped fresh parsley or cilantro as a topping after assembling.
- Extra cheesy (optional): Use a blend of cheddar and mozzarella for both flavor and stretch.
- Lighter version (optional): Use only 1/2 cup cheese and load up on tomatoes and avocado as toppings.
- Tortilla upgrade (optional): Use low-carb tortillas for a softer, more traditional wrap while keeping the same filling.
Serving Suggestions
- Quick sides: Serve with a simple side salad or raw veggie sticks for crunch.
- Kid-friendly plate: Pair with baked sweet potato fries or apple slices.
- Casual gatherings: Arrange assembled wraps on a platter with small bowls of optional toppings for DIY assembly.
- Meal pairing: These wraps are great alongside a light soup or a cup of roasted tomato soup.
- Sandwich swap: For a heartier meal, serve the filling over warm rice or in a bowl for a delicious chicken-cheese bowl.
- Want more wrap ideas? Try a complementary handheld like BBQ Chicken Coleslaw Wraps for variety at a casual dinner party.
Make-Ahead, Storage & Reheating
- Make-ahead: Prepare the shredded chicken and garlic mixture and chill in an airtight container for up to 24 hours. Do not add the cheese until reheating to maintain melt quality.
- Refrigerator storage: Store leftover assembled wraps in the fridge for up to 24 hours. If using lettuce leaves, they will soften over time—tortillas hold up better for longer storage.
- Reheating methods:
- Skillet: Reheat filling in a skillet over medium heat until warm; add cheese and assemble.
- Microwave: Reheat filling in a microwave-safe bowl for 30–60 seconds, stir, then add cheese to melt. Use microwave-safe settings to avoid drying out.
- Texture changes: Lettuce-wrapped leftovers will lose crispness; reheat the filling separately and assemble fresh when possible.
Storage and Freezing Instructions
- Freezing the fully assembled wrap is not recommended: Lettuce wilts and texture suffers, and cheese can separate when frozen and thawed.
- Freezing the filling: You can freeze the cheesy chicken filling (without lettuce or fresh toppings) in a freezer-safe container for up to 2 months. Thaw overnight in the refrigerator, then reheat in a skillet and assemble.
- Alternative suggestion: If you need a freezer-friendly route, pack shredded chicken cooked with garlic (without cheese) in freezer bags; thaw and add cheese when reheating for better texture.
Nutrition Facts (Per Serving)
| Calories | Protein | Carbs | Fat | Fiber | Sodium |
|———|——–|——|—–|——|——-|
| 571 kcal | 57 g | 3 g | 41 g | 1 g | 700 mg |
Nutrition values are estimates and may vary depending on ingredients and portion sizes.
FAQ About Cheesy Garlic Chicken Wraps
Q: Can I use raw chicken instead of cooked shredded chicken?
A: This recipe uses pre-cooked shredded chicken—if using raw chicken you’d need to cook it thoroughly first, shred it, and then proceed. That changes the timing but follows the same flavor finish.
Q: My garlic turned brown—what happened?
A: Garlic cooks very quickly; if it turned brown it was likely overcooked. Reduce heat and sauté just until fragrant, then add the chicken.
Q: How do I get smooth melted cheese without clumping?
A: Remove the skillet from direct heat before stirring in the cheese. Residual pan heat will melt the cheese gently into a smooth finish.
Q: Will this work with shredded rotisserie chicken?
A: Yes—rotisserie chicken is ideal for convenience and flavor and works perfectly with this method.
Q: How long can I keep leftovers in the fridge?
A: Store leftover filling or assembled wraps in the refrigerator for up to 24 hours for best texture and safety.
Q: Can I make this spicy or add herbs?
A: Yes—see the Flavor Variations section for optional ways to add spice or fresh herbs without changing the core recipe.
Notes
- For a cleaner presentation, trim lettuce leaves into similar sizes before assembling so the wraps look uniform.
- A small squeeze of fresh lime or lemon over the finished wrap brightens the flavors—add this as a finishing touch if desired.
- If using tortillas, warm them briefly in a dry skillet before filling to make rolling easier and prevent tearing.
- Adjust salt slowly—cheese can be salty, so taste as you go when seasoning the chicken.
- Keep toppings separate during storage; add fresh toppings only at serving time for the best texture.
Cheesy Garlic Chicken Wraps
Ingredients
For the Base
- 2 cups cooked chicken, shredded Use pre-cooked chicken for convenience.
For the Flavor & Binding
- 2 cloves garlic, minced Minced for maximum flavor.
- 2 tablespoons olive oil For sautéing garlic.
- 1 cup shredded cheese Cheddar, mozzarella, or your choice.
For Assembly
- 2 large lettuce leaves or low carb tortillas For wrapping the filling.
- to taste Salt and pepper For seasoning.
Optional toppings
- to taste diced tomatoes For added freshness.
- to taste avocado Creamy addition.
- to taste sour cream For a tangy touch.
Instructions
Preparation
- Gather the shredded chicken, mince the garlic, and measure the cheese and olive oil. Lay out your lettuce leaves or tortillas.
Cooking
- In a skillet, heat 2 tablespoons olive oil over medium heat. Add the minced garlic and sauté until fragrant, about 30–60 seconds.
- Add the shredded chicken to the skillet and cook until heated through, stirring to coat in the garlicky oil. Season with salt and pepper to taste.
- Remove the skillet from the heat and immediately stir in the shredded cheese until it melts into the chicken.
Assembly
- Lay the lettuce leaves or tortillas flat and spoon the cheesy chicken mixture onto each. Add any optional toppings you like.
- Wrap them up tightly and serve immediately while the cheese is still melty.