
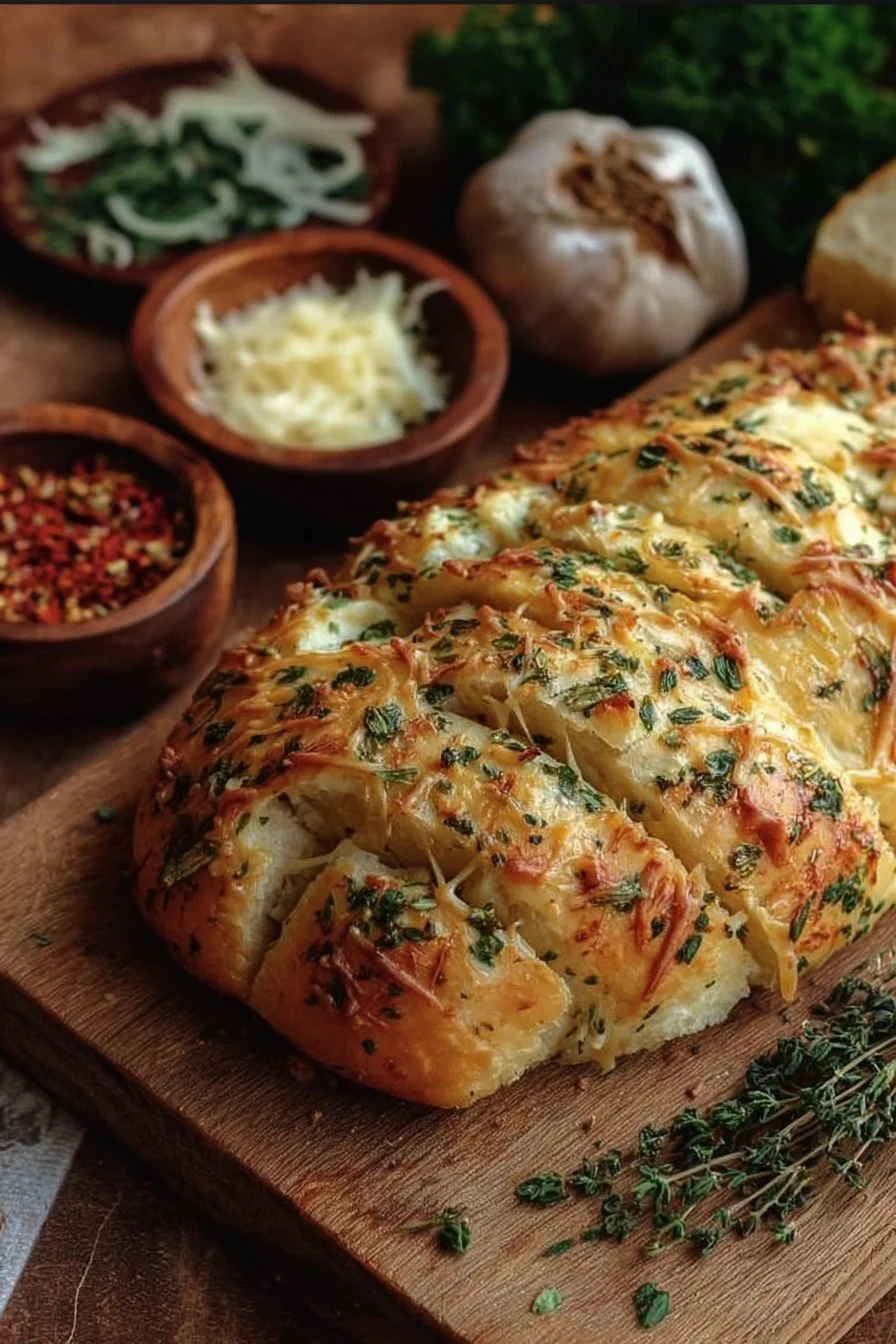
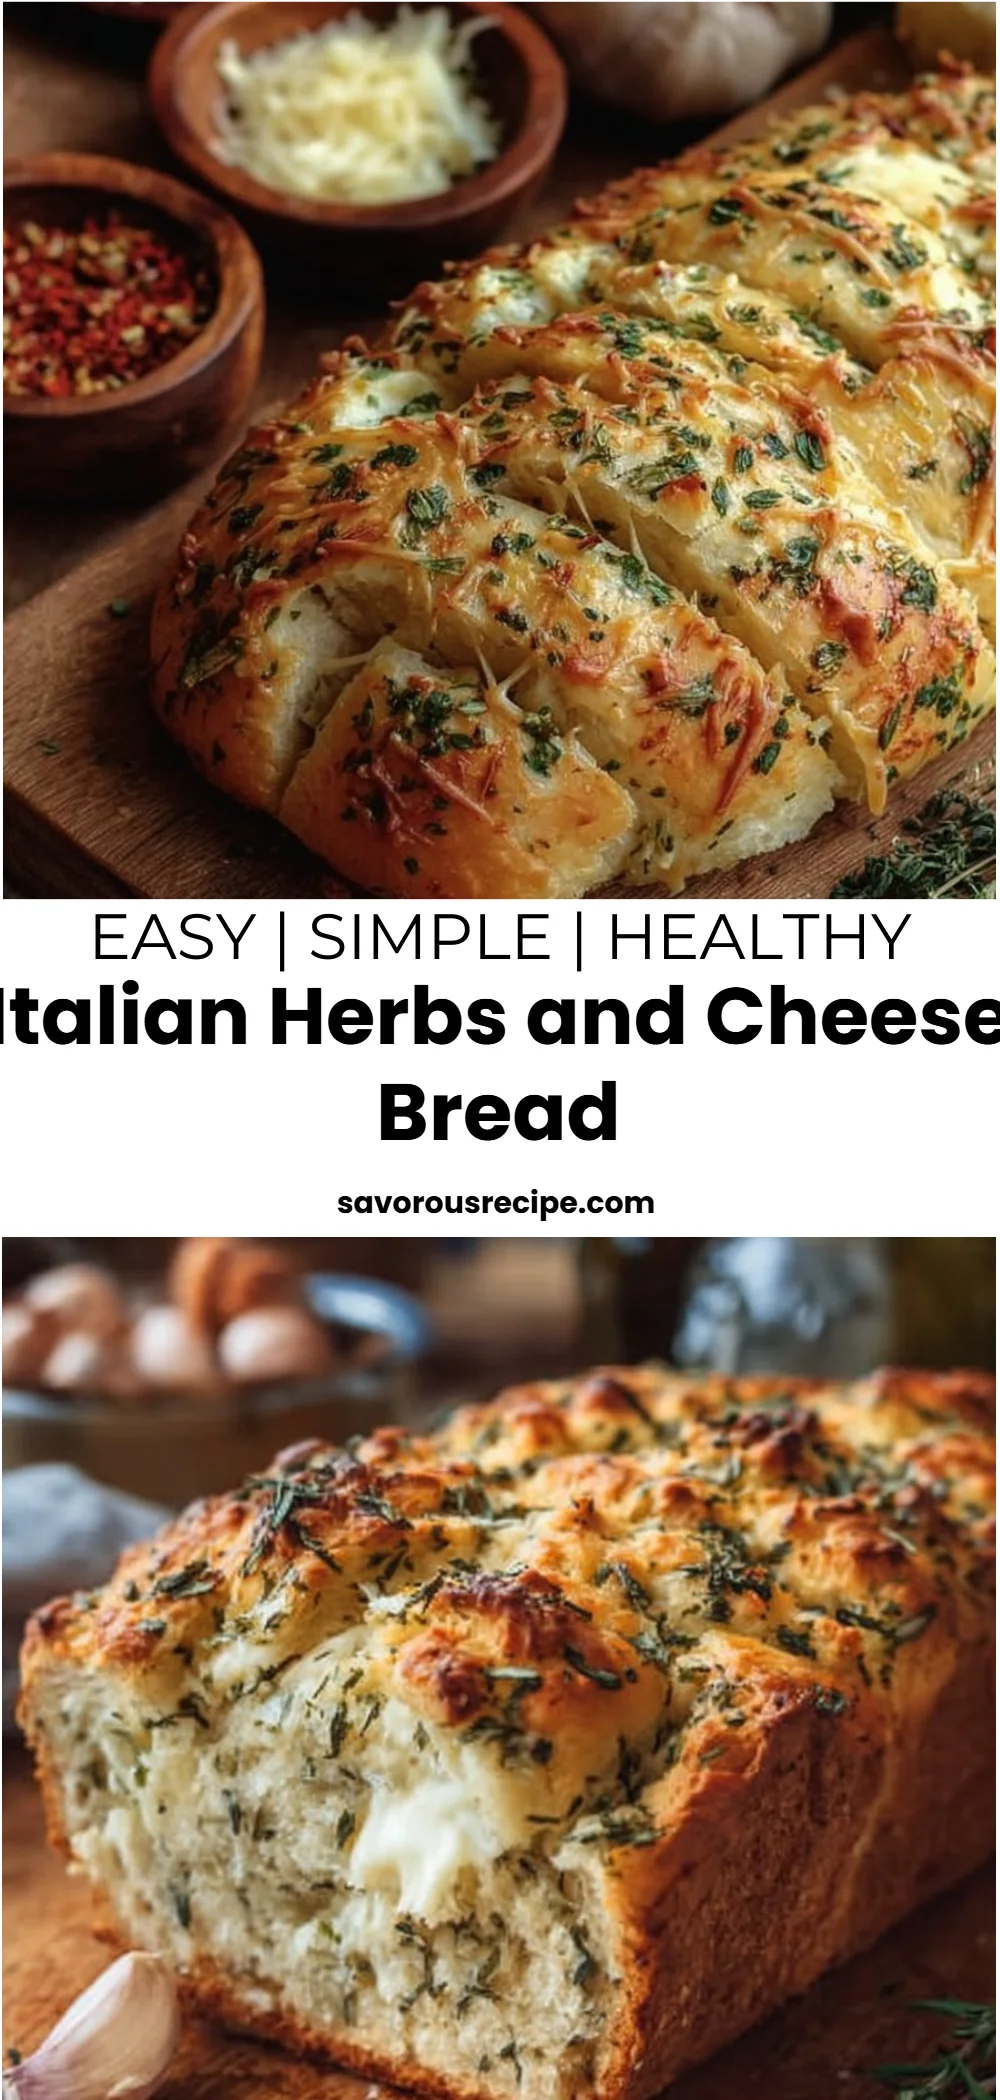
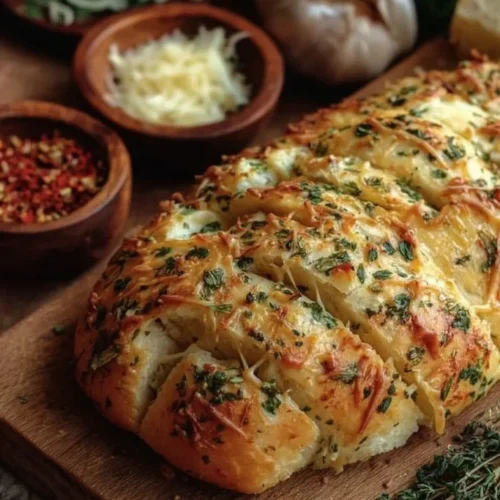
A warm, golden loaf studded with fragrant Italian herbs and molten pockets of cheese — that’s what you get with this Italian Herbs and Cheese Bread. Crisp, slightly chewy crust gives way to a tender, open crumb flecked with basil, oregano, thyme, and rosemary, while mozzarella and Parmesan add melty stretch and a savory, salty finish. It’s surprisingly easy to make at home with just a little hands-on time, and the steam trick in the oven creates a bakery-style crust. Serve it warm with olive oil for dipping, alongside soup, or slice it for sandwiches. For a quick glance at the full recipe and baking times, see my Italian Herbs and Cheese Bread recipe page.
Why You’ll Love This Italian Herbs and Cheese Bread
- Bursting with classic Italian flavor thanks to a blend of dried basil, oregano, thyme, and rosemary.
- Gooey pockets of mozzarella plus nutty Parmesan make every bite savory and satisfying.
- Surprisingly simple technique — basic yeast dough, a single rise, then bake — great for weeknights or weekend baking.
- Versatile: excellent with soups, salads, pasta, or served on a brunch board.
- Makes a large loaf that’s perfect for sharing or for slicing and using through the week.
- Comforting texture: crisp outside, soft and slightly chewy inside — the ideal contrast.
- Uses pantry-friendly ingredients and straightforward steps that are beginner-friendly.
- The steam-bake method produces a bakery-quality crust without fancy equipment.
What Is Italian Herbs and Cheese Bread?
Italian Herbs and Cheese Bread is a yeast-leavened loaf infused with a classic mix of Italian dried herbs and two kinds of cheese — shredded mozzarella and grated Parmesan. It tastes herb-forward and savory, with bright notes from the herbs and rich, salty, umami depth from the cheeses. The cooking method is simple: mix a sticky dough, knead until smooth and elastic, let it rise, shape it into a loaf or pan, then bake at high heat with a pan of water in the oven to create steam and a crisp crust. This bread is commonly served as a side for pasta, soups, and salads, but it also shines as a brunch centerpiece or sandwich base. The overall vibe is comforting and rustic — a homemade loaf that feels both effortless and special.
Ingredients for Italian Herbs and Cheese Bread
For the Bread
- 4 cups all-purpose flour
- 1 packet (2¼ teaspoons) active dry yeast
- 1¾ cups warm water (about 110°F / 43°C)
- 1 tablespoon salt
- 1 tablespoon sugar
- 2 tablespoons dried Italian herbs (like basil, oregano, thyme, and rosemary)
- 1 cup shredded mozzarella cheese
- ½ cup grated Parmesan cheese
- Extra flour for dusting
Ingredient Notes (Substitutions, Healthy Swaps)
- Dairy alternatives: Use a plant-based shredded mozzarella and a vegan grated Parmesan alternative to keep the flavors similar while making it dairy-free. Texture will vary slightly.
- Lower-fat swaps: Choose part-skim mozzarella to reduce fat while keeping meltability, and use a smaller amount of Parmesan if you want less salt and fat.
- Gluten-free option: Swap to a 1:1 gluten-free all-purpose flour blend formulated for yeast breads and follow package instructions — rising times may differ and texture will be different from wheat-based bread.
- Budget substitutions: If you don’t have Parmesan, increase the mozzarella slightly for more melty cheese; the Parmesan adds a nutty saltiness but isn’t strictly required.
- Herb clarity: The recipe calls for dried Italian herbs; if you only have two of the herbs listed, it will still be flavorful. Dried herbs are more concentrated than fresh, so stick to the amounts given.
Step-by-Step Instructions
Follow these concise steps using only the ingredients and directions provided.
Step 1 – Prepare the Dough
- In a large mixing bowl, combine the warm water (about 110°F), sugar, and yeast. Let it sit for about 5 minutes until it becomes frothy.
Visual cue: You should see bubbles and a foamy cap on the surface — that means the yeast is active.
Pro cue: If the mixture doesn’t foam, your yeast may be old or the water is too hot/cold; discard and start again with fresh yeast and correct water temperature.
Step 2 – Mix in Dry Ingredients
2. Add the flour, salt, dried herbs, mozzarella, and Parmesan cheese to the yeast mixture. Mix until a sticky dough forms.
Visual cue: The dough will be shaggy and tacky, with cheese and herb flecks visible throughout.
Pro cue: Use a sturdy spoon or your hands — wet dough is easier to handle than over-flouring at this stage.
Step 3 – Knead the Dough
3. Transfer the dough to a floured surface and knead it for about 8–10 minutes, until it’s smooth and elastic. Add a little more flour if the dough is too sticky.
Visual cue: The dough becomes springy and pulls into a smooth ball rather than tearing or sticking excessively.
Pro cue: Use the push-fold-turn method: push with the heel of your hand, fold, rotate 90°, repeat. Stop adding flour once the dough holds shape.
Step 4 – Proof the Dough
4. Place the kneaded dough in a greased bowl. Cover it with a clean kitchen towel and let it rise in a warm place for about 1–2 hours, or until it doubles in size.
Visual cue: Dough should nearly double and feel airy when gently pressed.
Pro cue: A warm (not hot) spot near the oven or on top of a turned-off, warm oven works well; avoid drafts.
Step 5 – Shape and Second Rise
5. Punch down the risen dough to release air. Shape it into a loaf or place it in a greased bread pan. Cover it again and let it rise for another 30 minutes.
Visual cue: The dough should puff up slightly during the second rise but won’t necessarily double again.
Pro cue: For a crustier exterior, shape a freeform loaf on a baking sheet. For a softer crust, use a loaf pan.
Step 6 – Preheat Oven and Bake
6. Preheat your oven to 450°F (230°C). Place a shallow pan of water at the bottom of the oven to create steam. Bake the bread for 25–30 minutes or until it turns golden brown and sounds hollow when tapped. Internal temperature should reach 200–210°F.
Visual cue: Deep golden-brown crust and melted cheese peeking through the top.
Pro cue: The pan of water creates steam that helps form a crisp, shiny crust; add the loaf to a fully preheated oven for best oven spring.
Step 7 – Cool and Serve
7. Let the bread cool on a wire rack before slicing. Enjoy warm or at room temperature.
Visual cue: The loaf should feel firm on the crust and slightly springy inside.
Pro cue: Wait at least 15–20 minutes before slicing to avoid a gummy crumb from trapped steam.
Pro Tips for Success
- Measure flour correctly: spoon and level into the cup to avoid adding too much, which dries the dough.
- Temperature matters: keep water around 110°F (43°C) so the yeast activates without being killed.
- Don’t over-flour while kneading — tacky dough yields a lighter crumb; add flour sparingly.
- Use the steam trick: the shallow pan of water is simple and makes a big difference in crust development.
- Check doneness with sound and temp: tap the bottom for a hollow sound or use an instant-read thermometer to hit 200–210°F.
- Avoid over-baking: a too-dark crust can mask the herb aroma; pull it at golden-brown and check the center.
- Refreshing the crust: if the crust softens after cooling, a quick 5–7 minute toast in a hot oven (350°F) will revive crispness.
Flavor Variations (Optional)
- Spicy (Optional): Stir in 1 teaspoon red pepper flakes with the dried herbs for a gentle heat without changing the base method.
- Extra-cheesy (Optional): Fold in an additional ½ cup shredded mozzarella for a cheesier loaf — the dough will be a bit richer.
- Herby-forward (Optional): Increase the Italian herbs to 3 tablespoons for more pronounced herbal notes; keep the rest the same.
- Garlic-kissed (Optional): Add 1–2 teaspoons garlic powder to the dry ingredients for a gentle garlic flavor that won’t add moisture.
- Rustic pan loaf (Optional): Shape as a freeform boule and bake on a baking stone for a crisper bottom and rustic appearance.
Note: These variations keep the base recipe intact and only add ingredients sparingly.
Serving Suggestions
- Slice and serve warm with a shallow dish of good olive oil and a pinch of flaky sea salt for dipping.
- Pair with a simple tomato soup or a creamy vegetable soup — the herbs and cheese complement acidic broths perfectly.
- Build hearty sandwiches: use slices of this bread for grilled cheese or deli-style sandwiches.
- Brunch board: include slices alongside olives, fresh tomatoes, soft cheeses, and cured vegetables for a weekend spread.
- Entertaining: serve as part of an appetizer platter with marinated vegetables and spreads.
For more inspiration on how to enjoy this loaf and tweaks for baking, check my notes at Italian Herbs and Cheese Bread.
Make-Ahead, Storage & Reheating
- Make-ahead: You can prepare the dough up to the end of the first rise, then cover and refrigerate overnight. Bring it to room temperature and proceed with shaping and the second rise before baking.
- Refrigerator storage: Store cooled bread wrapped in a clean kitchen towel or in a bread box for up to 3 days. Plastic wrap will soften the crust but keep it moist longer.
- Reheating: To refresh slices, warm in a 350°F oven for 5–10 minutes or toast slices in a skillet. For a quick warm-up, microwave briefly (10–15 seconds) then toast or broil to restore surface texture.
- Texture changes: The crumb will firm and the crust will soften over time; reheating restores freshness best when done in an oven or toaster.
Storage and Freezing Instructions
- Freezing: This bread freezes well. Cool completely, wrap tightly in plastic wrap and aluminum foil, and freeze up to 3 months.
- To use: Thaw overnight in the refrigerator or on the counter, then reheat in a 350°F oven for 10–15 minutes to refresh the crust.
- If you plan to freeze slices for single servings, flash-freeze on a baking sheet then transfer to a freezer bag so you can pull individual pieces as needed.
- If you prefer not to freeze: consider making smaller loaves or shaping into rolls so you can bake only what you’ll eat in a day or two.
Nutrition Facts (Per Serving)
| Calories | Protein | Carbs | Fat | Fiber | Sodium |
|———|——–|——|—–|——|——-|
| 195 kcal | 8 g | 31 g | 3.5 g | 1.3 g | 710 mg |
Nutrition values are estimates and may vary depending on ingredients and portion sizes.
FAQ About Italian Herbs and Cheese Bread
- How can I tell if my yeast is still good?
- If the yeast mixture doesn’t become frothy after 5–10 minutes in warm water with sugar, the yeast may be inactive. Try with a new packet.
- Why is my bread dense after baking?
- Dense bread can come from under-kneading, using too much flour, or insufficient rise time. Ensure the dough is smooth and elastic and that it doubles in a warm place.
- My crust is too soft — how do I get it crispier?
- Bake with the shallow pan of water for steam, then remove the pan for the last 5 minutes of baking to dry the crust slightly. Reheat slices in the oven to crisp up.
- Can I use fresh herbs instead of dried?
- Fresh herbs can be used, but use more by volume (roughly three times the dried amount). Fresh herbs add moisture and a brighter flavor; adjust quantities carefully.
- How can I reheat leftover slices without drying them out?
- Warm slices in a 350°F oven for 5–10 minutes or toast briefly. If microwaving, do so briefly and follow with a quick oven toast to revive the crust.
- Is the recipe freezer-friendly?
- Yes. Cool completely, wrap tightly, and freeze for up to 3 months. Thaw and refresh in the oven before serving.
Notes
- Slice against the grain for a cleaner cut and nicer crumb presentation.
- For an extra flavor boost, brush a tiny bit of olive oil on the crust right after baking (optional) to highlight the herbs.
- If you like a very cheesy top, sprinkle a few extra tablespoons of mozzarella on top before baking, but expect a slightly different crust finish.
- Adjust the salt cautiously if you reduce Parmesan or use low-sodium cheeses; the recipe as written includes a full tablespoon of salt.
- Presentation tip: Serve on a wooden board with a small bowl of olive oil and a pinch of cracked pepper for an inviting, rustic look.
Italian Herbs and Cheese Bread
Ingredients
For the Bread
- 4 cups all-purpose flour
- 1 packet active dry yeast (2¼ teaspoons)
- 1¾ cups warm water (about 110°F / 43°C)
- 1 tablespoon salt
- 1 tablespoon sugar
- 2 tablespoons dried Italian herbs (like basil, oregano, thyme, and rosemary)
- 1 cup shredded mozzarella cheese
- ½ cup grated Parmesan cheese
- Extra flour for dusting
Instructions
Preparation
- In a large mixing bowl, combine the warm water, sugar, and yeast. Let it sit for about 5 minutes until it becomes frothy.
- Add the flour, salt, dried herbs, mozzarella, and Parmesan cheese to the yeast mixture. Mix until a sticky dough forms.
- Transfer the dough to a floured surface and knead it for about 8–10 minutes, until it’s smooth and elastic. Add a little more flour if the dough is too sticky.
- Place the kneaded dough in a greased bowl. Cover it with a clean kitchen towel and let it rise in a warm place for about 1–2 hours, or until it doubles in size.
- Punch down the risen dough to release air. Shape it into a loaf or place it in a greased bread pan. Cover it again and let it rise for another 30 minutes.
- Preheat your oven to 450°F (230°C). Place a shallow pan of water at the bottom of the oven to create steam. Bake the bread for 25–30 minutes or until it turns golden brown.
- Let the bread cool on a wire rack before slicing. Enjoy warm or at room temperature.