
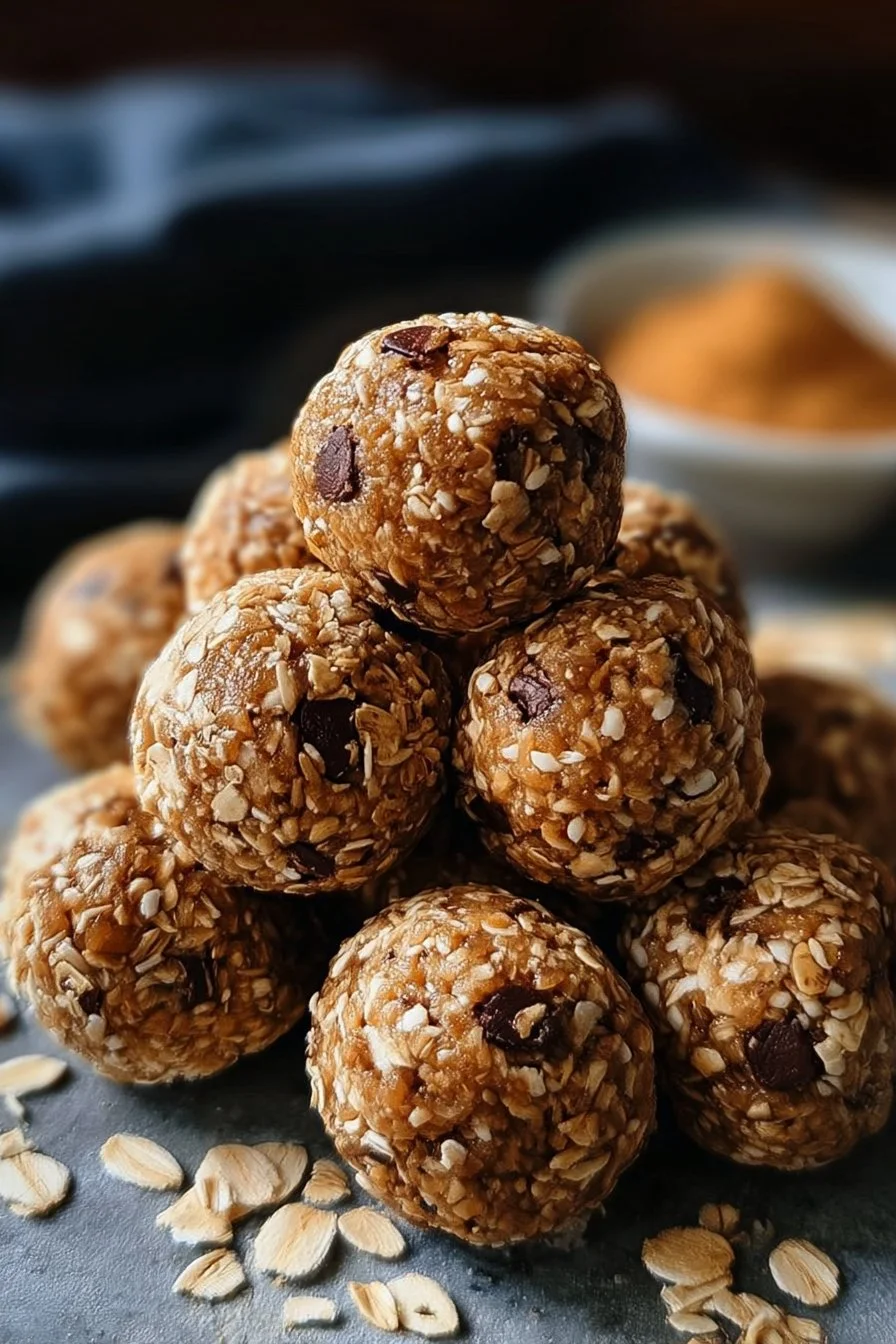
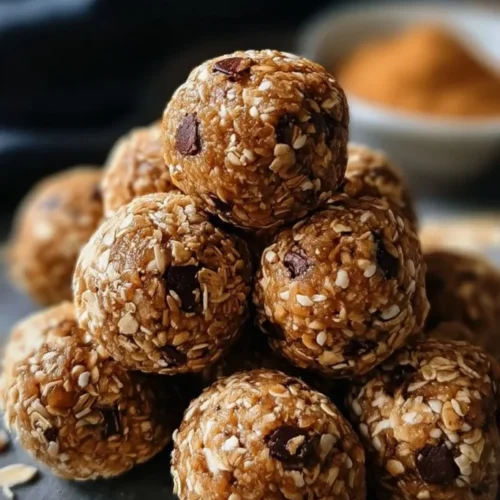
These little bites hit the sweet spot between indulgence and practicality: creamy peanut butter, a ribbon of honey, chewy oats and tiny pockets of chocolate that melt on the tongue. They’re soft, slightly tacky, and just firm enough to pick up and enjoy — like a tiny, portable dessert that doubles as a snack. What makes them special is how fast they come together: no oven, no fancy equipment, and about five minutes of active prep. Keep a jar in the fridge for grab-and-go breakfasts, a quick energy boost before a workout, or a no-fuss dessert after a busy day. If you like effortless treats that still feel homemade, try pairing them with a simple main like oven-baked filet mignon for an unexpectedly elegant weeknight pairing.
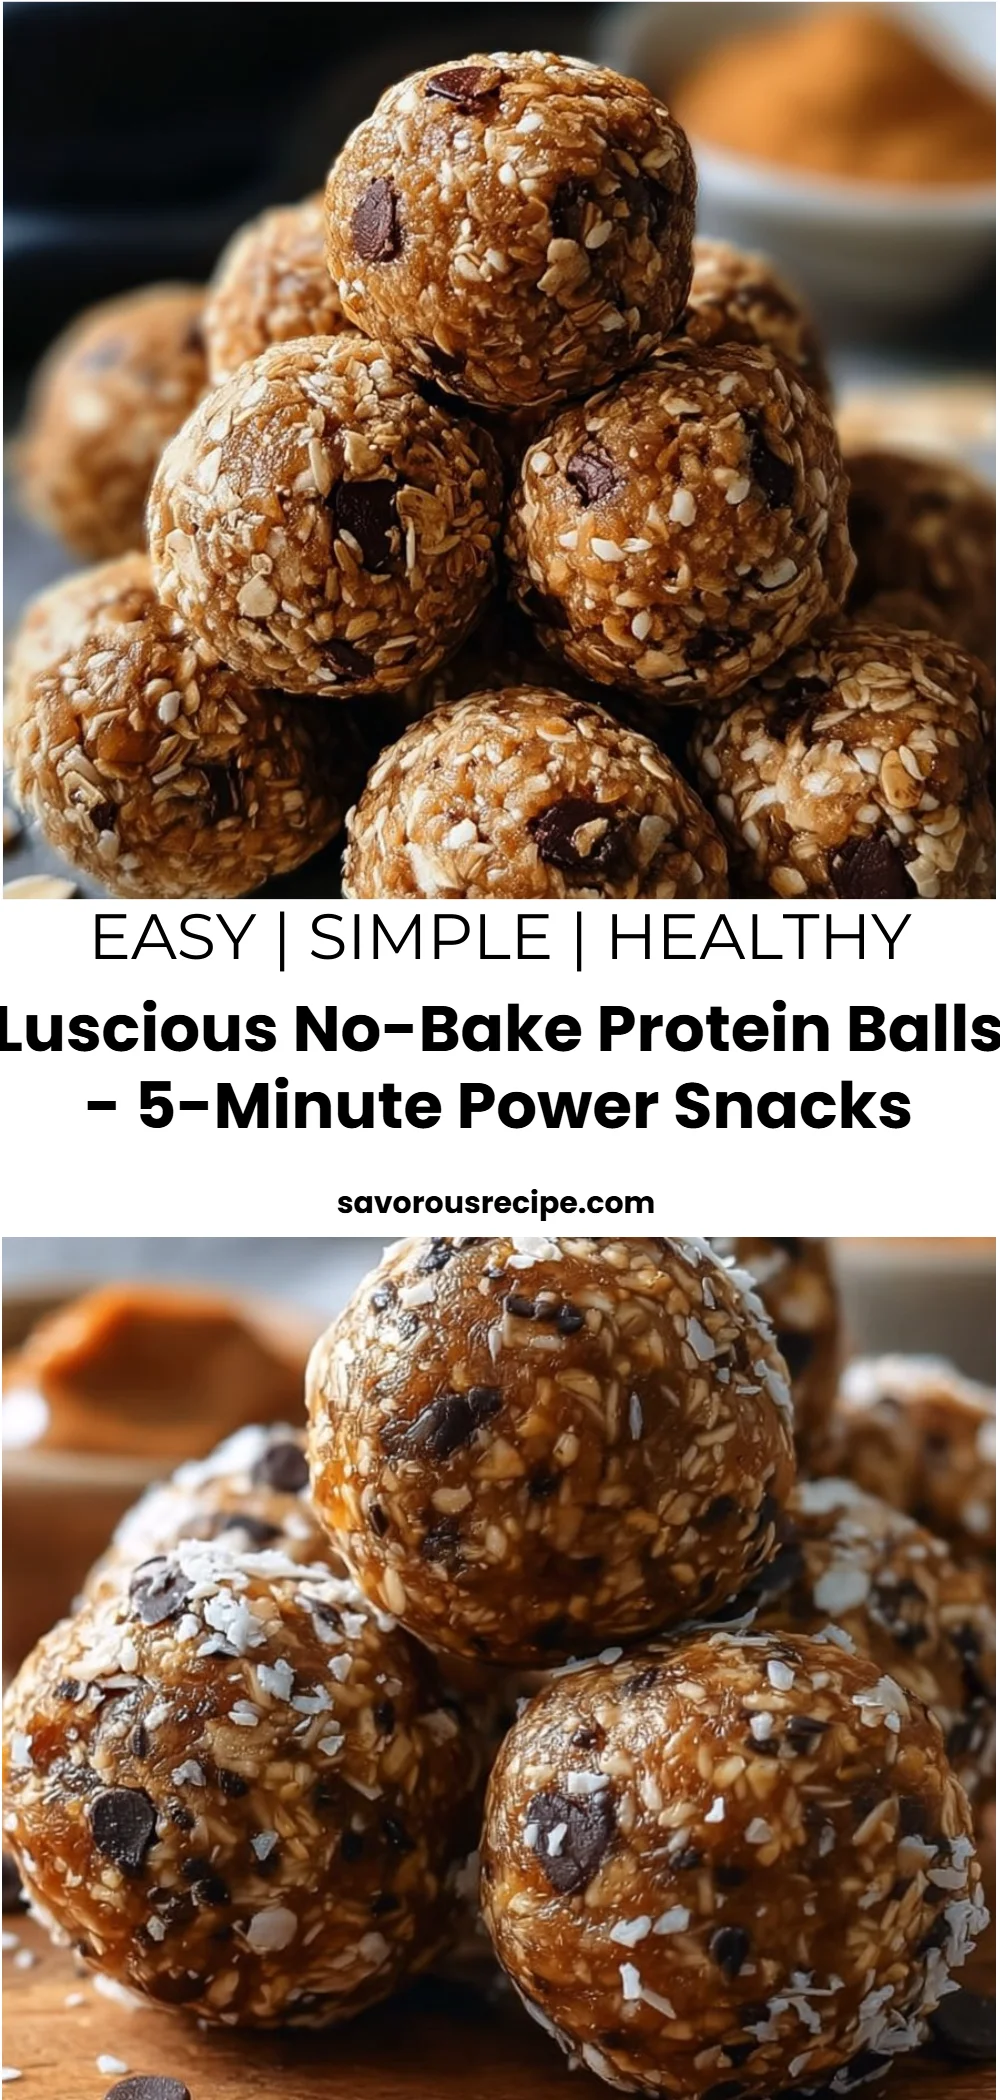
Why You’ll Love This Luscious No-Bake Protein Balls – 5-Minute Power Snacks
- Ready in about five minutes of hands-on time — perfect for busy mornings or last-minute snack prep.
- Sweet and nutty flavor profile with melty chocolate chips for a dessert-like finish.
- Chewy, satisfying texture from rolled oats and smooth creaminess from peanut butter.
- No baking required — saves time, energy, and keeps the kitchen cool.
- Portable and portion-controlled: easy to pack for school lunches, hikes, or office snacks.
- Minimal, pantry-friendly ingredients you likely already have on hand.
- Versatile and forgiving — small adjustments won’t break the recipe.
- Kid-friendly and crowd-pleasing: a simple treat that appeals to all ages.
What Is Luscious No-Bake Protein Balls – 5-Minute Power Snacks?
This recipe is a classic no-bake snack: bite-size balls made from peanut butter, honey, rolled oats, and mini chocolate chips. The taste is sweet and nutty up front, with little bursts of chocolate; texture-wise, they’re chewy with a soft interior and slightly sticky exterior before chilling. The method is entirely no-cook — everything is mixed cold and then shaped by hand. People typically enjoy these as quick breakfasts, mid-afternoon energy boosters, post-workout snacks, school treats, or easy dessert bites during gatherings. The overall vibe is comforting and fuss-free: homemade, wholesome, and just a touch indulgent.
Ingredients for Luscious No-Bake Protein Balls – 5-Minute Power Snacks
For the Base
- 1/2 cup peanut butter (creamy works best)
- 1/4 cup honey
For Texture
- 1 cup rolled oats
For Sweet Bits
- 1/4 cup mini chocolate chips
Ingredient Notes (Substitutions, Healthy Swaps)
- Peanut butter: Swap for almond butter, cashew butter, or a sunflower seed butter (great for nut-free needs). Keep the same volume.
- Honey: Use maple syrup as a vegan alternative; the texture will be very similar though slightly less sticky.
- Rolled oats: Use certified gluten-free rolled oats if you need the recipe to be gluten-free. Quick oats will work in a pinch but change the chewiness slightly.
- Mini chocolate chips: You can use chopped dark chocolate, white chocolate chips, or cacao nibs for less sweetness. Reduce the amount slightly if you prefer a less sweet snack.
- Lower sugar swap: Reduce the chocolate chips to 2 tablespoons and use unsweetened peanut butter to cut sugar while keeping texture.
- Portion & protein boost (optional): Add a tablespoon of chia seeds or ground flaxseed for fiber and a small protein/fat boost — this is optional and won’t change the base recipe’s identity.
Step-by-Step Instructions
Step 1 – Combine the peanut butter and honey
Stir together 1/2 cup peanut butter and 1/4 cup honey in a medium bowl until smooth and glossy.
Visual cue: The mixture should be fully combined with no streaks of honey or clumps of peanut butter — it will look like a shiny, viscous paste.
Pro cue: If your peanut butter is very thick, microwave the jar (without the lid) for 10–15 seconds to loosen it for easier mixing.Step 2 – Add the oats
Mix in 1 cup rolled oats until evenly combined and the oats are coated.
Visual cue: The mixture should start to come together and hold shape when pressed; not too dry, not too runny.
Pro cue: If it feels too wet, add a tablespoon more oats at a time; if too dry, add a drizzle of honey or a splash of water.Step 3 – Fold in chocolate chips
Fold in 1/4 cup mini chocolate chips with a spatula so they’re evenly distributed.
Visual cue: Chocolate chips should be visible throughout but not melted or smeared.
Pro cue: Use mini chips to get chocolate in every bite — regular chips make the balls chunkier and can interfere with forming smooth balls.Step 4 – Scoop and roll
Use a small cookie scoop or a tablespoon to portion the mixture, then roll each portion between your palms into a tight ball.
Visual cue: Balls should be about 1 inch (bite-size) and smooth on the outside. If they crack, press them gently to smooth.
Pro cue: Wetting your palms slightly prevents sticking and helps you get smooth, even balls.Step 5 – Chill to firm up
Place the balls on a lined plate or tray and chill in the refrigerator for 20 minutes or until firm.
Visual cue: After chilling, the balls should feel firm to the touch and hold their shape when picked up.
Pro cue: If you’re in a hurry, place them in the freezer for 10 minutes for a quicker set.
Pro Tips for Success
- Measure oats by lightly spooning into the cup and leveling — packed oats make a denser ball.
- Use creamy peanut butter for the smoothest texture; natural peanut butter with separated oil will work but stir well first.
- If the mix is too sticky to shape, chill it for 10 minutes before rolling.
- Resist overworking the dough; mix until just combined to keep the balls tender.
- Make uniform balls with a cookie scoop for consistent chilling and storage.
- Keep the tray lined with parchment for easy cleanup and to prevent sticking.
- Taste the base before adding chips — a small pinch more honey can balance a very nutty or bitter peanut butter.
- For a firmer bite, add an extra tablespoon of oats per cup.
Flavor Variations
- OPTIONAL — Chocolate Peanut Butter Boost: Stir in 1 tablespoon unsweetened cocoa powder with the peanut butter and honey for a cocoa-rich base.
- OPTIONAL — Nut-Free Sunflower: Swap peanut butter for sunflower seed butter and use dark chocolate chips to avoid cross-contamination with nuts.
- OPTIONAL — Coconut Crunch: Add 2 tablespoons unsweetened shredded coconut for extra texture and a tropical twist.
- OPTIONAL — Peanut Butter Banana: Fold in 2 tablespoons mashed, very ripe banana to the base and add 1–2 tablespoons extra oats to compensate for moisture (serve soon after making).
- OPTIONAL — Espresso Kick: Add 1/2 teaspoon instant espresso powder to the base for a subtle coffee flavor that pairs well with chocolate chips.
- OPTIONAL — Protein Powder Boost: Add 1–2 tablespoons of your favorite unflavored or vanilla protein powder for extra protein; add a splash of water if the mixture becomes dry.
Serving Suggestions
- On-the-go breakfast: Pack a few balls with a piece of fruit and a small yogurt for a balanced start.
- Snack box: Add them to a lunchbox alongside raw veggies or apple slices.
- After-workout refuel: Pair with a banana for quick carbs and gentle protein.
- Dessert platter: Arrange with fresh berries and a few nuts for a casual, shareable dessert.
- Party bite: Place on a pretty platter, sprinkle with flaky sea salt or extra mini chips for a crowd-pleasing nibble.
- For a fun dinner combo, serve these protein balls as an after-snack alongside a creamy pasta such as baked cream cheese spaghetti casserole for a contrast of rich savory and sweet bites.
Make-Ahead, Storage & Reheating
- Make-ahead: You can make the mixture and form the balls up to 24 hours in advance; store them in a single layer in an airtight container in the refrigerator.
- Refrigerator storage time: Keep refrigerated for up to 7 days. The texture will remain chewy, and the flavor often improves as the oats absorb more moisture.
- Reheating methods: These are best enjoyed cold or at room temperature. If you prefer them softer, let a refrigerated ball sit at room temperature for 10–15 minutes before eating.
- Texture changes: Over time the oats absorb moisture and the balls become denser; this is normal and doesn’t affect safety. If they become too firm, allow them to warm briefly at room temperature.
Storage and Freezing Instructions
- Freezing: These protein balls freeze very well. Arrange in a single layer on a baking sheet and freeze for 1 hour, then transfer to a freezer-safe bag or container for up to 3 months.
- Thawing: Thaw in the refrigerator overnight or on the counter for 30–60 minutes before serving.
- Not recommended to refreeze after thawing; repeated freeze-thaw cycles affect texture and may cause chocolate to bloom.
- If you prefer immediate consumption after freezing, let them sit at room temperature for a few minutes so the chocolate softens slightly.
Nutrition Facts (Per Serving)
| Calories | Protein | Carbs | Fat | Fiber | Sodium |
|———|——–|——|—–|——|——-|
| 160 kcal | 5 g | 17 g | 8 g | 2 g | 90 mg |
Nutrition values are estimates and may vary depending on ingredients and portion sizes.
FAQ About Luscious No-Bake Protein Balls – 5-Minute Power Snacks
Q: My mixture is too sticky to roll. What should I do?
A: Chill it for 10–15 minutes to firm up, or add 1 tablespoon more oats at a time until it’s manageable.
Q: The balls fell apart after chilling. Why?
A: Likely not enough binding moisture — ensure peanut butter and honey are well combined. If still crumbly, add a teaspoon of honey or a small dab of peanut butter.
Q: Can I use quick oats instead of rolled oats?
A: Yes, but quick oats make a softer, less chewy ball. Use rolled oats for the classic texture.
Q: How many balls does this recipe make?
A: Expect about 12–16 bite-size balls depending on how large you scoop them.
Q: Are these safe to freeze with chocolate chips?
A: Yes — freeze on a baking sheet first to avoid sticking, then move to a bag. Chocolate may firm up but thaws fine.
Q: Can I substitute maple syrup for honey?
A: Yes, maple syrup is a fine vegan-friendly swap. The texture will be slightly less tacky but still binds well.
Notes
- Plate on a small slate or white dish and sprinkle a few extra mini chips on top for a bakery-style presentation.
- For a finishing touch, press a half chocolate chip into the top of each ball before chilling.
- If serving to kids, consider making slightly smaller balls for portion control and easier handling.
- Small upgrades like a pinch of sea salt or a dusting of cocoa powder can elevate the flavor without complicating the recipe.
- Use freshly opened peanut butter for the best aroma and flavor — very old jars can taste flat.
Luscious No-Bake Protein Balls
Ingredients
For the Base
- 1/2 cup peanut butter (creamy works best) Swap for almond butter, cashew butter, or sunflower seed butter if needed.
- 1/4 cup honey Use maple syrup as a vegan alternative.
For Texture
- 1 cup rolled oats Use certified gluten-free rolled oats if gluten-free; quick oats will work but change the texture.
For Sweet Bits
- 1/4 cup mini chocolate chips Can use chopped dark chocolate or white chocolate chips.
Instructions
Preparation
- In a medium bowl, stir together 1/2 cup peanut butter and 1/4 cup honey until smooth and glossy.
- Mix in 1 cup rolled oats until evenly combined.
- Fold in 1/4 cup mini chocolate chips until evenly distributed.
- Use a small cookie scoop or a tablespoon to portion the mixture and roll into tight balls.
- Place the balls on a lined plate or tray and chill in the refrigerator for 20 minutes or until firm.