
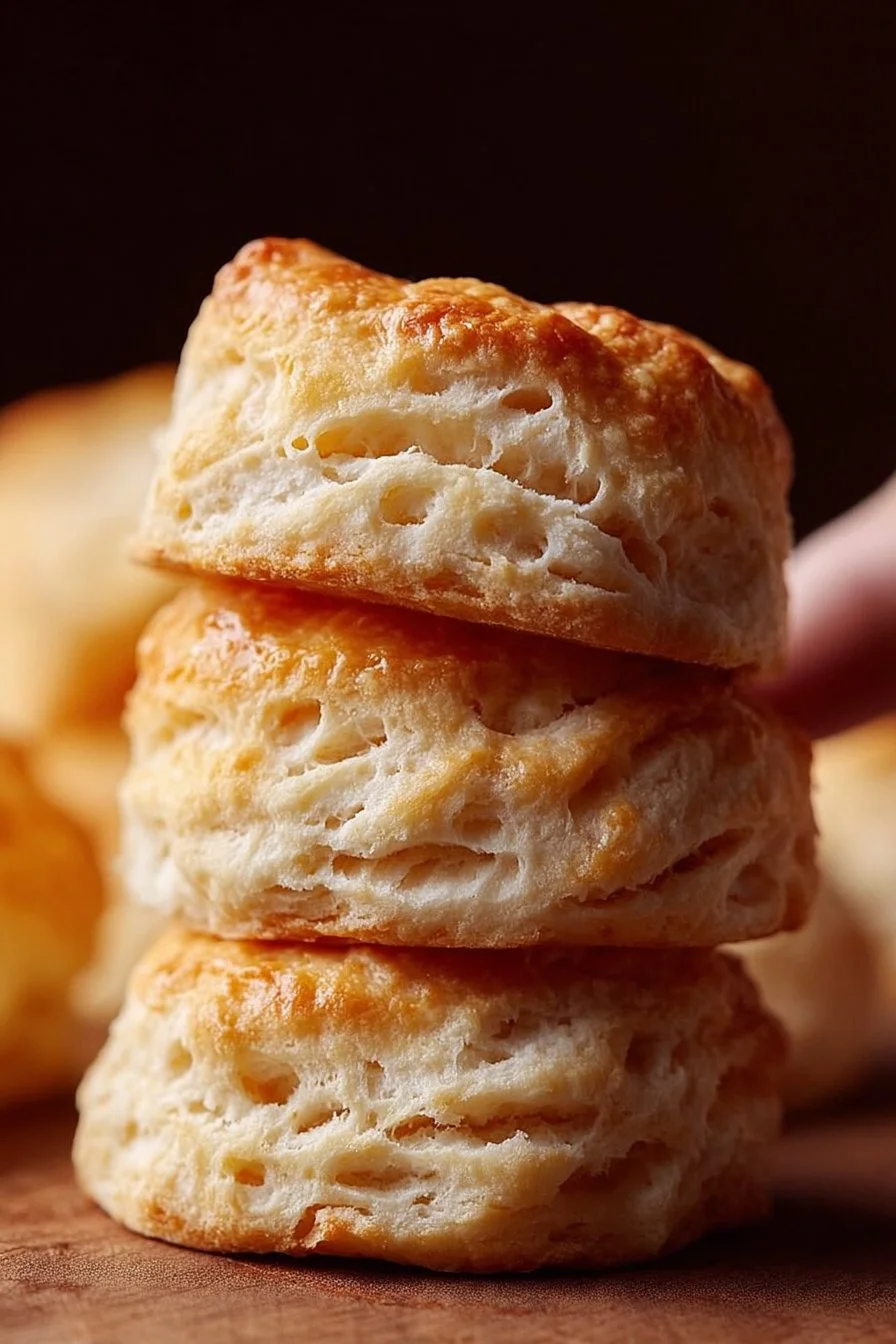
Flaky, tender, golden biscuits are one of those simple pleasures that make any meal feel like a little celebration. These homemade biscuits come out with a crisp, buttery exterior and a pillowy interior thanks to cold butter and a hot oven. They’re quick to put together—no fancy equipment—and perfect for breakfast with jam, alongside soup, or split and slathered with butter for a midnight snack. If you want the exact classic version I rely on at home, you can compare notes with my homemade biscuits roundup to see how small tweaks change texture and rise.

Why You’ll Love This Homemade Biscuits
- Classic flavor: a simple mix of flour, baking powder, salt, butter, and milk delivers a buttery, slightly savory biscuit that’s deeply comforting.
- Quick and easy: from bowl to oven in under 20 minutes of active time.
- Tender, flaky texture: cold, cubed butter creates little pockets of steam that lift the dough as it bakes.
- Versatile: serve with sweet jam, butter, or pair with soups and stews for a hearty meal.
- Minimal equipment: a bowl, a baking sheet, and a rolling surface are all you need.
- Budget-friendly: pantry staples produce bakery-quality results without breaking the bank.
- Brunch-ready: impressive enough for guests but simple enough for a weekday morning.
- Kid-friendly: hands-on dough is fun for little helpers, and leftovers are always a hit.
What Is Homemade Biscuits?
Homemade biscuits are small, round quickbreads made from a simple dough—no yeast required. They’re tender inside with a lightly crisp crust and a rich, buttery flavor. The method relies on cutting cold butter into flour so that tiny chunks of fat remain in the dough; during baking these chunks create steam and lift, giving the biscuit its flaky layers. Biscuits are commonly served at breakfasts, brunches, or as a side with soups, stews, and roasted dinners. The overall vibe is pure comfort food—approachable, homey, and reliably satisfying.
Ingredients for Homemade Biscuits
For the Base
- 2 cups all-purpose flour
- 1 tablespoon baking powder
- 1/2 teaspoon salt
- 1/4 cup unsalted butter, cold and cubed
- 3/4 cup milk (about 180 ml)
Ingredient Notes (Substitutions, Healthy Swaps)
- Milk: Whole milk gives the best tenderness and browning, but you can use 2% or even skim in a pinch. For a non-dairy swap, try unsweetened soy or oat milk; expect a slightly different crumb and browning.
- Butter: Unsalted butter is recommended to control seasoning. If using salted butter, reduce the added salt slightly or omit it entirely.
- Flour: All-purpose flour provides structure and tenderness. If you need a gluten-free option, use a 1:1 gluten-free baking flour blend that contains xanthan gum; texture will be a bit denser.
- Lower-fat swap: Replace half the butter with a neutral oil (like vegetable oil) for a slightly different texture; biscuits will be less flaky but still tender.
- Budget tip: If you’re short on butter, chill a neutral vegetable shortening and use it in place of part of the butter for a more economical flaky result.
Step-by-Step Instructions
Follow these five clear steps using only the ingredients and directions provided.
Step 1 – Preheat and prepare
Preheat your oven to 450°F (230°C). Line a baking sheet with parchment or lightly flour it.
Visual cue: The oven should be fully preheated so the biscuits get an immediate lift when they go in.Step 2 – Mix dry ingredients
In a large bowl, combine the 2 cups all-purpose flour, 1 tablespoon baking powder, and 1/2 teaspoon salt.
Visual cue: The dry mix should look uniform and free of lumps.
Pro cue: Sifting isn’t necessary, but whisking the dry ingredients together well distributes the baking powder for even rise.Step 3 – Cut in the butter
Add the cold, cubed 1/4 cup unsalted butter to the flour mixture. Use a pastry cutter, two knives, or your fingertips to cut the butter in until the mixture resembles coarse crumbs with pea-sized pieces of butter remaining.
Visual cue: You should still see bits of butter in the mixture—these create the flakiness.
Pro cue: Work quickly and keep the butter cold to prevent it from melting into the flour.Step 4 – Add milk and form dough
Stir in 3/4 cup milk, mixing just until the dough comes together. Avoid overmixing; the dough will be slightly shaggy and sticky.
Visual cue: The dough should hold together when pressed but not be wet or gluey.
Pro cue: If the dough seems too dry, add a tablespoon of milk at a time; if too wet, add a sprinkle of flour—only use small adjustments.Step 5 – Shape and bake
Turn the dough onto a floured surface and knead gently a few times to bring it together. Roll or pat the dough out to about 1-inch thickness and cut into rounds using a biscuit cutter or a glass. Place the biscuits on a baking sheet and bake for 12–15 minutes or until golden brown. Serve warm with butter or jam.
Visual cue: Biscuits should be golden on top and have a light brown bottom when done.
Pro cue: Handle the dough gently—light kneading and pressing preserves the butter pockets and keeps the biscuits tender.
Pro Tips for Success
- Keep everything cold: Cold butter and quick handling are key to flaky layers.
- Don’t overwork the dough: Overmixing develops gluten and makes biscuits tough.
- Use a hot oven: 450°F (230°C) gives biscuits a fast rise and crisp top.
- Cut straight down: When using a cutter, press straight down and lift straight up—twisting seals the edges and reduces rise.
- Space evenly: Place biscuits about 1-inch apart on the baking sheet for even heat circulation.
- Rotate the pan: Halfway through baking, rotate the sheet front to back for uniform browning.
- Test for doneness: Bottoms should be lightly browned and the center set; an underbaked biscuit will be doughy inside.
- Warm serving: Serve biscuits warm for best texture—cold biscuits can seem dry.
Flavor Variations (OPTIONAL)
These keep the base recipe intact—additions are optional and do not change the core dough.
- Cheesy version: Fold in 1/2 cup finely grated cheddar into the dry ingredients before adding milk (optional).
- Herb-infused: Add 1–2 tablespoons finely chopped fresh herbs (like chives or parsley) to the dry mix for a savory twist (optional).
- Honey-butter: Brush warm biscuits with a mixture of melted butter and a teaspoon of honey for a sweet finish (optional).
- Spicy kick: Stir in a pinch of cayenne or black pepper to the dry mix for a subtle heat (optional).
- Buttermilk-style: Replace milk with the same amount of buttermilk for tangier flavor and extra tenderness (optional).
- Whole-grain boost: Substitute up to half of the all-purpose flour with whole wheat flour for nuttier flavor (optional).
Serving Suggestions
- Breakfast spread: Split and butter, then top with jam or honey for a classic start to the day.
- Soup companion: Serve alongside a creamy vegetable or chicken-style soup to soak up broth.
- Brunch centerpiece: Create a biscuit sandwich with eggs and cheese (use your favorite add-ins) for a casual brunch.
- Cozy dinner side: Pair with roasted chicken or a stew where the biscuit can mop up sauces.
- Sweet treat: Warm biscuits with cinnamon sugar for a quick dessert.
- Party platter: Stack on a board with butter, jams, and honey for guests to help themselves.
- Gravy pairing: For a classic pairing, serve warm biscuits with a smooth white gravy; here’s an easy recipe for a quick white gravy that complements these biscuits beautifully: 4-ingredient homemade white gravy.
Make-Ahead, Storage & Reheating
- Make-ahead dough: After shaping the biscuits, freeze them on a baking sheet until firm, then transfer to a freezer bag. Bake from frozen, adding a few extra minutes to the baking time.
- Dough in fridge: You can prepare the dough and refrigerate it for up to 24 hours before rolling and cutting; keep it tightly wrapped so the butter stays cold.
- Refrigerator storage: Store baked biscuits in an airtight container at room temperature for up to 2 days. Refrigeration can dry them out faster.
- Reheating: To revive stale or refrigerated biscuits, wrap them in foil and warm at 300°F (150°C) for 10–12 minutes. For a crisp top, unwrap for the last few minutes. Microwaving will warm them quickly but can make them soft—finish in a hot oven or skillet to restore texture.
- Texture note: Biscuits are best the day they’re baked but still enjoyable when reheated; freezing preserves texture better than refrigeration.
Storage and Freezing Instructions
- Freezing baked biscuits: Cool completely, then layer with parchment in an airtight container or freezer bag. Freeze up to 3 months. Reheat from frozen wrapped in foil at 300°F (150°C) for 12–18 minutes.
- Freezing unbaked biscuits: After cutting, freeze biscuits on a sheet until solid, then transfer to a bag. Bake from frozen at 450°F (230°C), adding 3–5 minutes to the baking time.
- Not recommended: Long-term refrigeration (more than 2 days) can make biscuits dry and stale; freeze them instead for better texture later.
Nutrition Facts (Per Serving)
| Calories | Protein | Carbs | Fat | Fiber | Sodium |
|———|——–|——|—–|——|——-|
| 210 kcal | 4 g | 26 g | 9 g | 1 g | 430 mg |
Nutrition values are estimates and may vary depending on ingredients and portion sizes.
FAQ About Homemade Biscuits
- Why are my biscuits dense instead of fluffy?
- Dense biscuits usually mean the butter melted before baking or the dough was overworked. Keep ingredients cold and handle the dough minimally.
- How do I know when biscuits are done?
- They should be golden brown on top with a lightly browned bottom and the center set. If in doubt, bake another 2-3 minutes rather than underbake.
- Can I use self-rising flour instead of all-purpose flour and baking powder?
- This recipe uses all-purpose flour plus baking powder. If using self-rising flour, omit the added baking powder and salt; adjust to taste.
- What’s the best way to cut biscuits so they rise evenly?
- Press straight down with a sharp cutter and lift straight up. Avoid twisting to prevent sealing the edges.
- How should I reheat leftover biscuits to keep them tender?
- Warm wrapped in foil in a low oven (300°F / 150°C) for 10–12 minutes, or cut in half and toast for a crisp edge.
- Can I make the dough ahead of time?
- Yes—dough can be refrigerated for up to 24 hours. Keep it well wrapped to prevent the butter from softening too much.
Notes
- Serve warm: Warm biscuits always taste best—pop a plate in the oven while you prepare toppings.
- Little upgrades: Brush tops with melted butter right after baking for extra sheen and flavor.
- Salt balance: Taste your butter habit—if using salted butter, reduce the added salt by half.
- Presentation tip: Stack biscuits on a wooden board and place small bowls of jam and butter nearby for a cozy, family-style look.
- Cutting trick: If you don’t have a cutter, use a round glass and coat the rim with flour for clean rounds.
- Leftover plan: Crumble stale biscuits into soups or make a quick bread pudding-style casserole for zero waste.

Homemade Biscuits
Ingredients
For the Base
- 2 cups all-purpose flour Use gluten-free baking flour if needed.
- 1 tablespoon baking powder
- 1/2 teaspoon salt Reduce if using salted butter.
- 1/4 cup unsalted butter, cold and cubed For a different texture, substitute with neutral vegetable shortening.
- 3/4 cup milk Whole milk is best, but non-dairy alternatives can be used.
Instructions
Preparation
- Preheat your oven to 450°F (230°C). Line a baking sheet with parchment or lightly flour it.
- In a large bowl, combine the flour, baking powder, and salt.
- Add the cold, cubed butter to the flour mixture. Cut the butter into the mixture until it resembles coarse crumbs.
- Stir in the milk, mixing just until the dough comes together.
- Turn the dough onto a floured surface and knead gently a few times. Shape the dough into about 1-inch thick rounds.
- Place the biscuits on a baking sheet and bake for 12–15 minutes or until golden brown. Serve warm.