
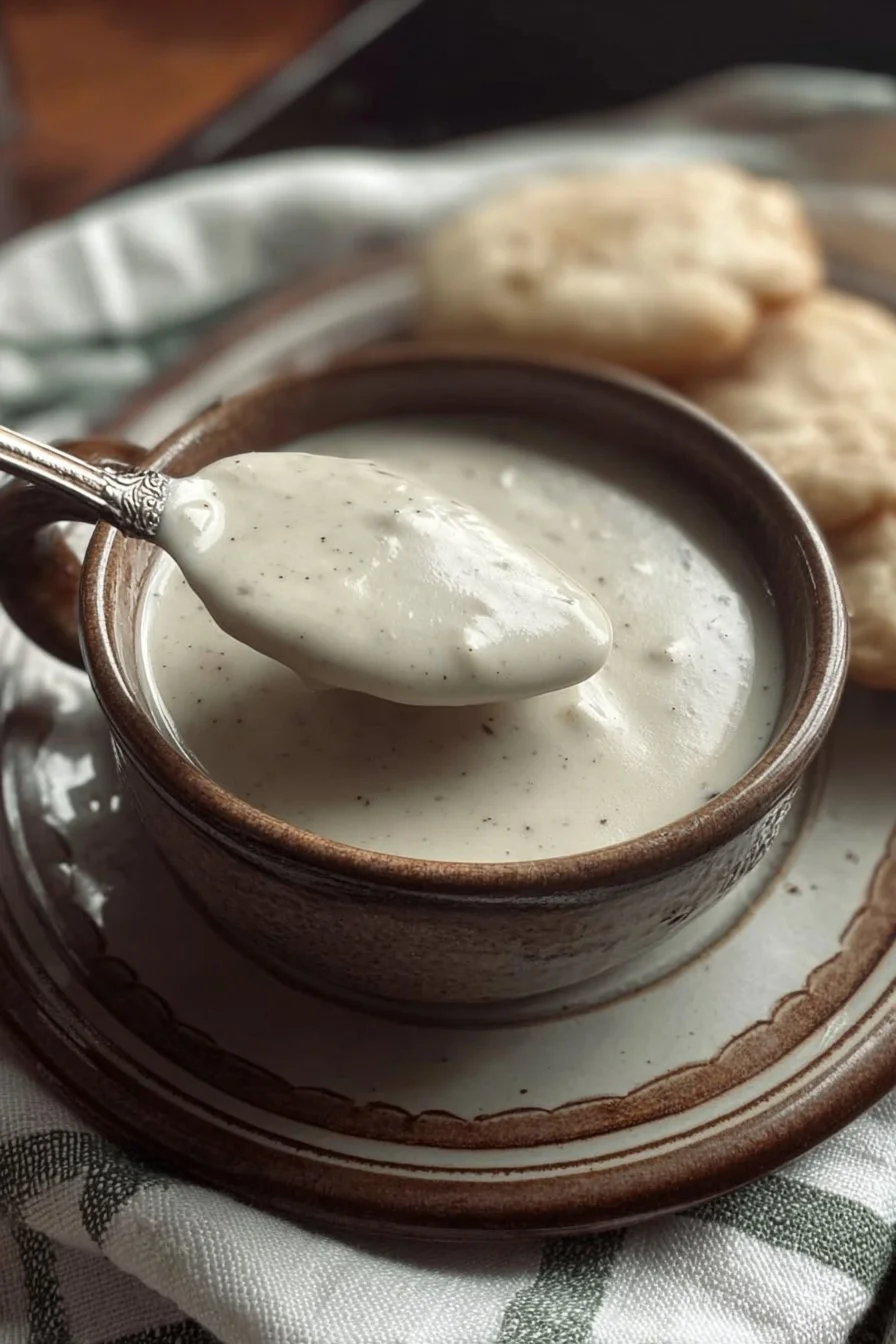
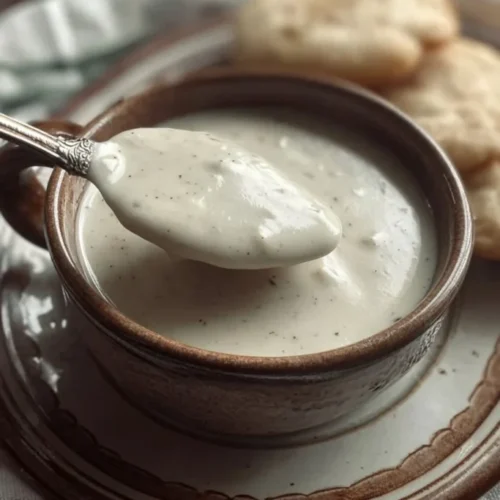
This silky, savory white gravy is the kind of comfort that hugs you from the inside out: rich butter flavor, a luxuriously smooth, velvety texture, and the gentle seasoning of salt and pepper that lets the simple dairy notes shine. It comes together in minutes with just four ingredients, so it’s perfect for busy weeknights, lazy weekend breakfasts, or whenever you need an easy, satisfying sauce. Spoon it over warm, flaky biscuits, mashed potatoes, steamed vegetables, or chicken-fried steak for instant homey goodness. The aroma of browned flour and melted butter cooking just long enough to develop a toasty edge makes the whole house feel cozy. If you prefer a printable reference, see the full 4-Ingredient Homemade White Gravy recipe for quick access to the essentials.
Why You’ll Love This 4-Ingredient Homemade White Gravy
- Minimal ingredients: only butter, flour, milk, and salt + pepper—pantry basics that keep things simple.
- Quick to make: ready in about 10 minutes from start to finish.
- Ultra-creamy texture that clings to biscuits, potatoes, and fried proteins.
- Customizable thickness: thin it for a pourable sauce or cook longer for a spoonable gravy.
- Comfort-food vibes: classic Southern-style gravy that’s nostalgic and satisfying.
- Economical: uses inexpensive pantry staples but delivers big flavor.
- Versatile: a great base for adding optional flavors (see variations) without losing the core gravy identity.
What Is 4-Ingredient Homemade White Gravy?
This is a classic stovetop gravy made from a simple roux (butter and flour) that’s loosened with milk until smooth and thickened to a creamy sauce. It tastes buttery with a subtle toasty note from the cooked flour and a clean dairy sweetness from the milk, balanced with salt and freshly cracked black pepper. The cooking method is stovetop whisking: melt, whisk in flour to form a blond roux, then gradually whisk in milk until the sauce is glossy and thick. People typically serve this gravy over biscuits for breakfast, as a sauce for chicken-fried steak, or spooned over mashed potatoes or vegetables for a hearty dinner. The overall vibe is pure comfort food—familiar, homey, and reliably satisfying.

Ingredients for 4-Ingredient Homemade White Gravy
For the Gravy
- 4 tablespoons butter
- 1/4 cup all-purpose flour
- 2 cups milk
- Salt and pepper to taste
For Serving (optional)
- Warm biscuits, mashed potatoes, or fried chicken (not included in ingredient list)
Ingredient Notes (Substitutions, Healthy Swaps)
- Milk alternatives: For a lighter option, you can use 2% milk; for dairy-free, try unsweetened oat milk or almond milk—note the flavor and thickness will be slightly different. (Optional.)
- Flour swaps: To make a gluten-free version, use a 1:1 gluten-free all-purpose flour blend designed for sauces. It may thicken differently, so adjust cooking time. (Optional.)
- Lower-fat swap: Use a reduced-fat milk to cut calories; the gravy will be a touch less rich but still comforting. (Optional.)
- Butter alternatives: If you prefer, use a plant-based butter substitute for a dairy-free version—expect a slight change in flavor. (Optional.)
- Salt control: Start with a small pinch, taste, and add more as needed—especially if using salted butter.
Step-by-Step Instructions
- Step 1 – Melt the butter
- Place a skillet or medium saucepan over medium heat and add the 4 tablespoons butter. Allow it to fully melt and become slightly foamy.
- Visual cue: The butter should be completely melted and glossy, with small bubbles forming—not browned.
- Step 2 – Whisk in the flour
- Sprinkle in the 1/4 cup all-purpose flour and whisk constantly to form a smooth paste (roux). Cook for about 1 minute until the roux turns a light golden color.
- Visual cue: The mixture should look like a thick paste and start to smell slightly toasty; it should not be dark brown.
- Pro cue: Cooking the flour briefly removes the raw flour taste—don’t skip the minute of cooking, but avoid high heat to prevent burning.
- Step 3 – Gradually add the milk
- Slowly pour in the 2 cups milk in a thin stream while whisking vigorously to prevent lumps. Continue to whisk as the mixture comes together.
- Visual cue: The sauce will go from thick paste to a smooth, glossy liquid and begin to thicken.
- Pro cue: If lumps form, don’t panic—keep whisking over low heat and they will usually break down; a splash more milk can help loosen stubborn bits.
- Step 4 – Thicken and season
- Keep the gravy at a gentle simmer, whisking constantly, until it reaches your desired thickness—usually a few minutes. Season with salt and pepper to taste.
- Visual cue: The gravy should coat the back of a spoon and hold a line when you run your finger through it.
- Pro cue: Taste as you season; add a small pinch at a time since salt can concentrate as the gravy reduces.
- Step 5 – Serve immediately
- Remove from heat and spoon over warm biscuits, potatoes, or fried meats. Serve right away for the best texture.
- Visual cue: The finished gravy should be silky, smooth, and pourable. If it’s too thick, whisk in a splash of milk to loosen.
Pro Tips for Success
- Use medium heat: Too-hot heat can brown the roux quickly and change the flavor; medium heat gives control and even cooking.
- Whisk continuously when adding milk: This prevents lumps and creates a glossy sauce.
- Adjust thickness with patience: The gravy thickens as it simmers and will thicken a bit more as it cools—thin with milk, not water.
- Taste before serving: Salt and pepper make a big difference; start small and adjust.
- Keep warm gently: If you need to hold the gravy, keep it over the lowest heat and stir occasionally to prevent skinning on top.
- Avoid boiling: Vigorous boiling can break the emulsion and make the gravy grainy.
- If it gets lumpy: Pour the gravy into a blender or use an immersion blender for a few seconds to smooth it out.
Flavor Variations (OPTIONAL)
- Spicy kick: Add a pinch of cayenne pepper or a few grinds of black pepper for heat.
- Herbed version: Stir in a small pinch of dried thyme or parsley at the end for a fresh note.
- Cheesy twist: Fold in 1/4–1/2 cup grated cheddar once the gravy is off the heat for a cheesy sauce. (Optional—adds a new ingredient.)
- Mushroom add-in: Sauté thinly sliced mushrooms in the butter before adding flour for an earthy mushroom gravy. (Optional—keeps the base method intact.)
- Pepper gravy: Increase cracked black pepper to make a classic pepper gravy—especially good with steak or fried chicken.
- Lighter version: Use 2% or skim milk and reduce butter to 2 tablespoons; cook the roux a touch longer to preserve flavor. (Optional.)
Serving Suggestions
- Classic biscuits: Spoon generous amounts over split, warm biscuits for a timeless breakfast.
- Chicken fried steak: Pour over crispy chicken-fried steak for a hearty dinner plate.
- Mashed potatoes: Use as a creamy sauce over mashed potatoes instead of gravy made from pan drippings.
- Breakfast plate: Pair with scrambled eggs and breakfast potatoes for a filling brunch.
- Vegetable boost: Drizzle over steamed broccoli or cauliflower for a richer side dish.
- Family comfort meal: Serve with fried pork chops or roasted chicken and a side of greens for a homestyle supper.
- For a full biscuit pairing, try this biscuits and gravy recipe which complements this gravy perfectly.
Make-Ahead, Storage & Reheating
- Make-ahead: You can prepare the gravy up to one day in advance and store it in an airtight container in the refrigerator.
- Refrigerator storage time: Keep refrigerated for up to 3 days.
- Reheating on stovetop: Reheat gently over low heat, whisking frequently. If the gravy has thickened, whisk in a splash of milk to reach the desired consistency.
- Reheating in microwave: Heat in short 20–30 second bursts, stirring between intervals and adding a little milk if needed.
- Texture changes: Gravy may thicken or form a thin skin when chilled—whisking and adding a splash of milk will restore the original texture.
Storage and Freezing Instructions
- Freezing: Freezing is not ideal because the milk can separate and change texture after thawing. If you must freeze, place cooled gravy in a freezer-safe container and freeze for up to 1 month.
- Thawing and using: Thaw overnight in the refrigerator, then reheat slowly on the stovetop while whisking and add milk to re-emulsify. Expect a slight change in texture—blending can help smooth it.
- Recommended approach: For best quality, refrigerate and use within 3 days rather than freezing.
Nutrition Facts (Per Serving)
Assumes the recipe makes 4 servings.
| Calories | Protein | Carbs | Fat | Fiber | Sodium |
|———|——–|——|—–|——|——-|
| 204 kcal | 5 g | 11 g | 15 g | 0 g | 200 mg |
Nutrition values are estimates and may vary depending on ingredients and portion sizes.
FAQ About 4-Ingredient Homemade White Gravy
Q: Why is my gravy lumpy?
A: Lumps form when the flour isn’t fully incorporated before adding milk or when milk is added too quickly. Whisk vigorously and add milk in a slow stream. If lumps persist, blend briefly.
Q: How do I thin overly thick gravy?
A: Whisk in a few tablespoons of milk until you reach the desired consistency. Heat gently while stirring.
Q: Can I use skim or plant milk?
A: Yes—skim, 2%, or unsweetened plant milks will work. Expect a change in richness and mouthfeel with lower-fat or dairy-free milks.
Q: How long does this gravy keep in the fridge?
A: Stored in an airtight container, it will keep for up to 3 days.
Q: Can I make this ahead for a large gathering?
A: Yes—make it a day ahead and reheat gently before serving, adding a splash of milk if needed to restore texture.
Q: Why did my gravy taste floury?
A: The roux needs about a minute of cooking to eliminate the raw flour taste. Make sure to cook the flour briefly in the melted butter before adding milk.
Notes
- Plating idea: For a rustic look, serve biscuits split and piled on a warm plate, then ladle the gravy so it pools around the base.
- Small flavor upgrade: A generous grind of fresh black pepper at the end brightens the gravy dramatically.
- Season gradually: Salt concentrates as the gravy reduces; add in small increments and taste as you go.
- Presentation tip: Wipe the rim of the serving dish after pouring gravy to keep the plate clean and appetizing.
- Leftover use: Reheated gravy makes an excellent sauce for reheated roasted vegetables or to moisten leftover mashed potatoes.
- Textural note: For the silkiest finish, strain the gravy through a fine mesh sieve if you spot any small lumps before serving.
4-Ingredient Homemade White Gravy
Ingredients
For the Gravy
- 4 tablespoons butter Unsalted preferred.
- 1/4 cup all-purpose flour For a gluten-free version, use a gluten-free all-purpose flour blend.
- 2 cups milk You can substitute with 2% or unsweetened plant-based milk for a lighter option.
- to taste Salt and pepper Start with a small pinch for seasoning.
For Serving (optional)
- Warm biscuits, mashed potatoes, or fried chicken Not included in the ingredient list.
Instructions
Preparation
- Place a skillet or medium saucepan over medium heat and add the butter. Allow it to fully melt and become slightly foamy.
- Sprinkle in the flour and whisk constantly to form a smooth paste (roux). Cook for about 1 minute until the roux turns a light golden color.
- Slowly pour in the milk in a thin stream while whisking vigorously to prevent lumps. Continue to whisk as the mixture comes together.
- Keep the gravy at a gentle simmer, whisking constantly, until it reaches your desired thickness—usually a few minutes. Season with salt and pepper to taste.
- Remove from heat and spoon over warm biscuits, potatoes, or fried meats. Serve right away for the best texture.