
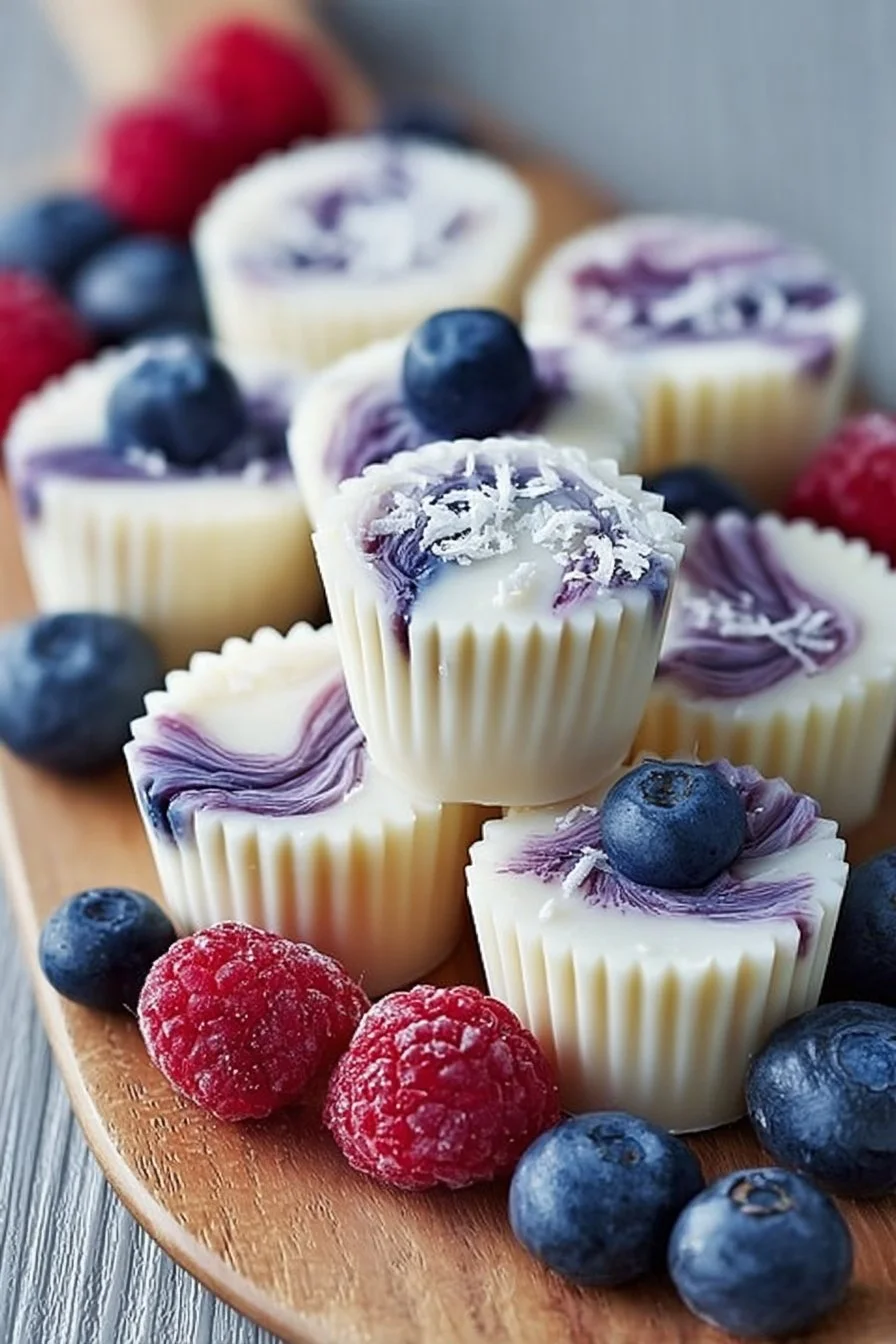
A spoon-sized frozen treat that doubles as a healthy snack and a party-ready bite — yogurt bites are small dollops of sweetened yogurt that are frozen until firm and studded with fruit, chocolate, or crunchy toppings. They’re perfect for busy mornings, school lunches, or a cool dessert after a summer barbecue. Light, customizable, and no-bake, these little rounds give the satisfaction of ice cream without the heaviness.
What makes this recipe special
Yogurt bites are an ultra-simple way to turn store-bought or homemade yogurt into portable, portion-controlled treats. They’re quick to assemble, require no oven time, and are easy to adapt for allergies and diets. Make them for a kids’ party, batch-prep weekly snacks, or serve them as a playful dessert when guests arrive.
“These tiny frozen nibbles were a hit at our picnic — refreshing, not-too-sweet, and the kids loved choosing their own toppings.” — a happy test-kitchen taster
The cooking process explained
Before you dive into the ingredient list, here’s the workflow so you know exactly what to expect: mix and sweeten the yogurt, spoon or pipe it into molds or mini muffin liners, press in or sprinkle toppings, then freeze until solid. The whole active time is about 10–15 minutes; freeze time is mostly passive (1–3 hours depending on size and your freezer).
What you’ll need
- 2 cups plain Greek yogurt (or dairy-free yogurt for a vegan option)
- 2–3 tablespoons honey or maple syrup (adjust to taste)
- 1 teaspoon vanilla extract (optional)
- 1 cup mixed berries, chopped strawberries, or mashed banana (fresh or thawed frozen fruit)
- 2 tablespoons mini chocolate chips or cacao nibs (optional)
- 2 tablespoons granola or toasted nuts (optional, add just before freezing)
- Pinch of salt (balances sweetness)
- Silicone mini-molds or a mini muffin tin with paper liners
Notes and substitutions: - For a thicker base, strain yogurt in a cheesecloth-lined sieve for 2–4 hours to remove whey.
- Use stevia or erythritol for a lower-sugar version.
- Swap vanilla for citrus zest (lemon/lime) for a bright flavor.
Step-by-step instructions
- Line your mini muffin tin with paper liners or set out silicone molds.
- In a bowl, stir the yogurt, sweetener, vanilla, and a pinch of salt until smooth. Taste and adjust the sweetness.
- Fold in half the fruit if using small berries. For larger fruit, spoon a small amount of fruit into each mold after spooning the yogurt.
- Spoon or pipe the yogurt mixture into the molds, filling about 3/4 full. Silicone molds make popping them out easier.
- Add toppings: a few mini chips, a sprinkle of granola, or a sliver of strawberry on top. Gently press toppings into the yogurt so they freeze attached.
- Freeze on a flat surface for at least 1–2 hours until firm. For best results, freeze 3 hours to ensure solid centers.
- To unmold, let sit at room temperature 2–3 minutes then pop out. Store as directed below.
Best ways to enjoy it
Serve yogurt bites slightly softened — remove them from the freezer 3–5 minutes before serving so they aren’t rock-hard but hold their shape. They’re lovely on a dessert platter alongside fresh fruit and a drizzle of honey, or packed in lunchboxes on a small ice pack. For a sweet-salty contrast, serve with crunchy treats like chocolate-covered potato chips — the bites balance richness while the chips add crunch and salt.
Storage and reheating tips
- Refrigerator: If you prefer a softer snack, keep yogurt bites refrigerated for up to 24–48 hours; they will soften and may weep slightly.
- Freezer: Store in an airtight container or a zip-top freezer bag for up to 1 month. Layer parchment between layers to prevent sticking.
- Thawing: Thaw in the fridge for 30–60 minutes or at room temperature for 3–5 minutes before serving. Do not refreeze once thawed — repeated freezing and thawing degrades texture and safety.
- Food safety: Keep your freezer at 0°F (-18°C) or below for best texture and longevity. Discard if ice crystals have formed extensively or if the flavor smells off.
Pro chef tips
- Strain for richness: For creamier, denser bites, strain yogurt overnight to make a Greek-like consistency even from plain yogurt.
- Use silicone molds: They make removal easy and you can press toppings in without tearing paper liners.
- Keep toppings crunchy: Add granola, nuts, or toasted coconut right before freezing to avoid sogginess.
- Freeze on a tray first: If using a soft silicone mold, place it on a rigid baking sheet to keep it level in the freezer.
- For a savory experiment, swap honey for a touch of olive oil, mix in herbs and a pinch of smoked spice, or try a dash of BBQ seasoning bliss with Greek yogurt for a party appetizer — spoon into mini cucumbers or serve with crisp crackers.
Creative twists
- Chocolate-honey swirl: Fold in a tablespoon of melted dark chocolate for ribbons of flavor. Freeze in mini muffin liners for a prettier presentation.
- Tropical coconut-lime: Use coconut yogurt, grated lime zest, and toasted coconut on top.
- Peanut-butter bomb: Stir 1–2 tablespoons creamy peanut butter into the yogurt for a protein-rich snack.
- Vegan and keto versions: Use unsweetened coconut or almond yogurt and a low-carb sweetener. Top with chopped nuts.
- Yogurt bites into bark: Spread the sweetened yogurt on a parchment-lined sheet, top liberally, and break into chunks after freezing for an alternate shape and texture.
Common questions
Q: How long does it take to freeze yogurt bites solid?
A: For mini molds, 1–2 hours will usually firm the outside, but 3 hours ensures a firm center. Larger dollops may need up to 4 hours.
Q: Can I use flavored yogurt?
A: Yes. Flavored yogurts work but may be sweeter. If using flavored yogurt, taste first and reduce added sweetener.
Q: Are these safe for kids to take to school?
A: Yes, if kept cold with an insulated lunchbox and ice pack. For best texture, keep in the freezer until morning and include an ice pack in the lunchbox.
Q: Can I make these ahead for a party?
A: Absolutely. Freeze up to 1 month, then transfer to the fridge 10–15 minutes before serving to soften slightly. Avoid making more than three days ahead if kept refrigerated only.
Q: What molds work best?
A: Silicone mini molds or a mini muffin tin with paper liners are ideal. Silicone is easiest for unmolding and for creative shapes.
Q: How do I prevent freezer burn?
A: Store in an airtight container with minimal air space, or use a vacuum-sealed bag. Layer with parchment to avoid sticking and protect toppings.

Frozen Yogurt Bites
Ingredients
Main Ingredients
- 2 cups plain Greek yogurt or dairy-free yogurt for a vegan option
- 2-3 tablespoons honey or maple syrup adjust to taste
- 1 teaspoon vanilla extract optional
- 1 cup mixed berries, chopped strawberries, or mashed banana fresh or thawed frozen fruit
- 2 tablespoons mini chocolate chips or cacao nibs optional
- 2 tablespoons granola or toasted nuts optional, add just before freezing
- 1 pinch salt balances sweetness
Equipment
- Silicone mini-molds or a mini muffin tin with paper liners
Instructions
Preparation
- Line your mini muffin tin with paper liners or set out silicone molds.
- In a bowl, stir the yogurt, sweetener, vanilla, and a pinch of salt until smooth. Taste and adjust the sweetness.
- Fold in half the fruit if using small berries. For larger fruit, spoon a small amount of fruit into each mold after spooning the yogurt.
Assembly
- Spoon or pipe the yogurt mixture into the molds, filling about 3/4 full.
- Add toppings: add a few mini chips, a sprinkle of granola, or a sliver of strawberry on top. Gently press toppings into the yogurt so they freeze attached.
Freezing
- Freeze on a flat surface for at least 1–2 hours until firm. For best results, freeze for 3 hours to ensure solid centers.
Serving
- To unmold, let sit at room temperature for 2–3 minutes before popping out. Store as directed below.